How to Create Tax/GST Invoices in Vyapar App
Vyapar automates GST compliance by calculating CGST, SGST, and IGST based on customer location and HSN/SAC codes. This ensures every Tax Invoice you issue meets Indian legal requirements with minimal manual effort.

Before You Start

GSTIN Details: Have your GST registration number and business address ready.
Item Tax Rates: Ensure your items are saved with their respective GST percentages (5%, 12%, 18%, or 28%).
Party Details: Collect the GSTIN of your B2B customers to provide them with “Input Tax Credit” (ITC).
Step-by-Step Guide to Create a Tax Invoice:
Open Vyapar App
Launch the Vyapar App on your Desktop.
01
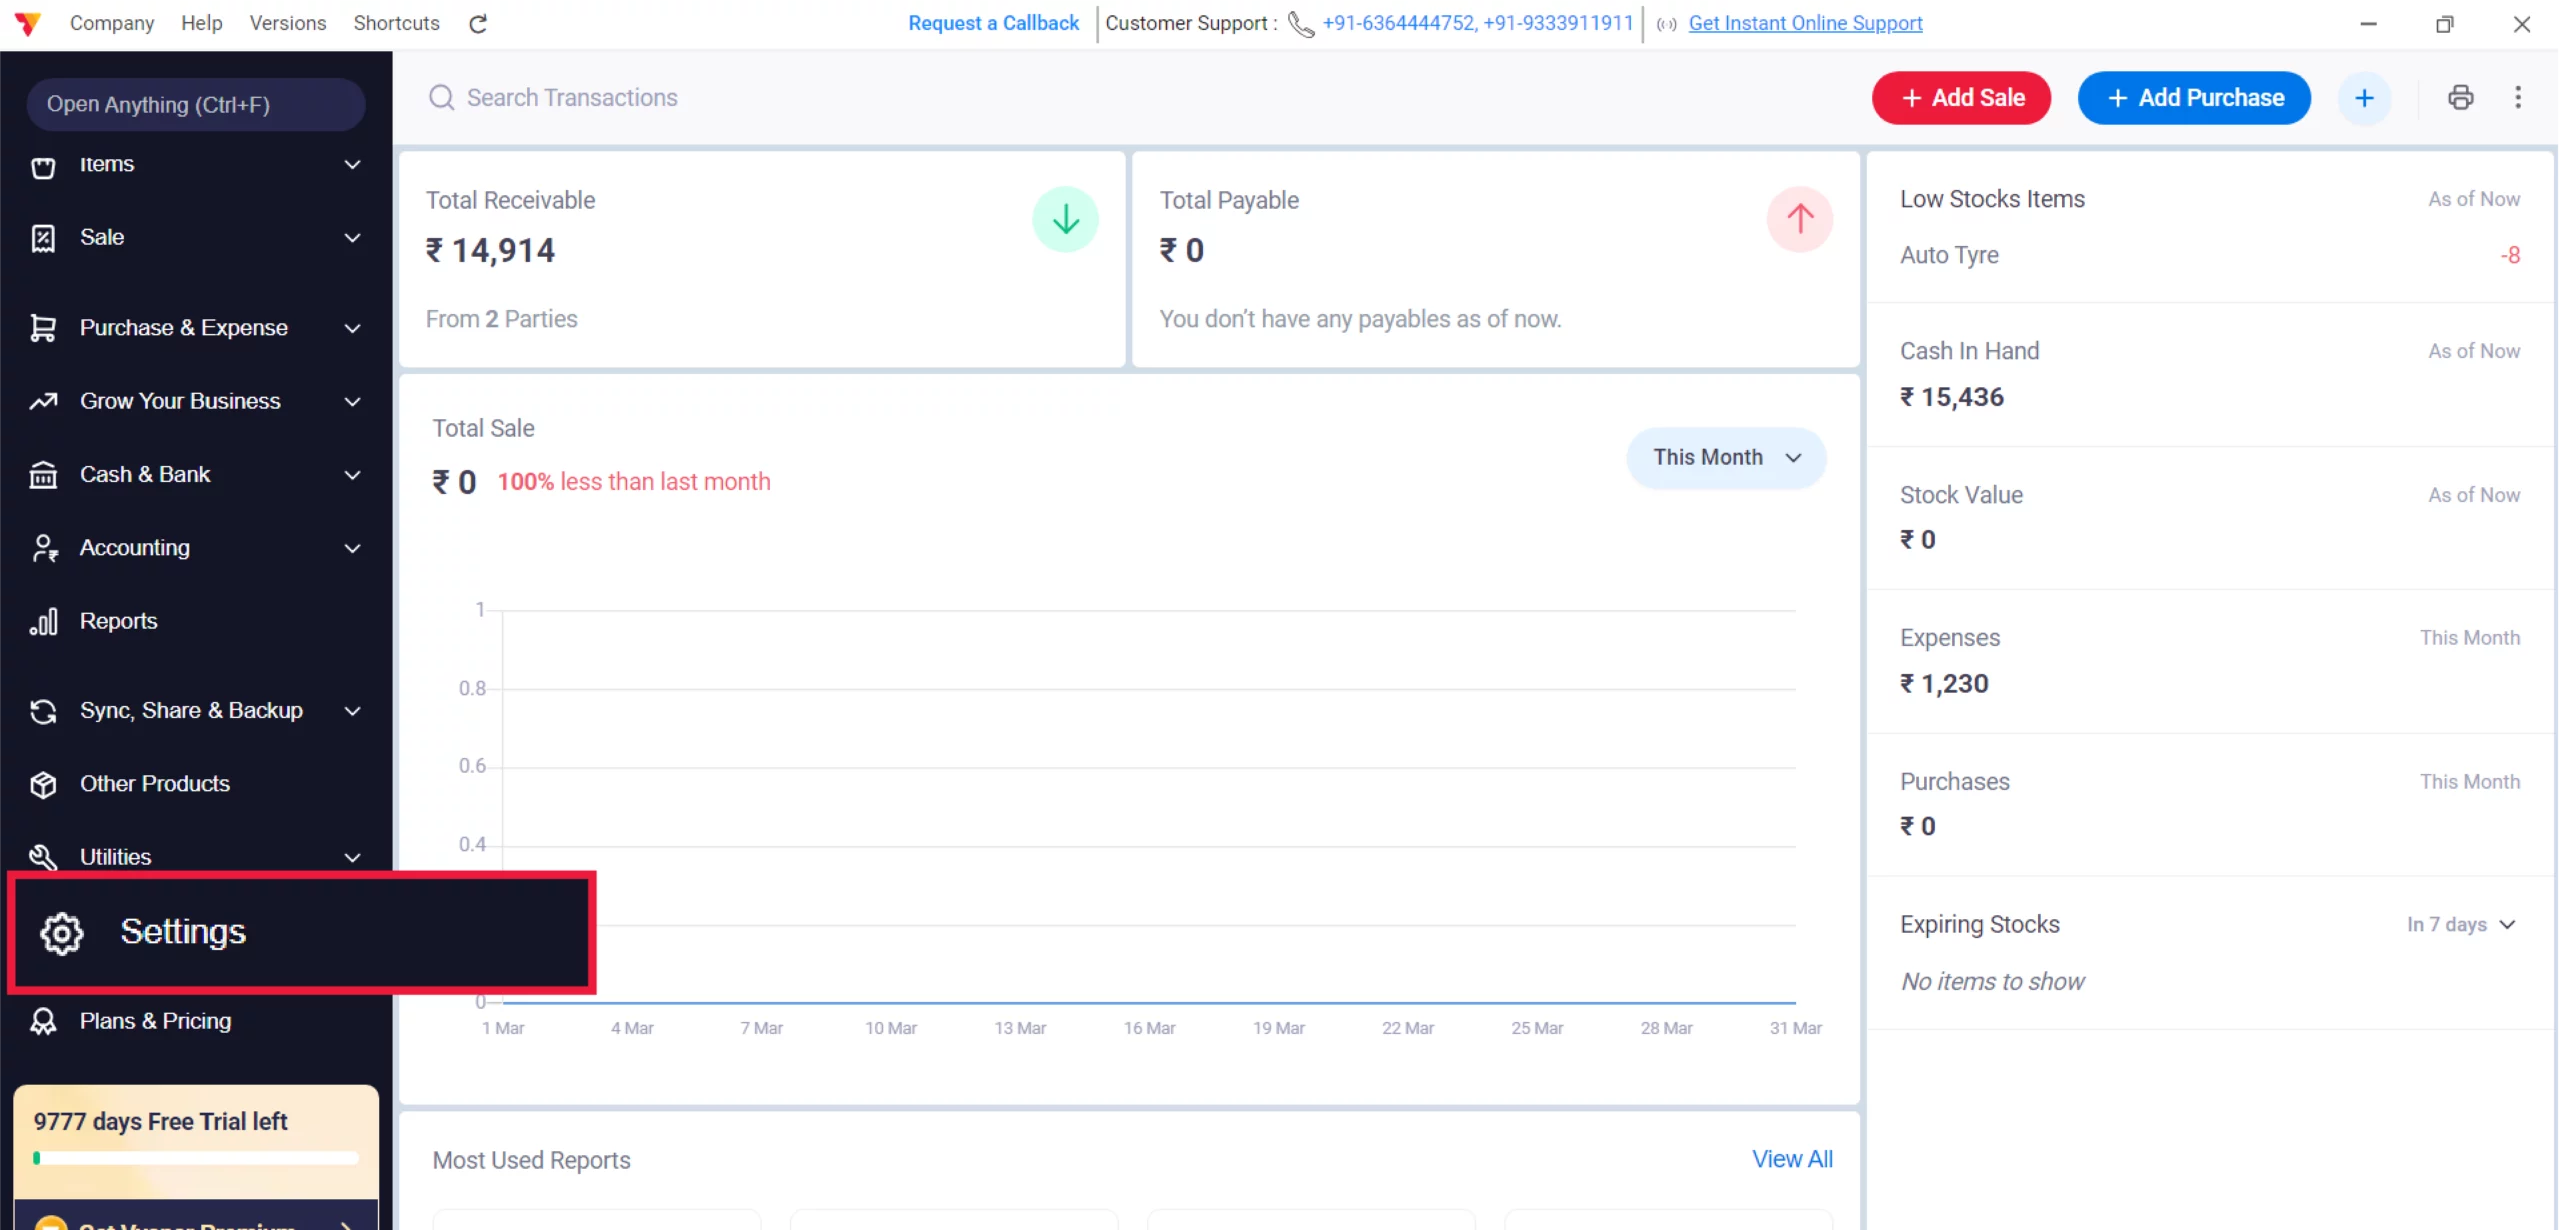
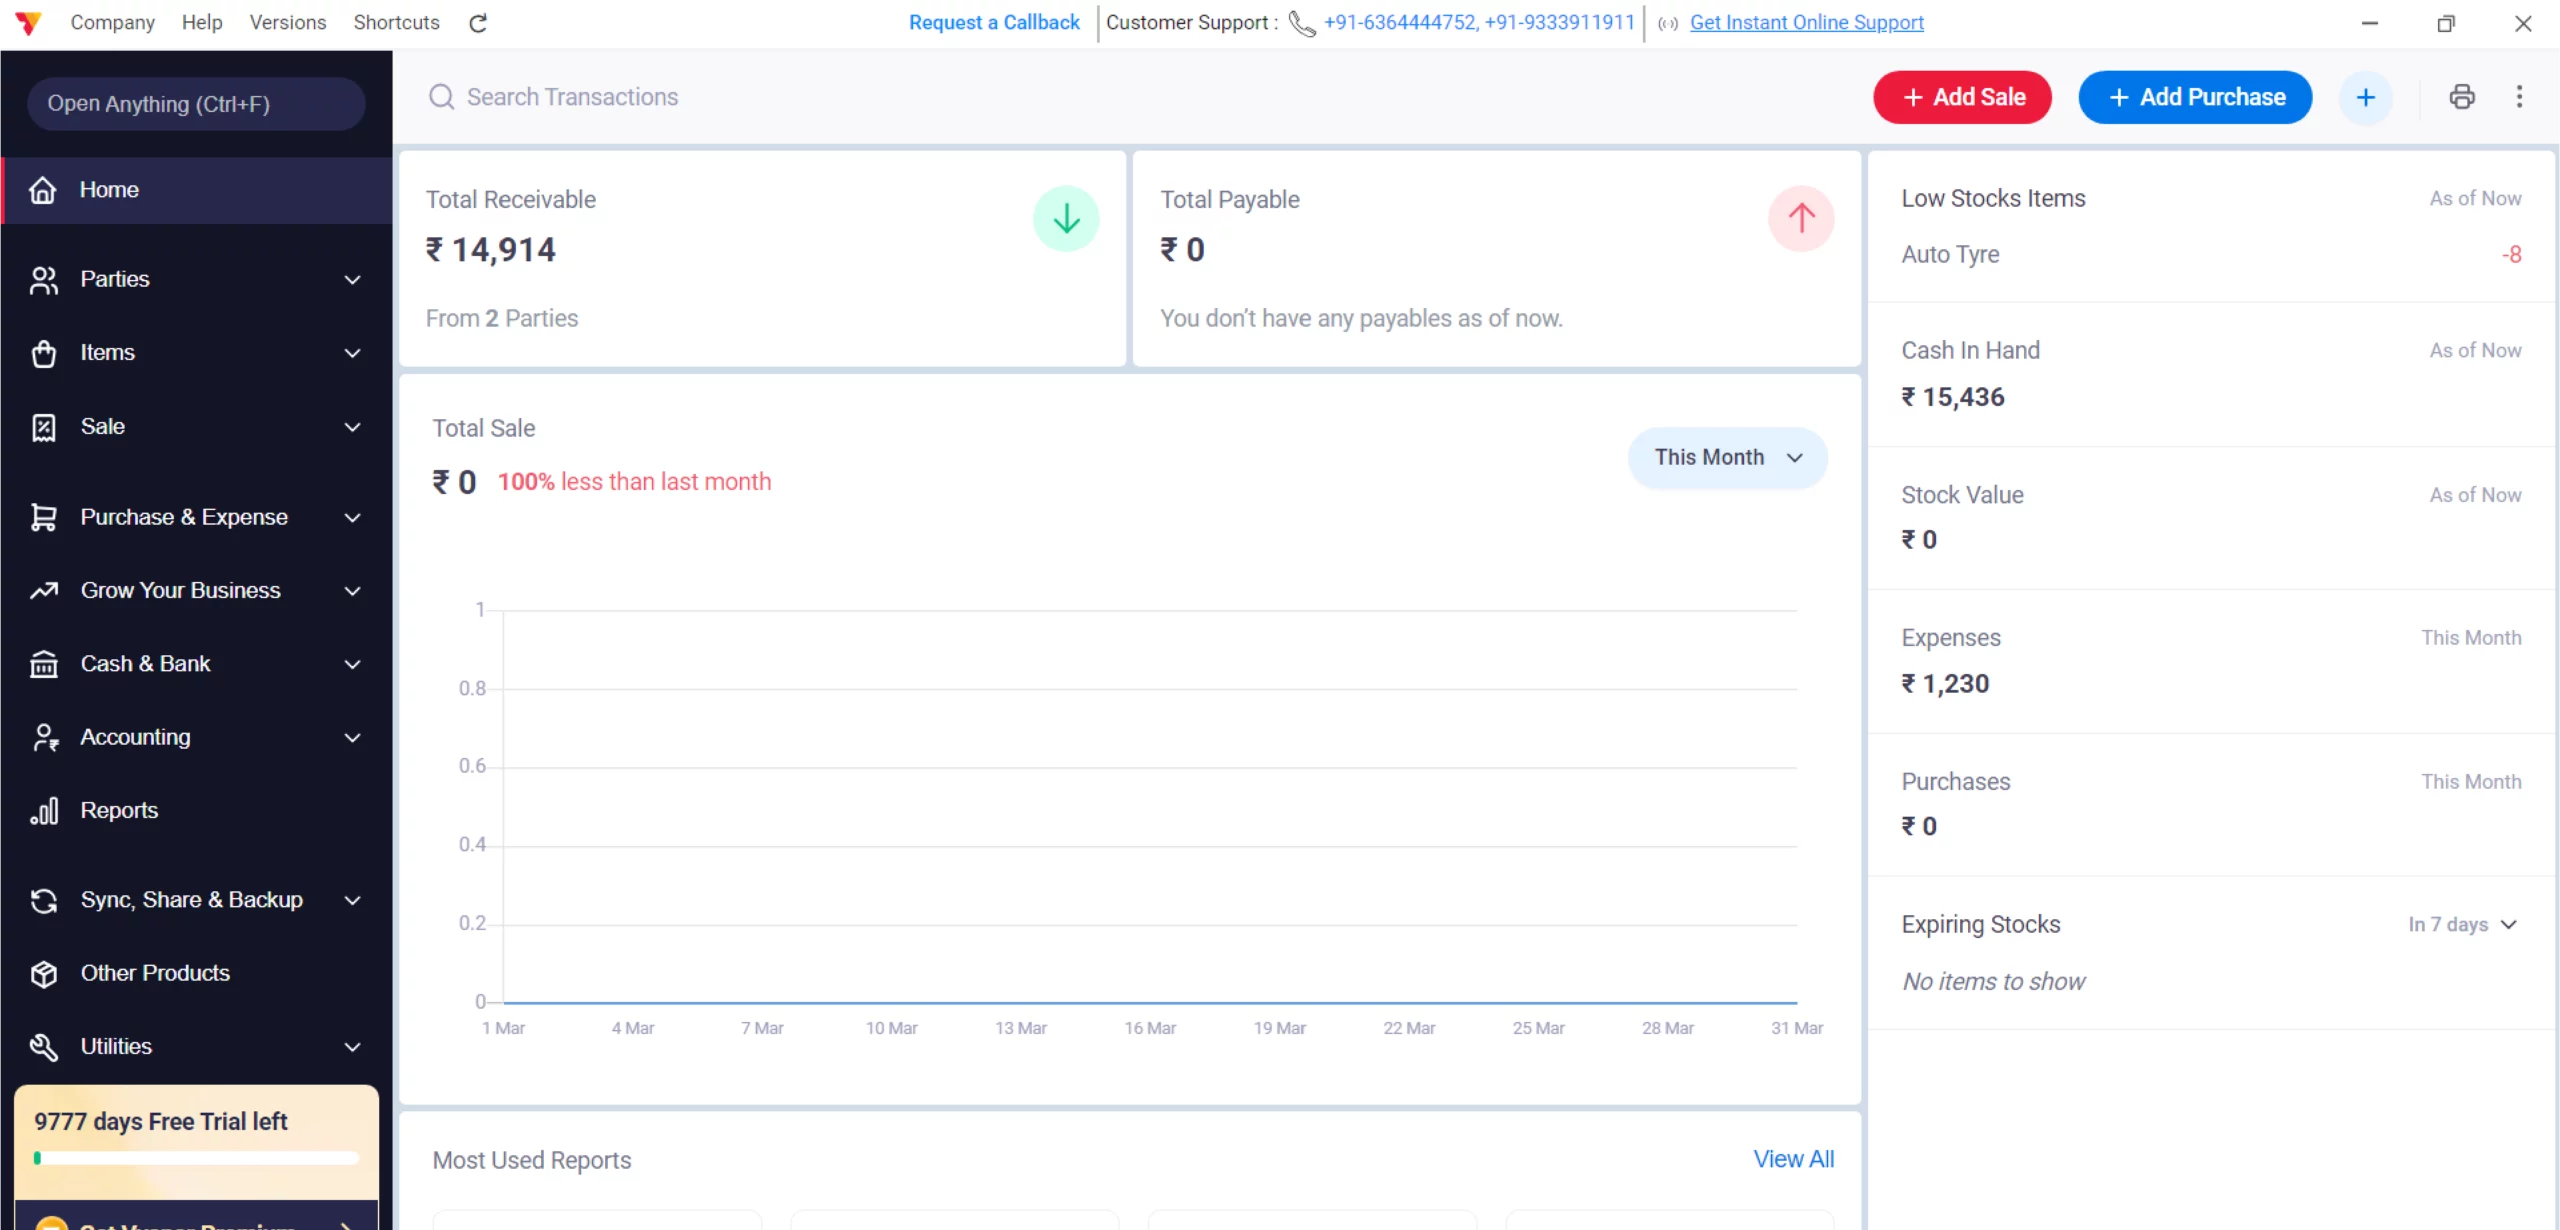
Access Settings
Navigate to the Left Menu, locate the Settings gear icon, and click it.
02
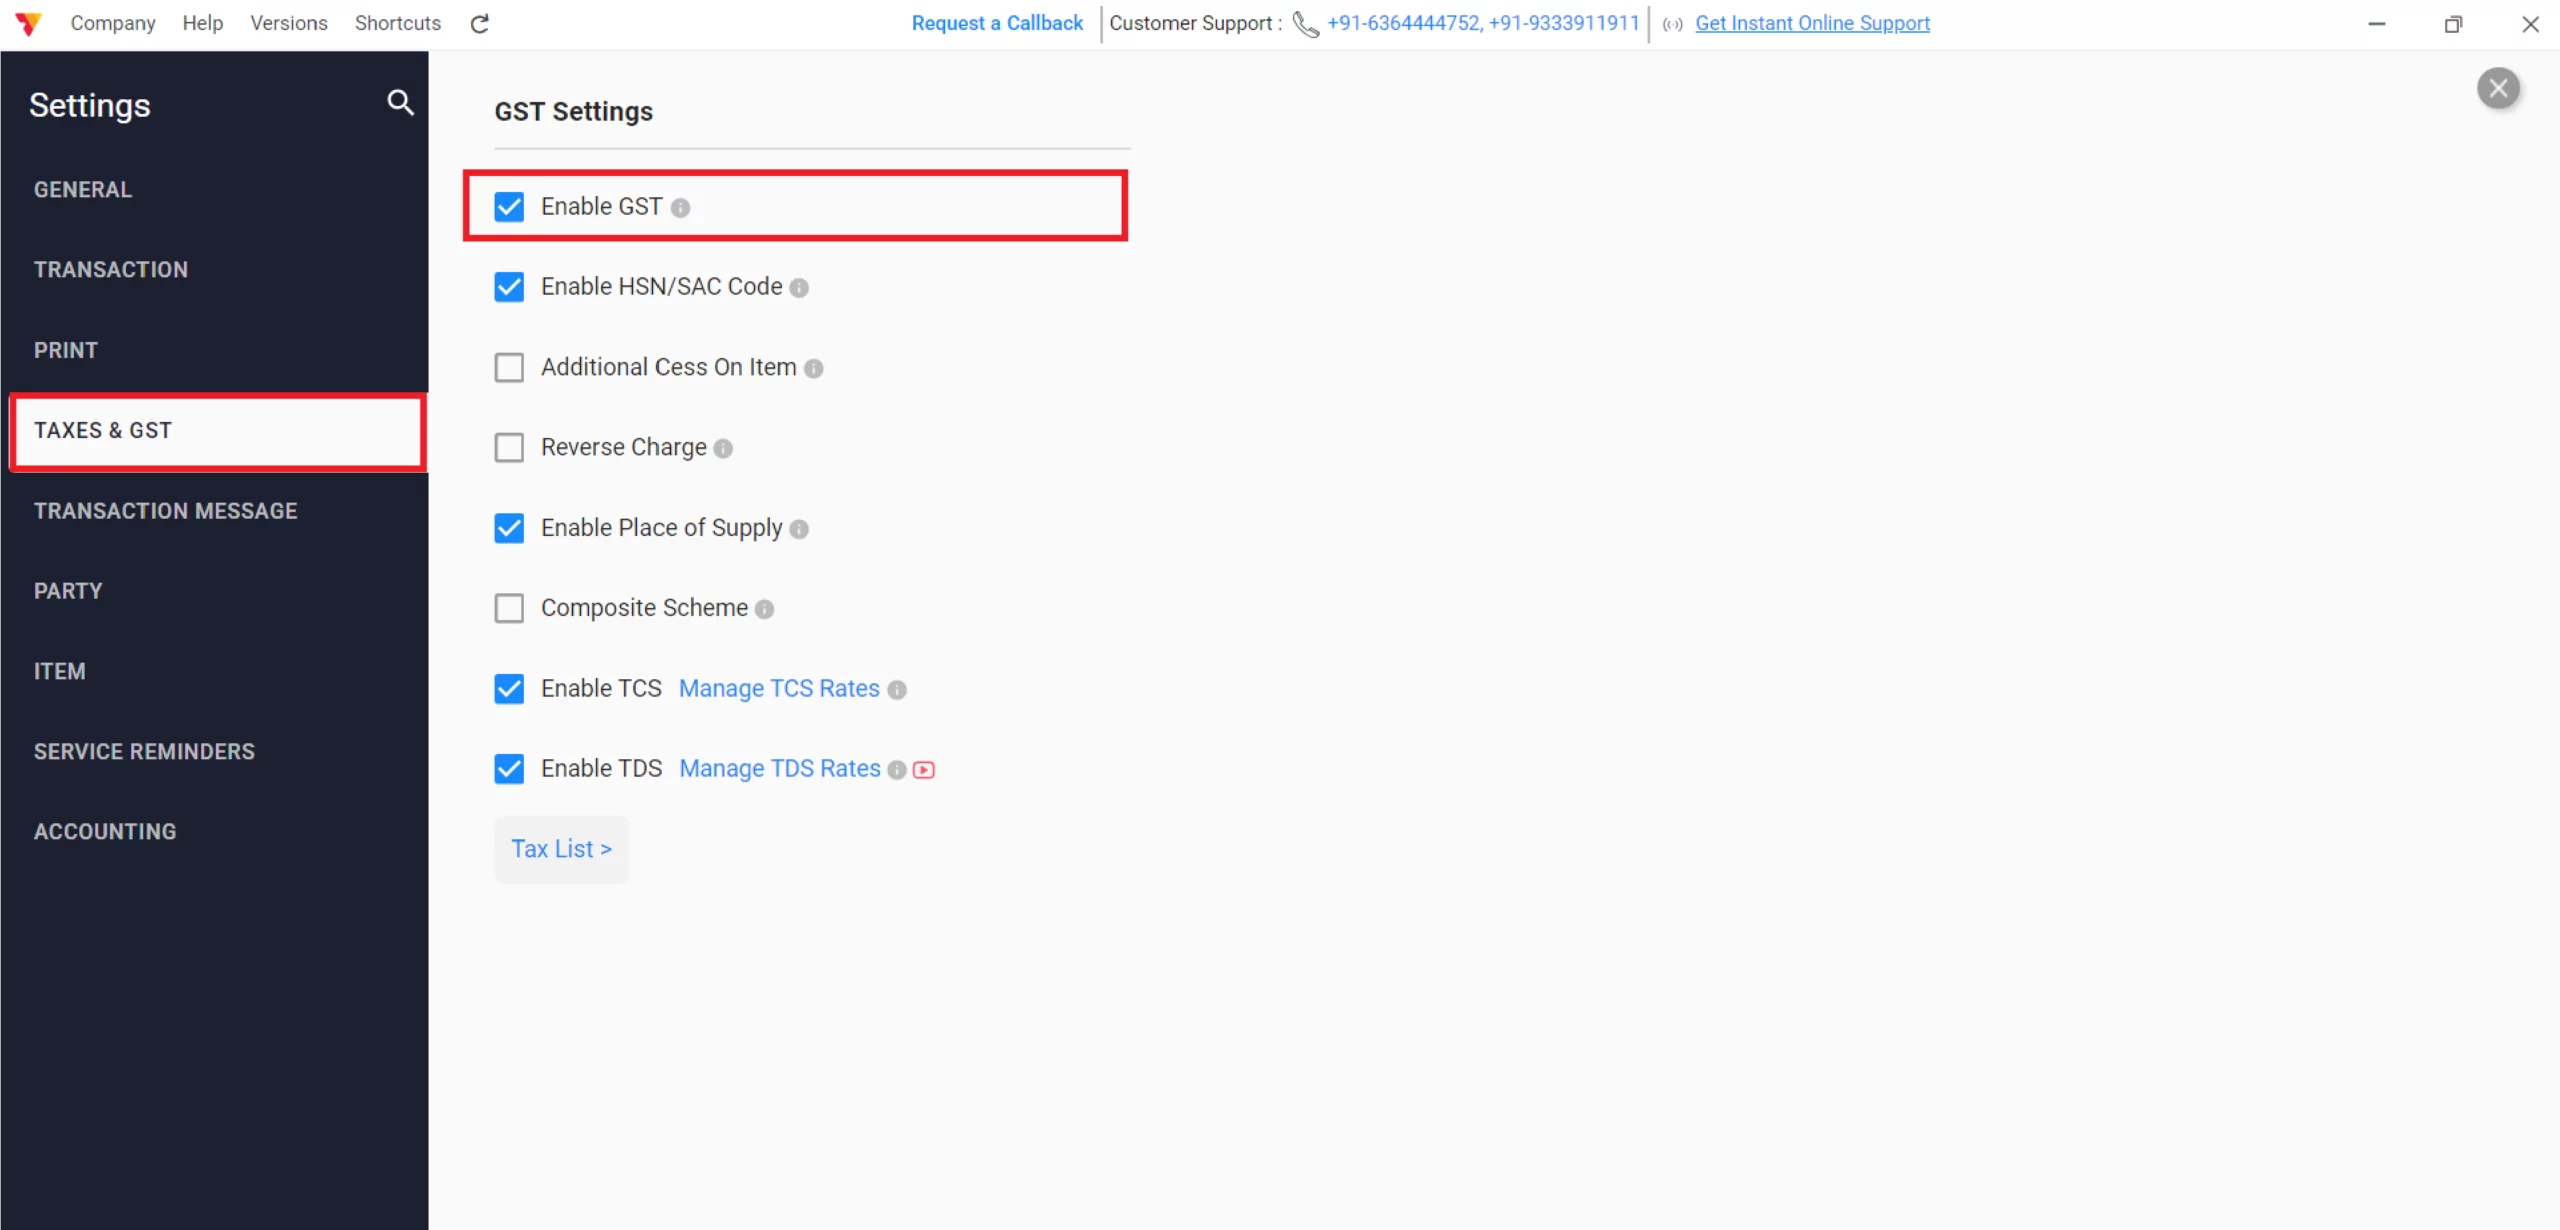
Enable GST
Click on Taxes & GST, check in “GST” button, HSN/SAC Code and Other GST details as per your business need.
03

Record Your Business
Click on your Business Name at the bottom left corner and add your Business GST and State, Pin Code & Address.
04
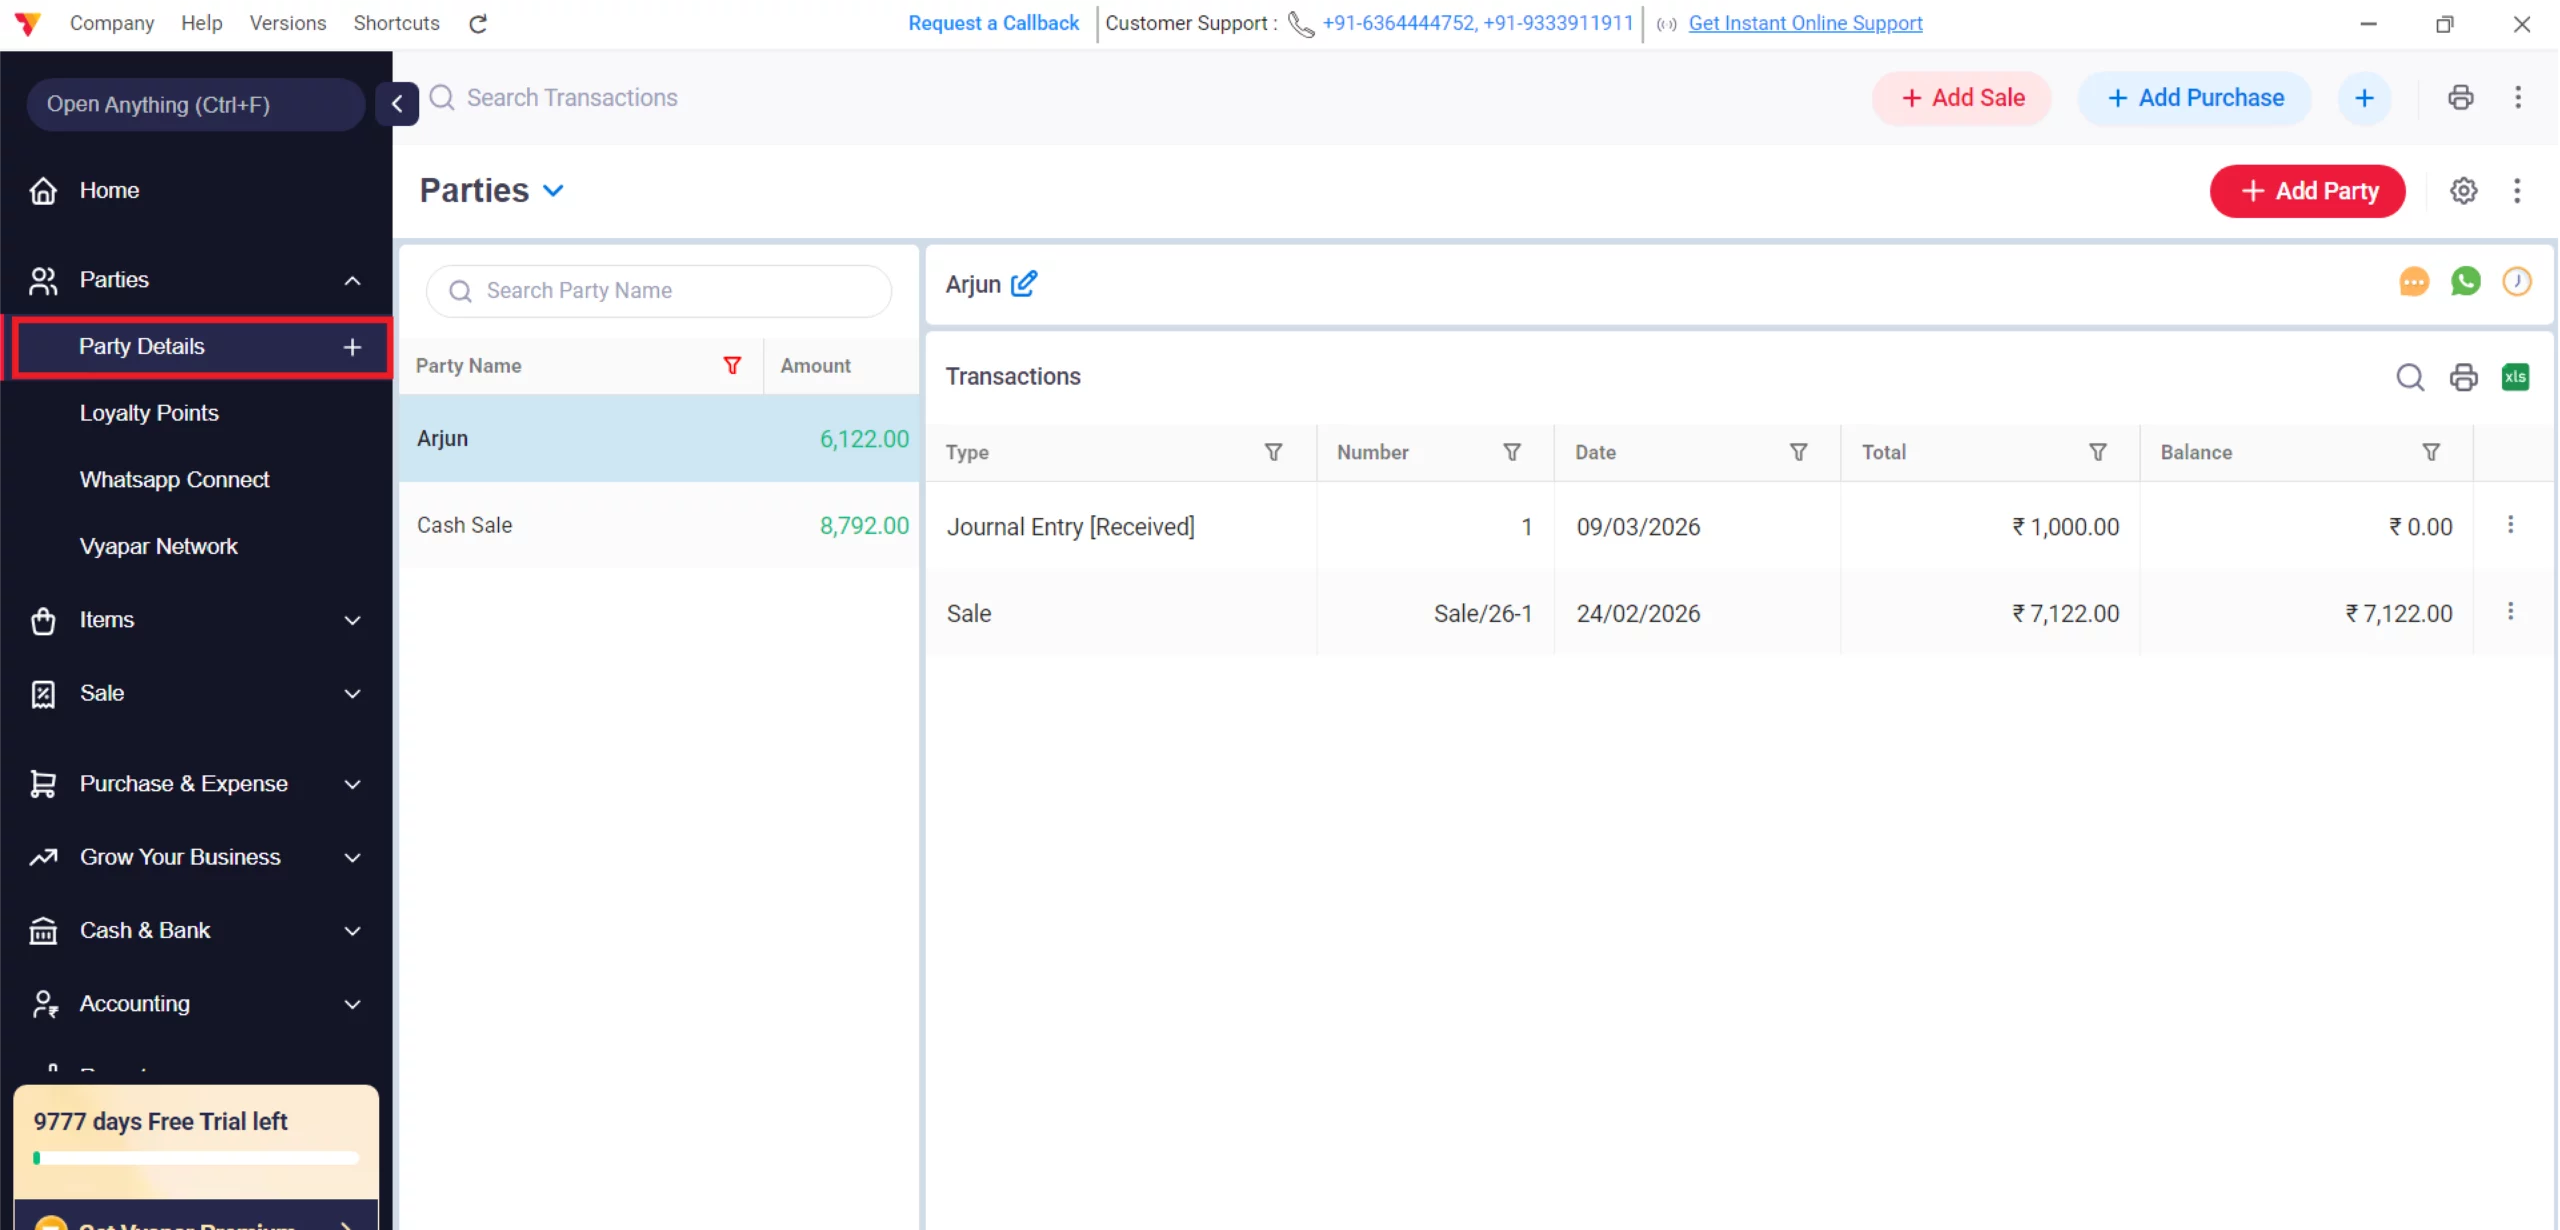
Customer Details
Go to the Parties section and select the customer.
05
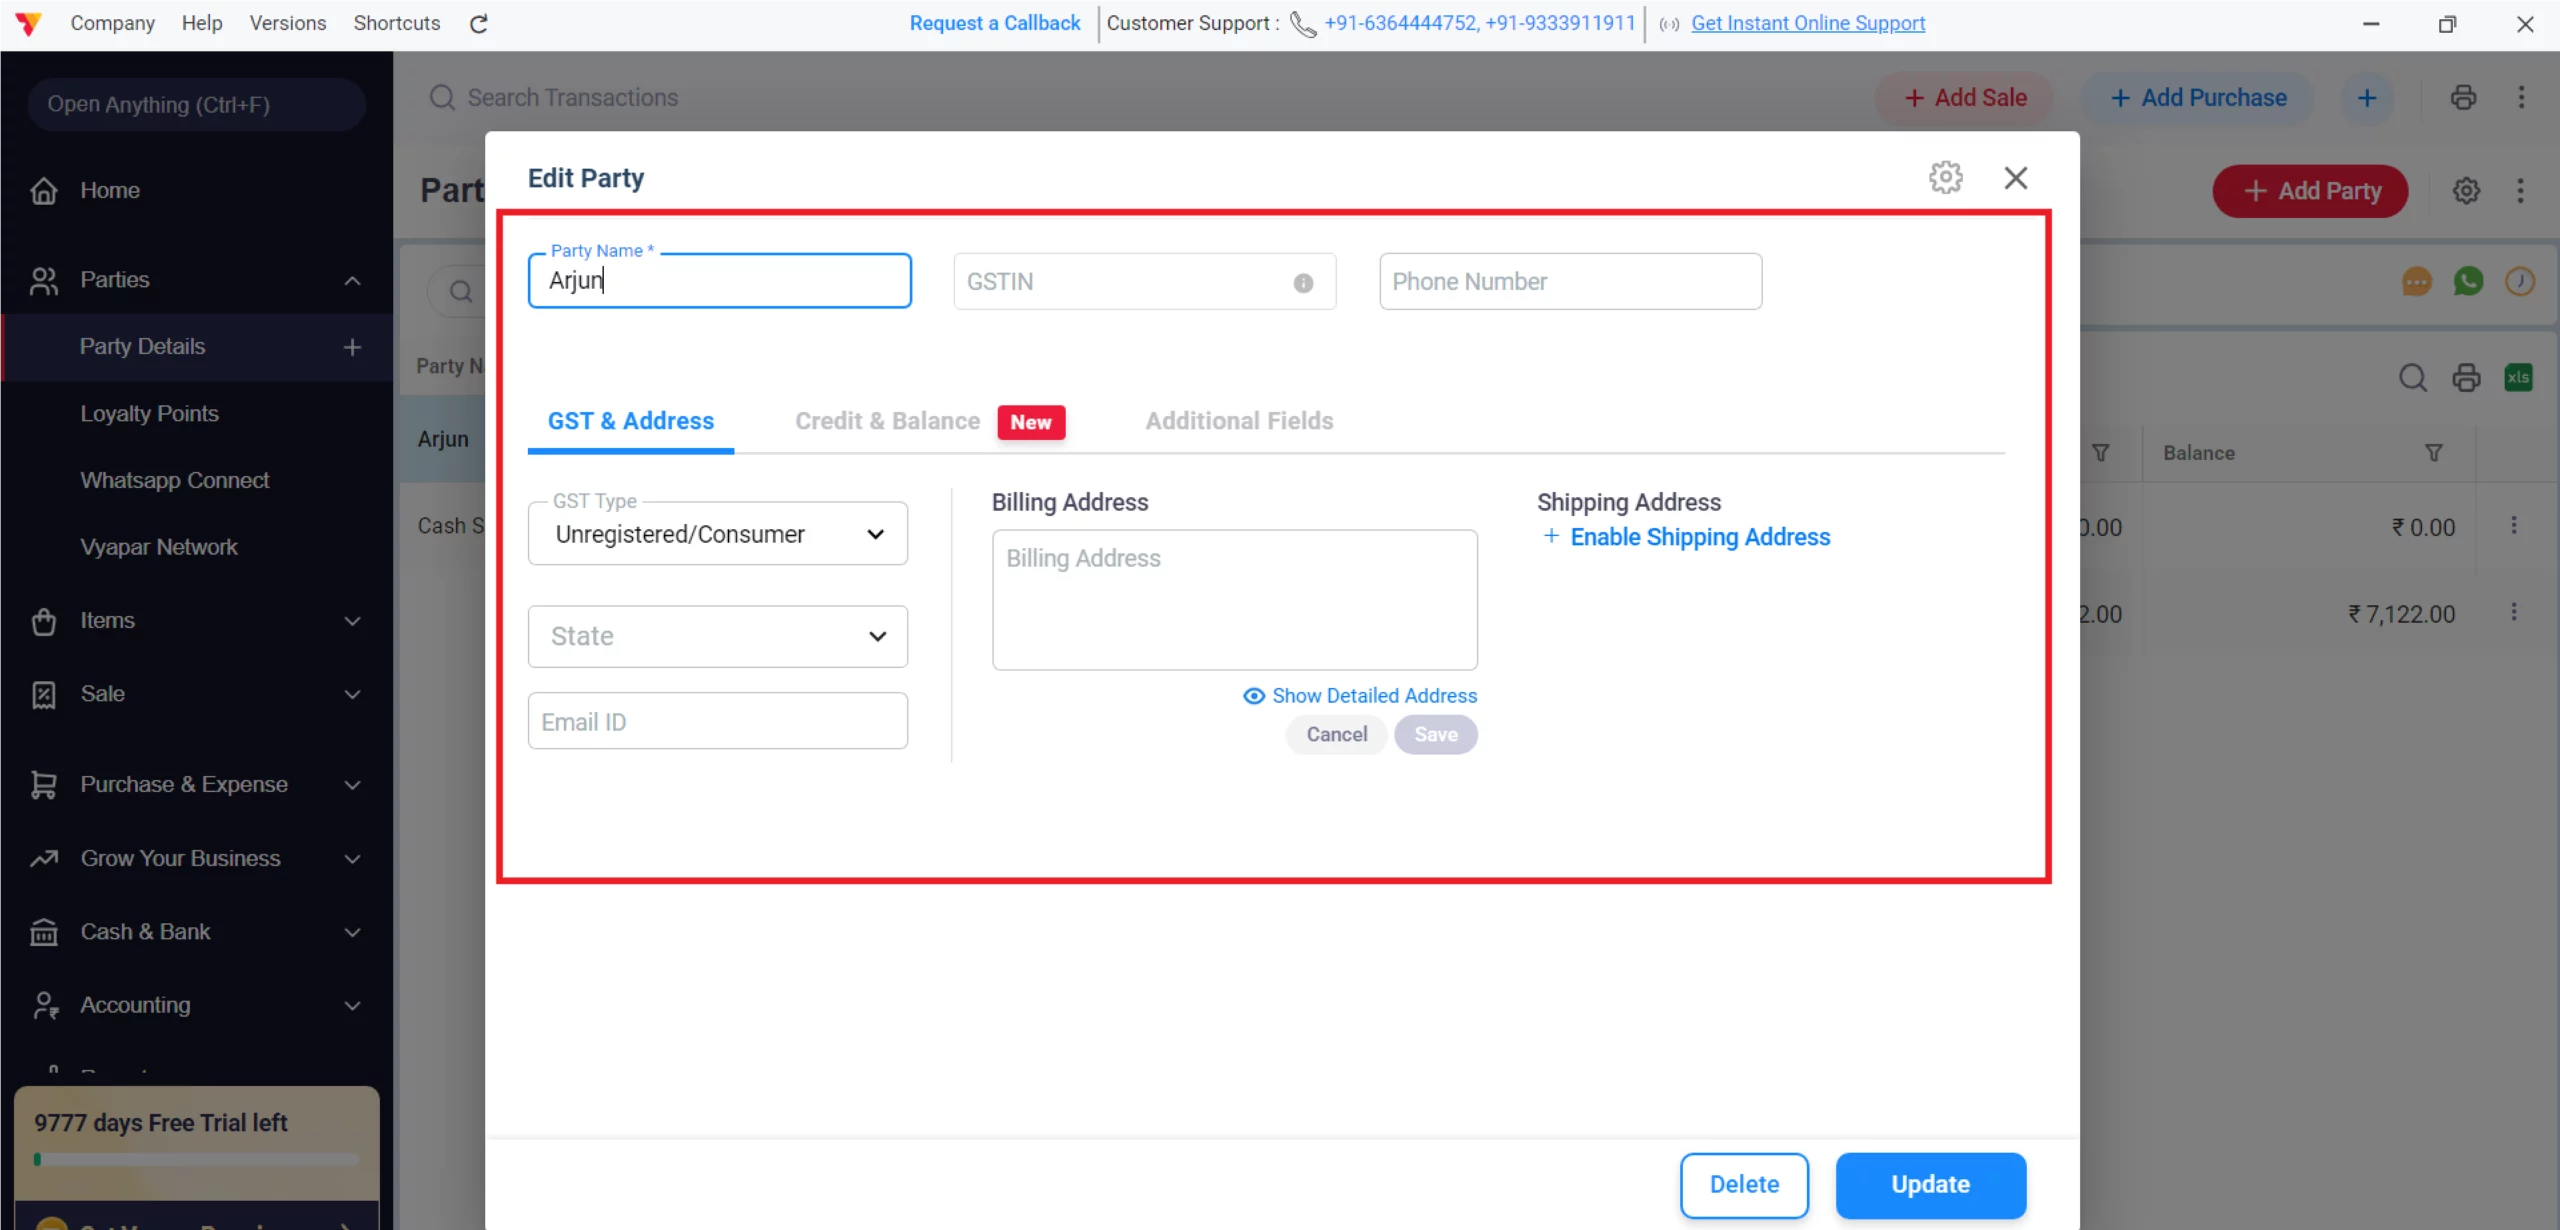
Update/Verify Customer Details
Double-click on their name to ensure their GSTIN and State are entered accurately. If not, update it correctly and click on the Update button. This guarantees that the invoice correctly identifies if it is a B2B transaction and applies the right tax type.
06

Access Sales Entry
On the main dashboard, click the + Add Sale button or go to the Sale section in the left-hand menu.
07
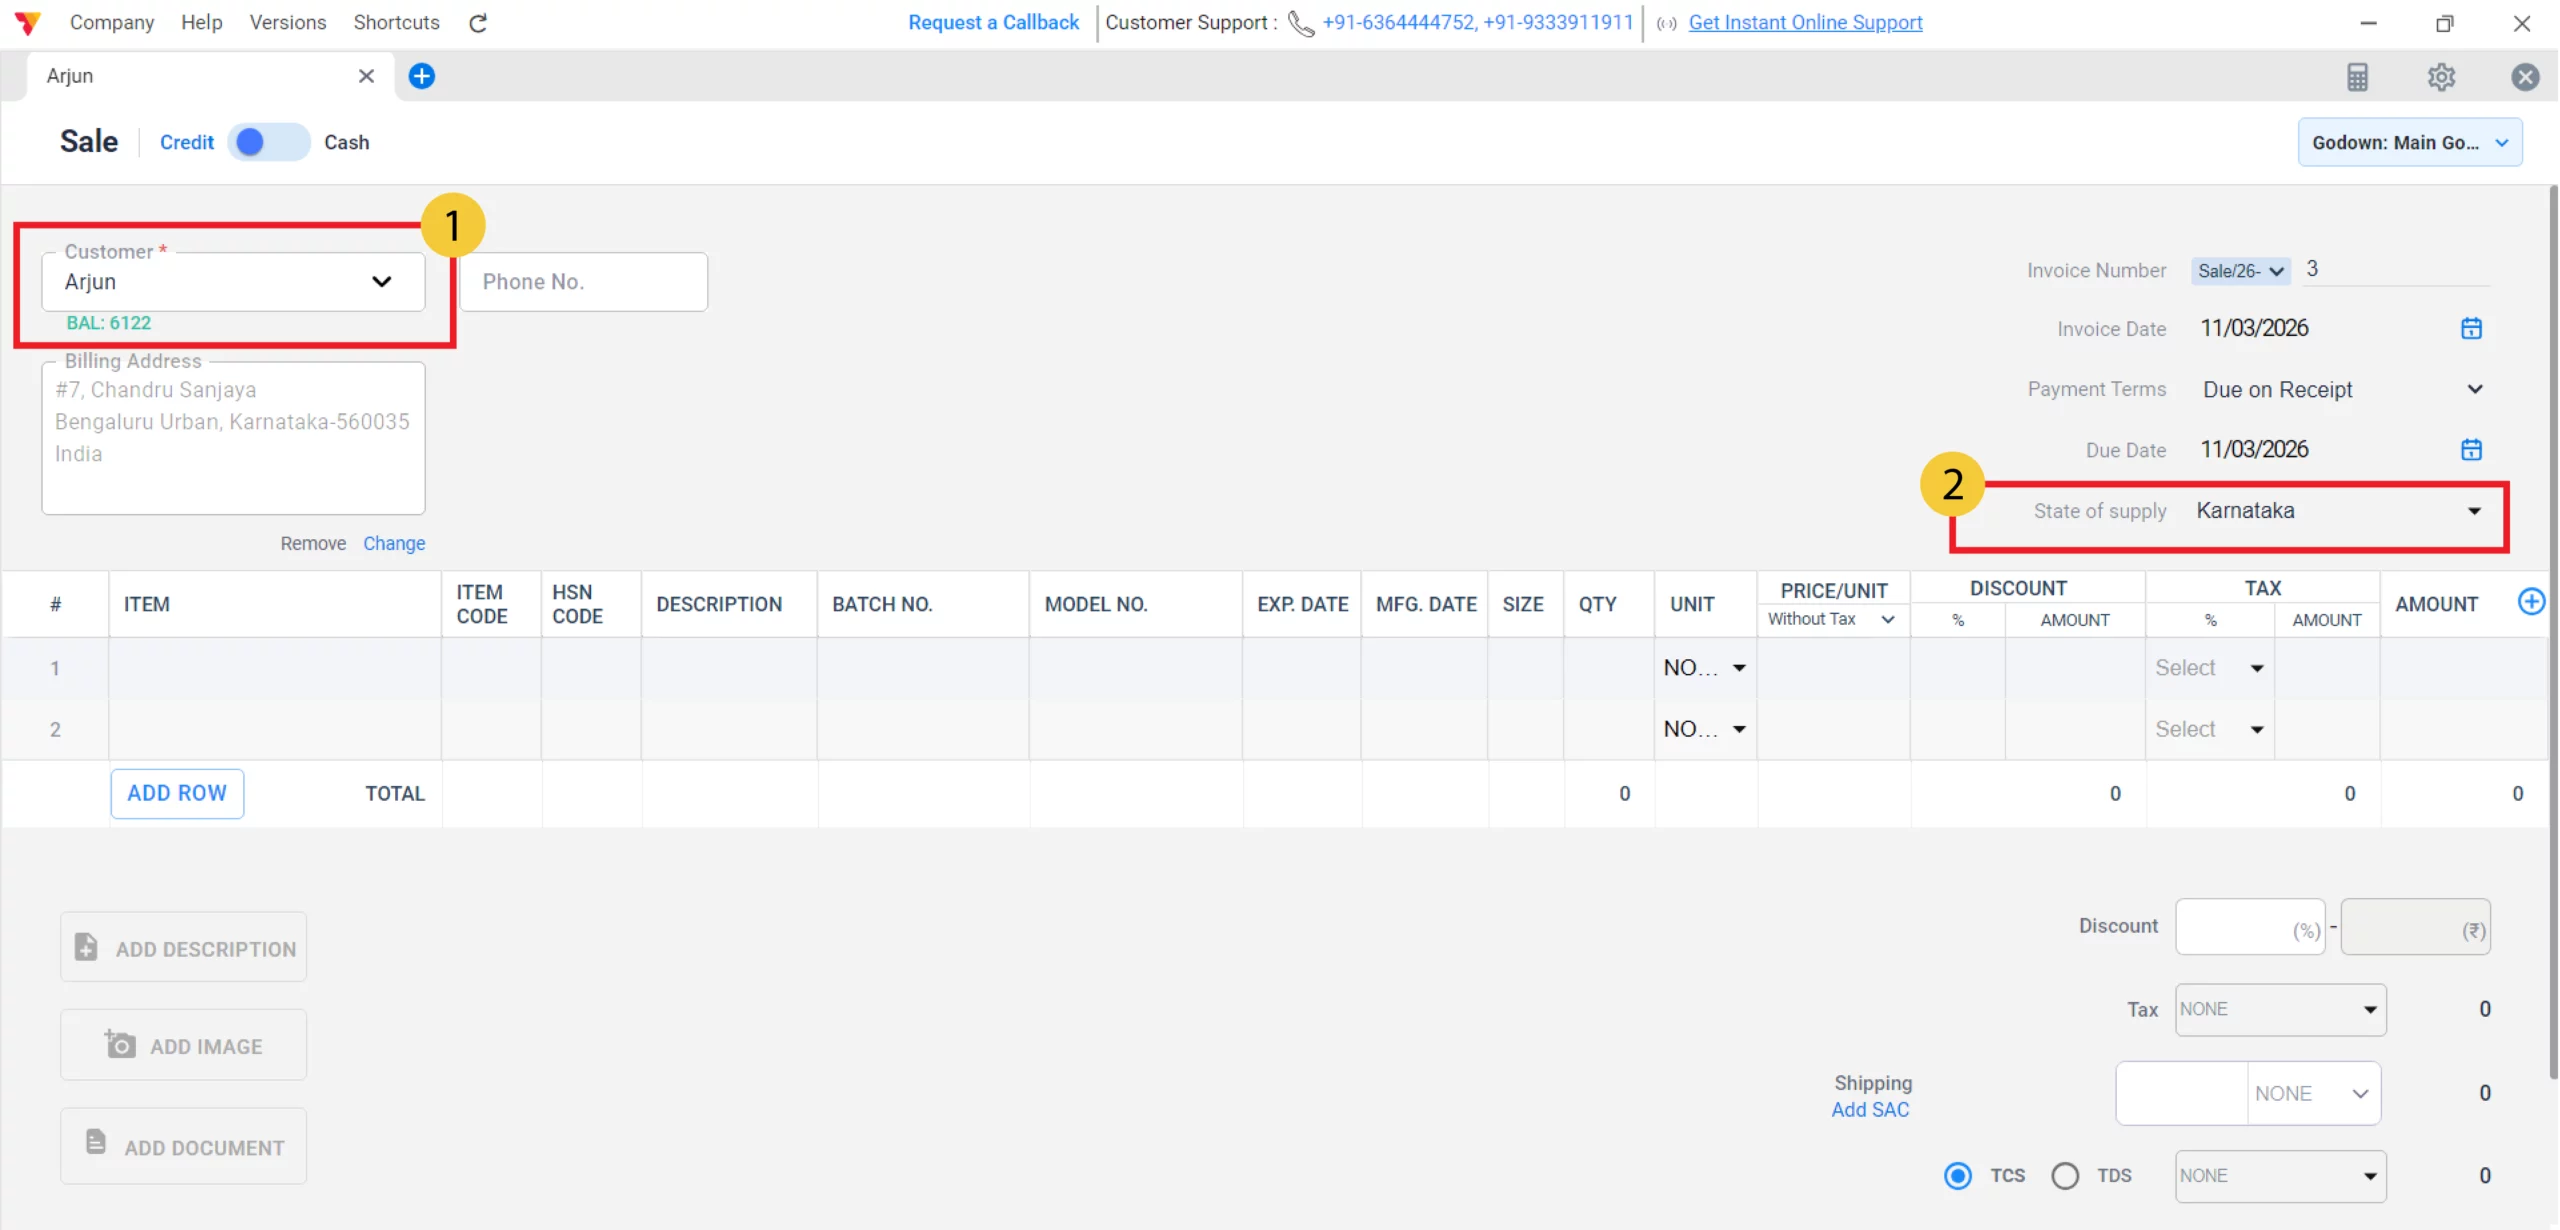
Select or Add Customer
Choose a customer from your list. If they are a GST-registered business, ensure their GSTIN and State are correctly entered in their profile.
08
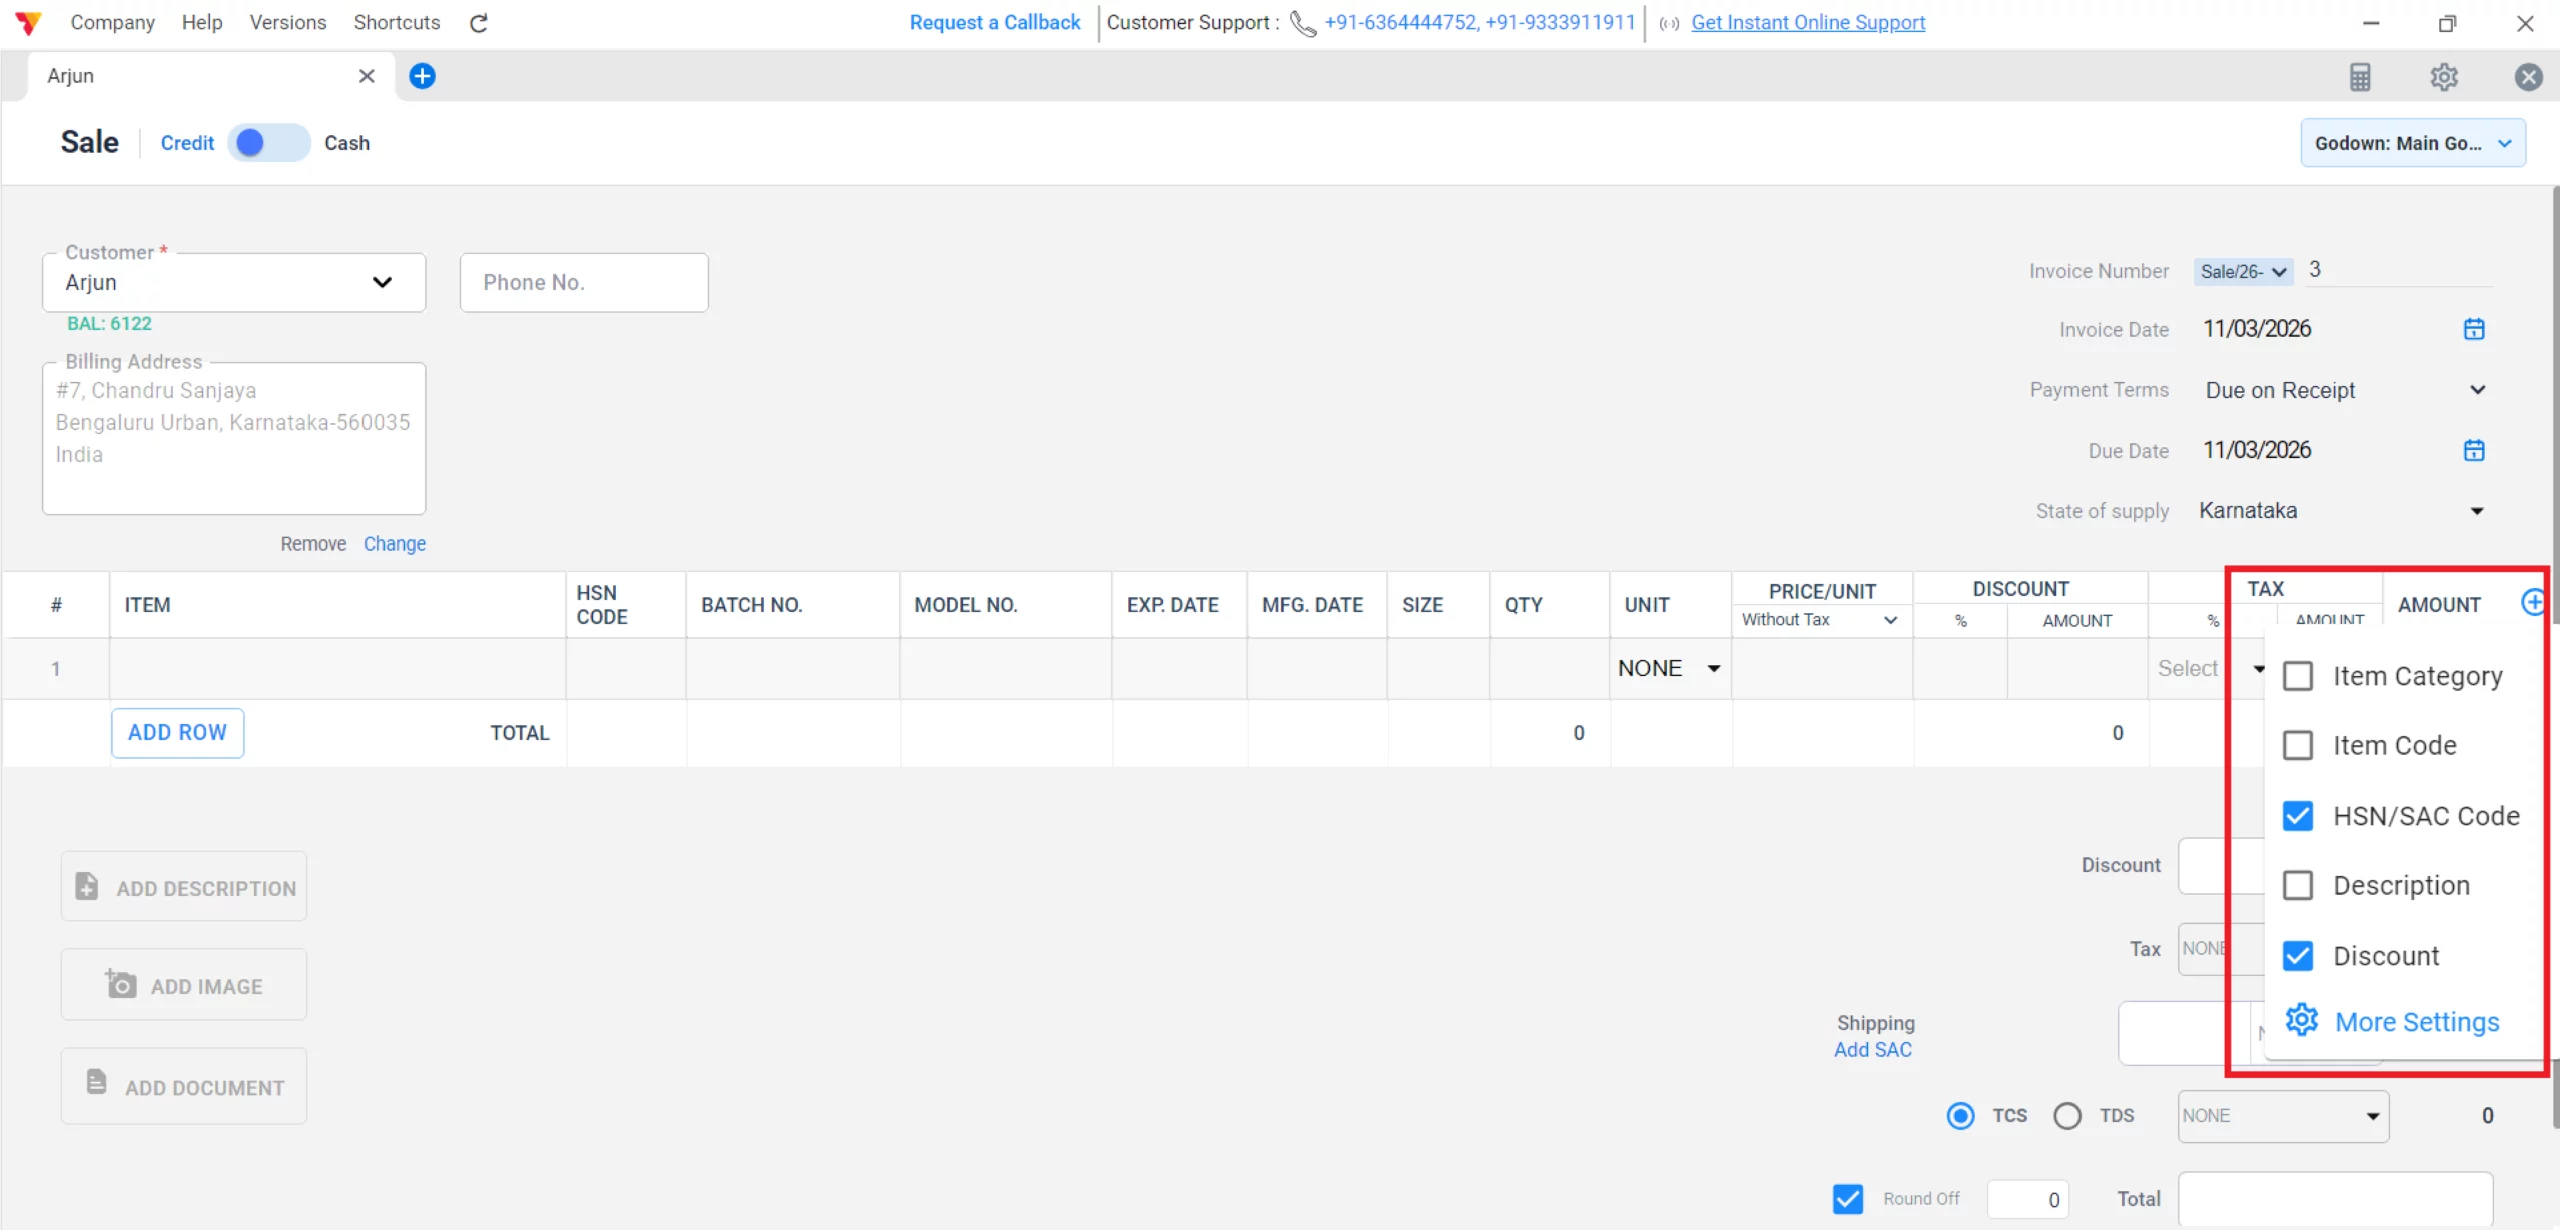
Enable Display for HSN/SAC, GST, Discount
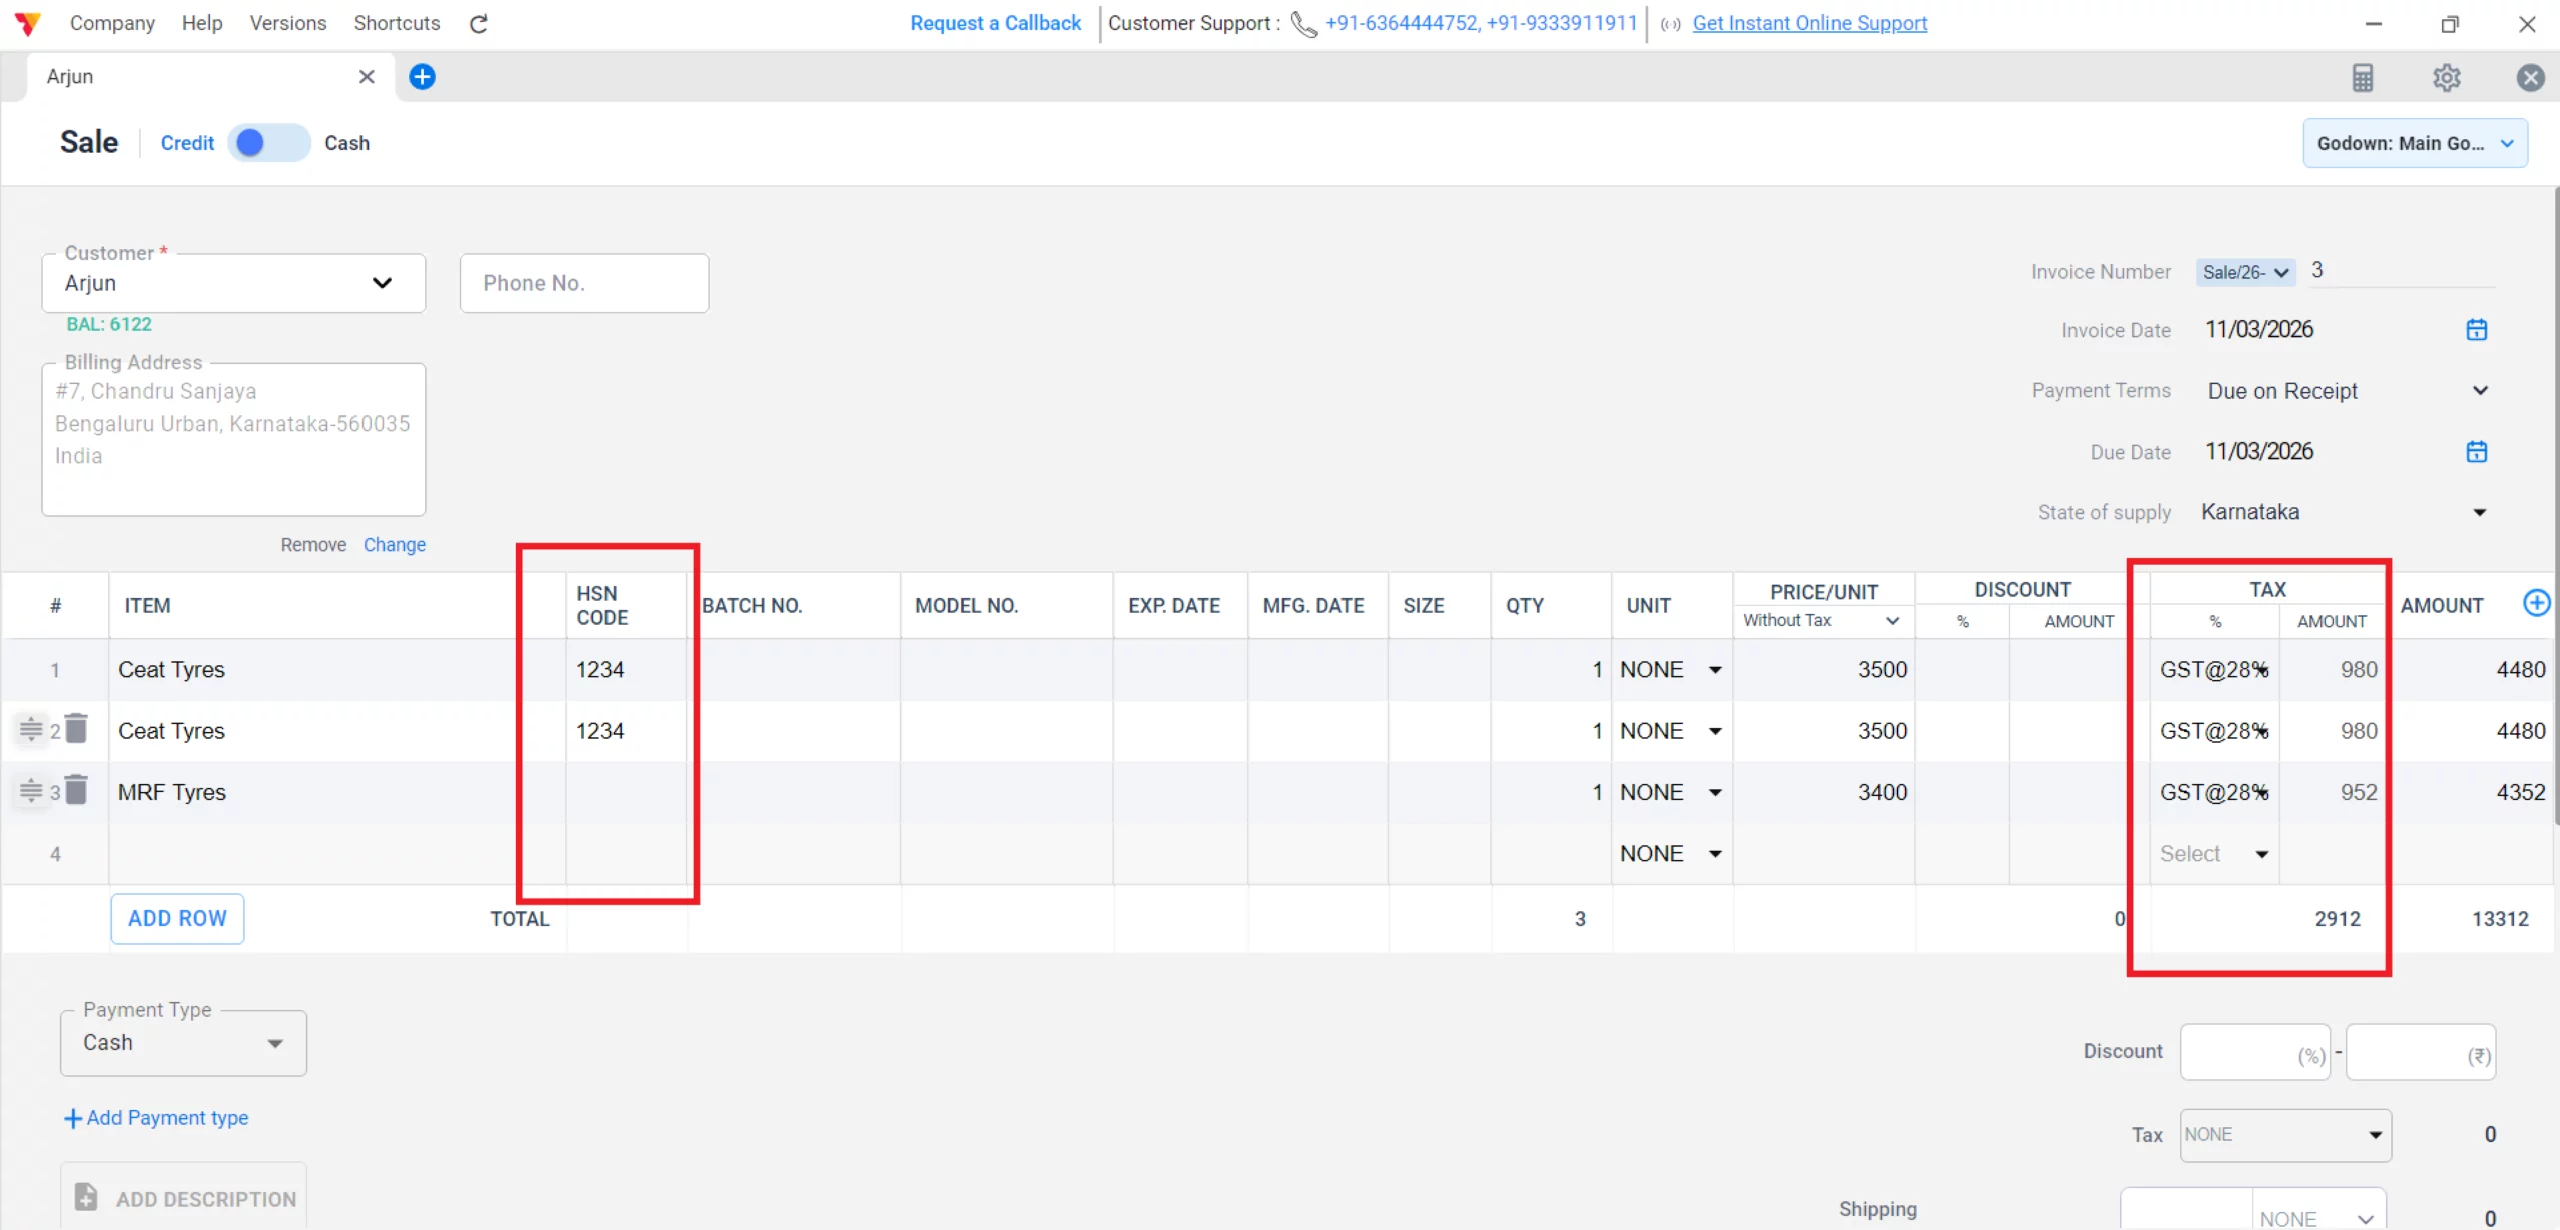
Click on + on the top right corner in Item Table and check in for HSN/SAC, Discount and GST to check & update while billing
09
Add Items to Invoice
Click Add Items and select the products or services. The app will automatically apply the pre-set GST rate and HSN code.
10
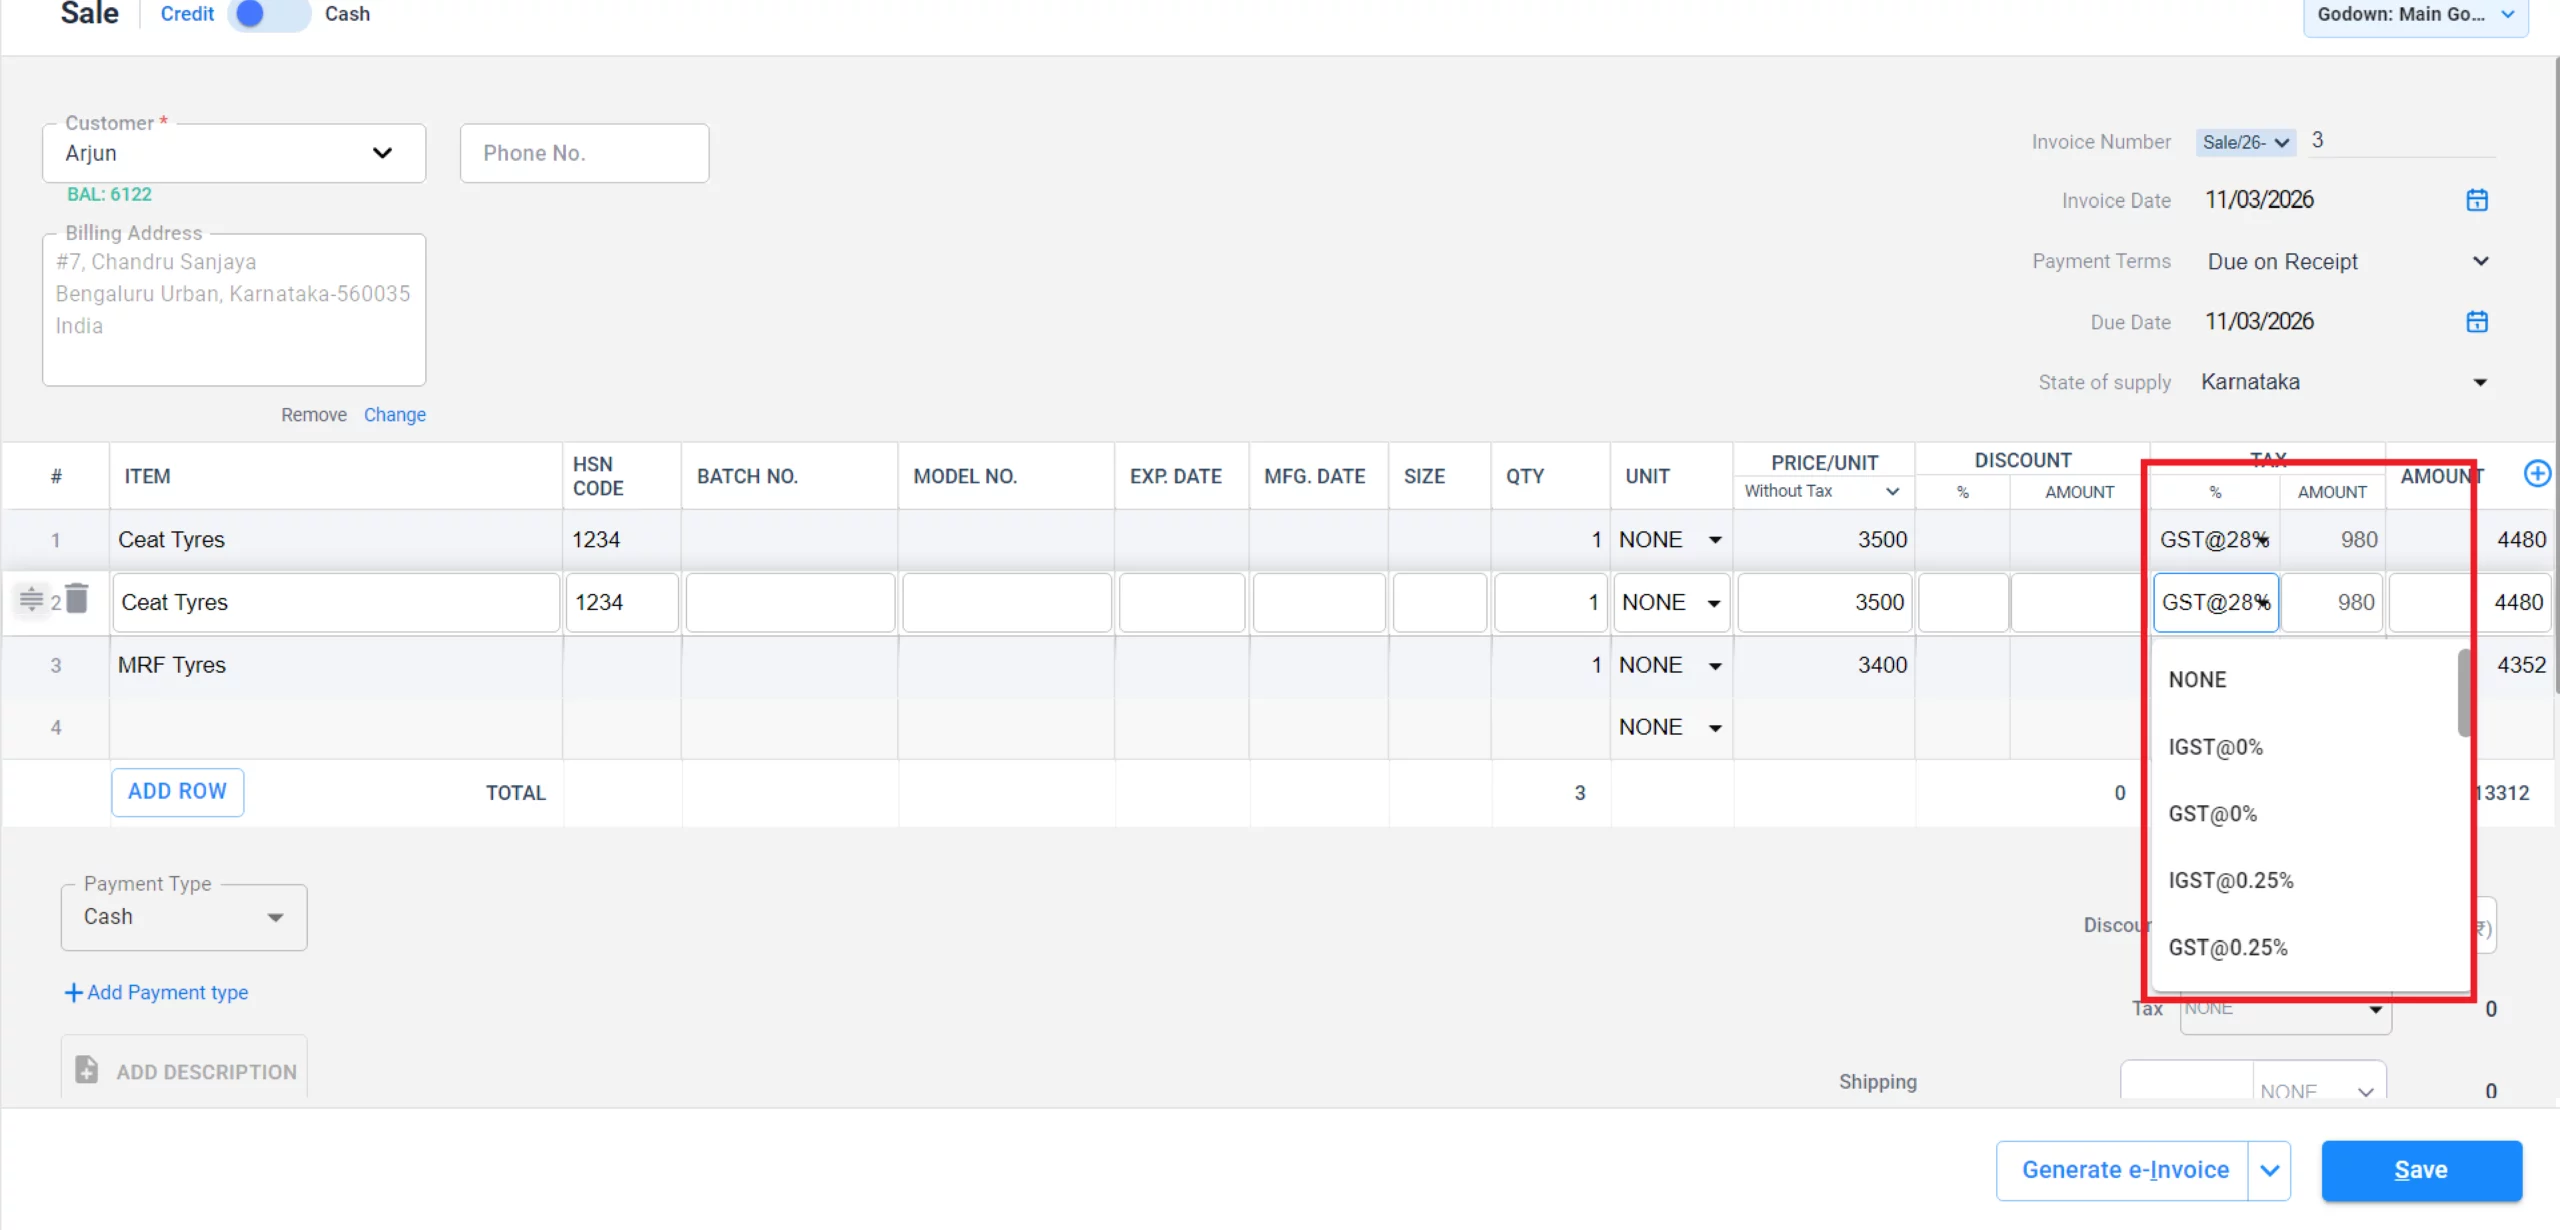
Verify Tax Type
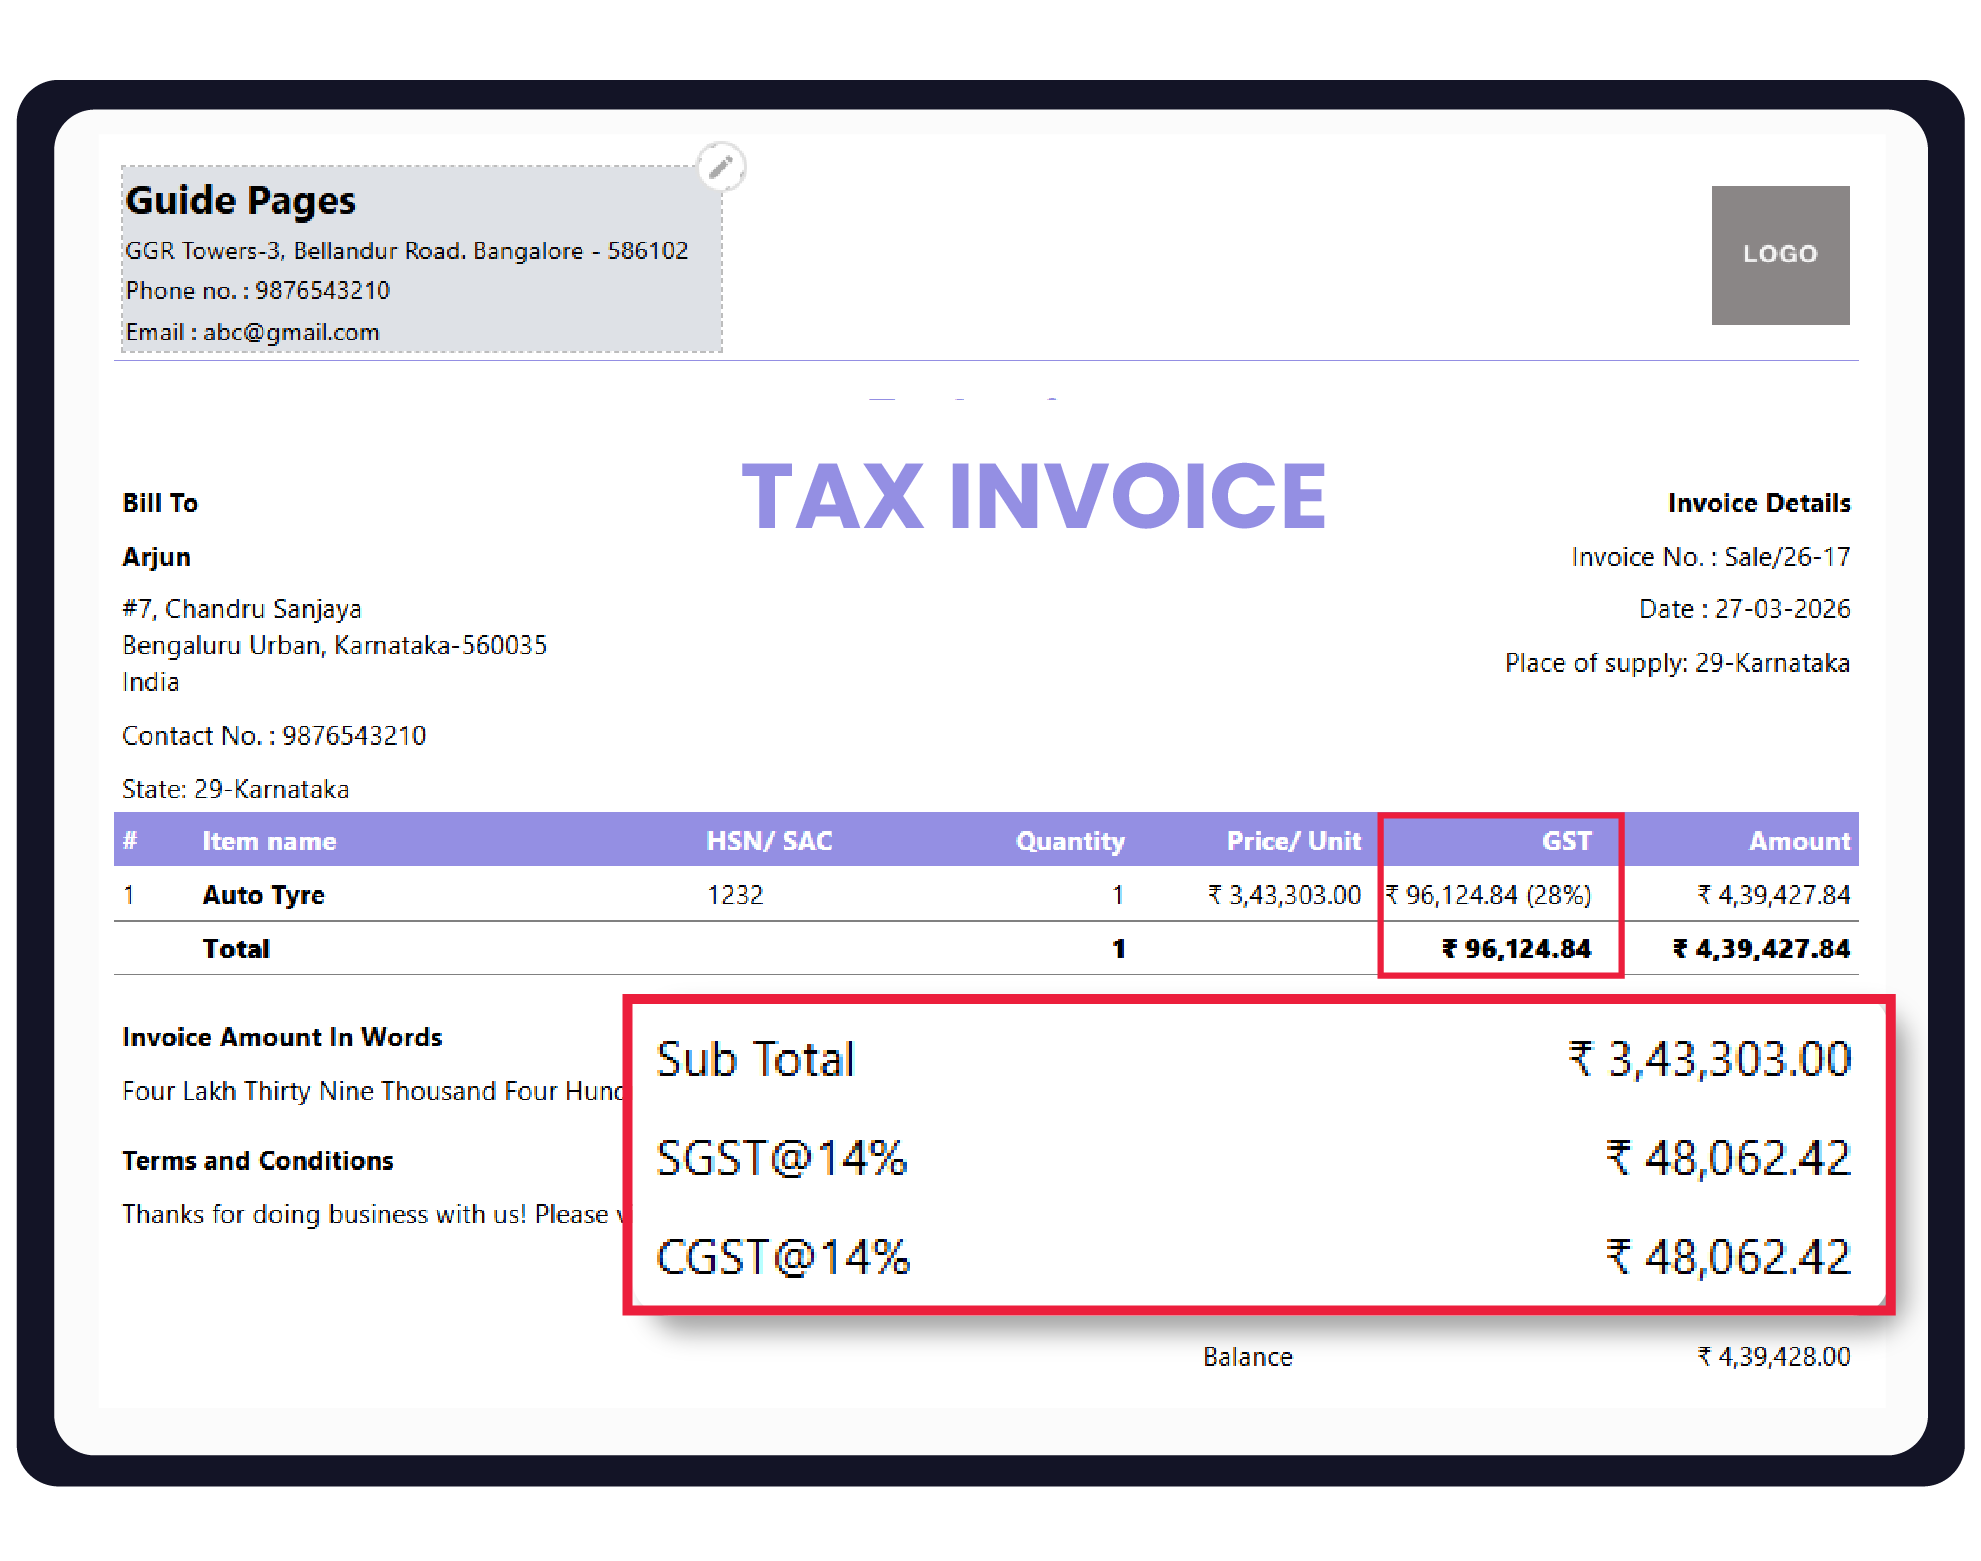
Check the tax calculation at the bottom. The app automatically applies GST (CGST & SGST combined) for local sales and IGST for inter-state sales based on the “Place of Supply.”
11
Review and Save
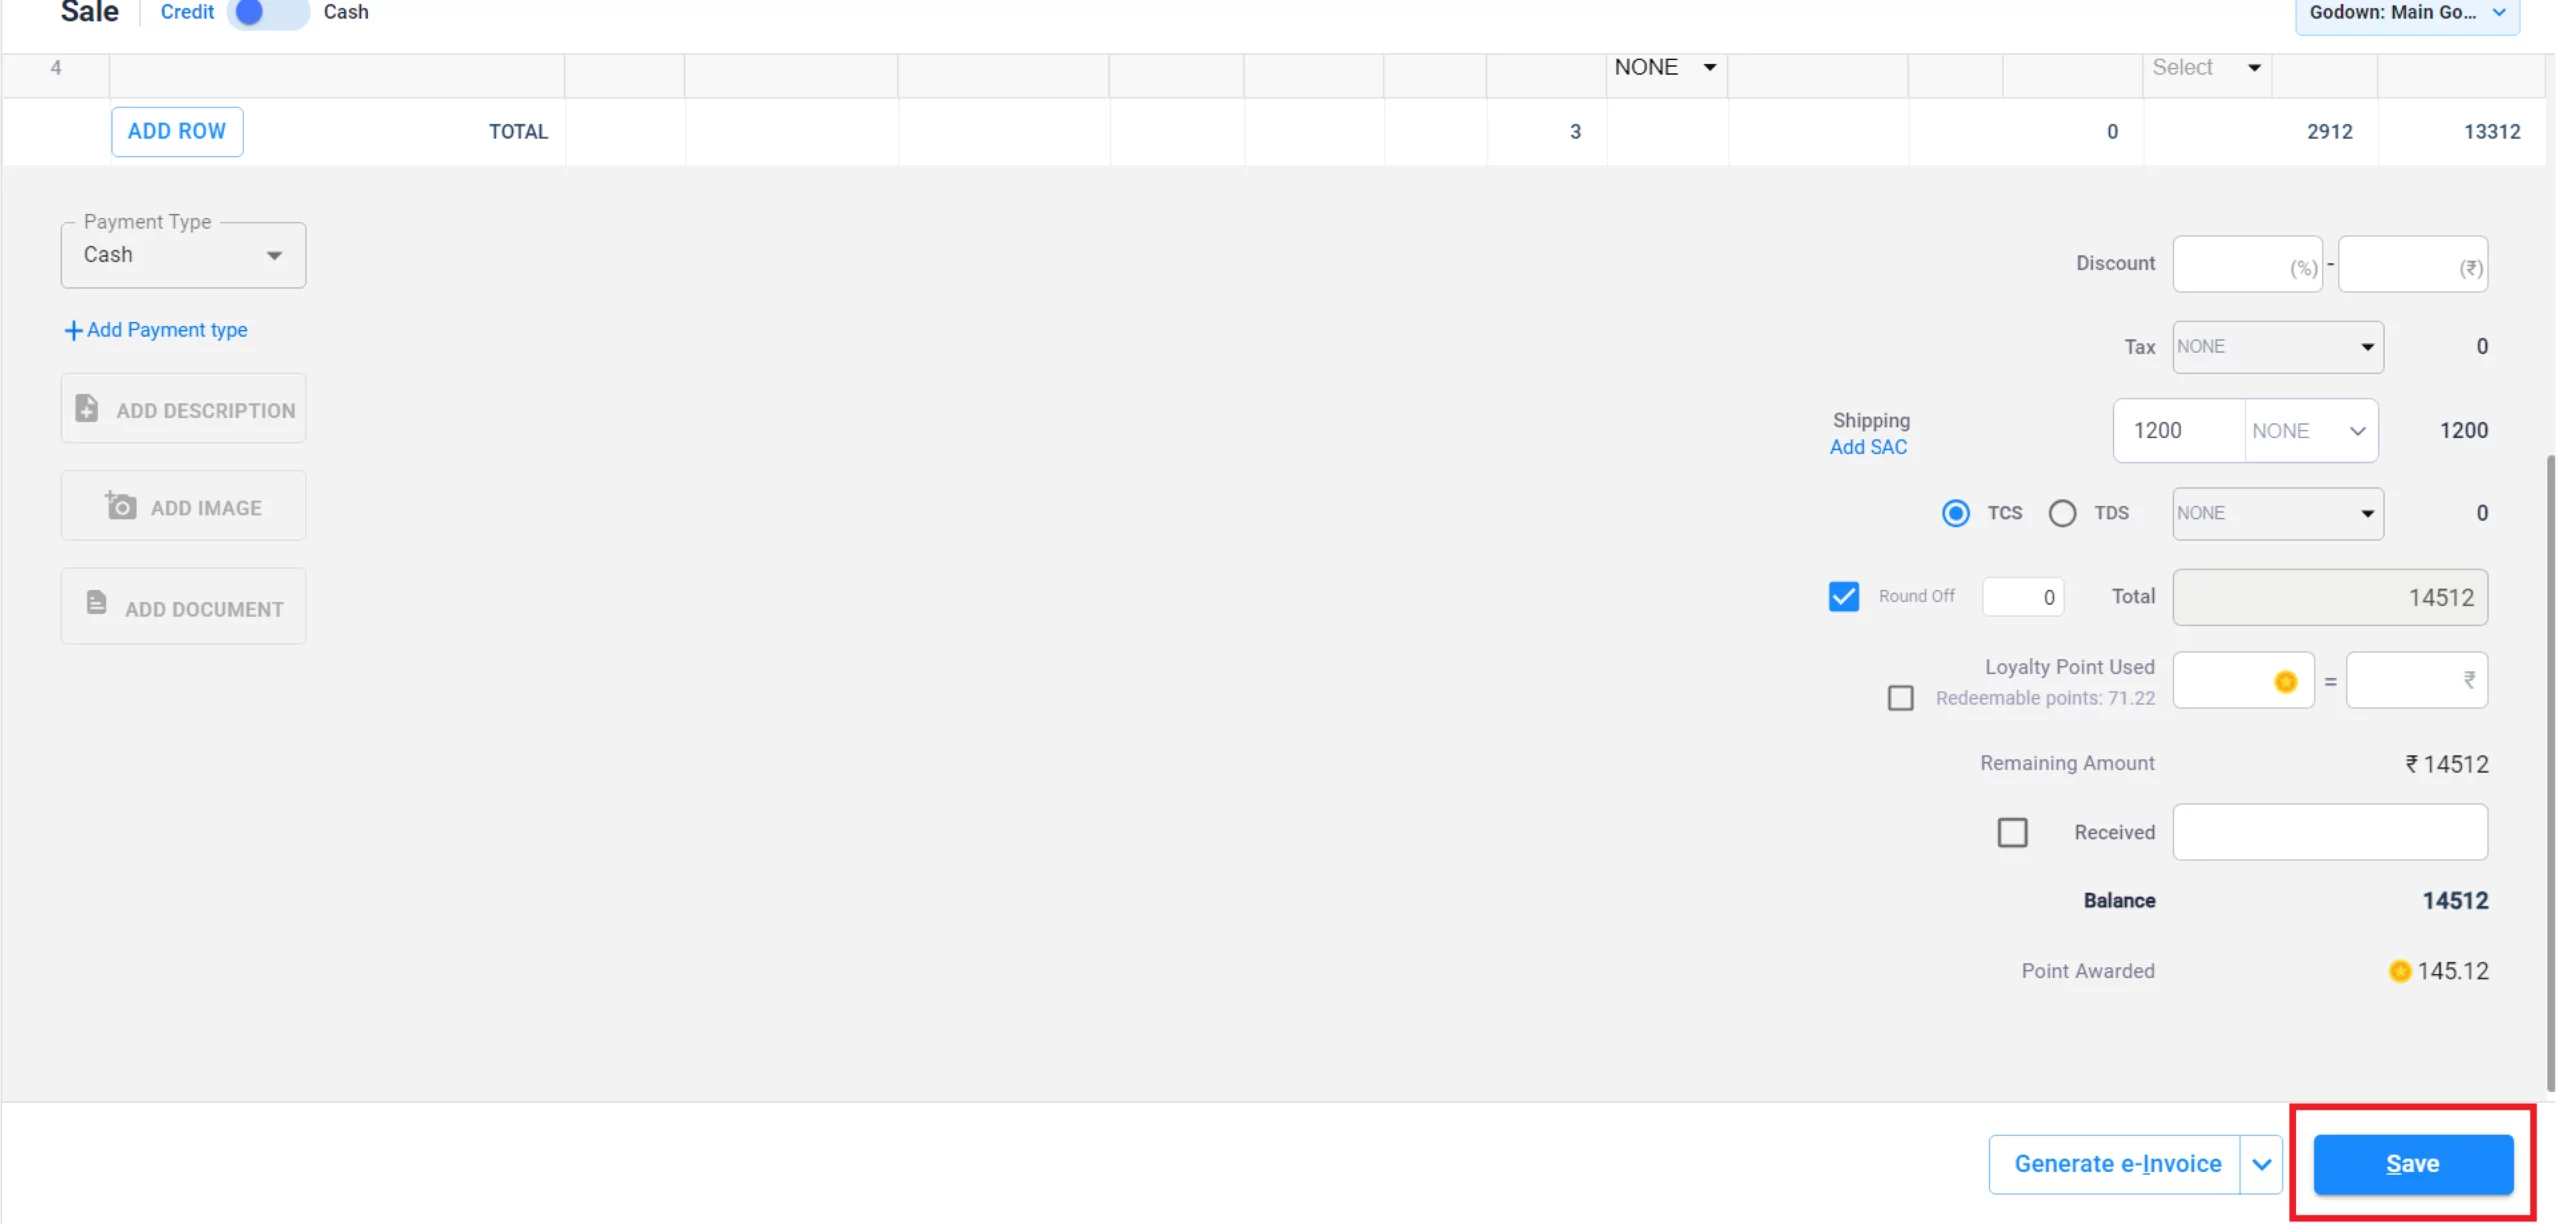
Add any additional charges (like shipping or packaging), review the total amount, and click Save.
12
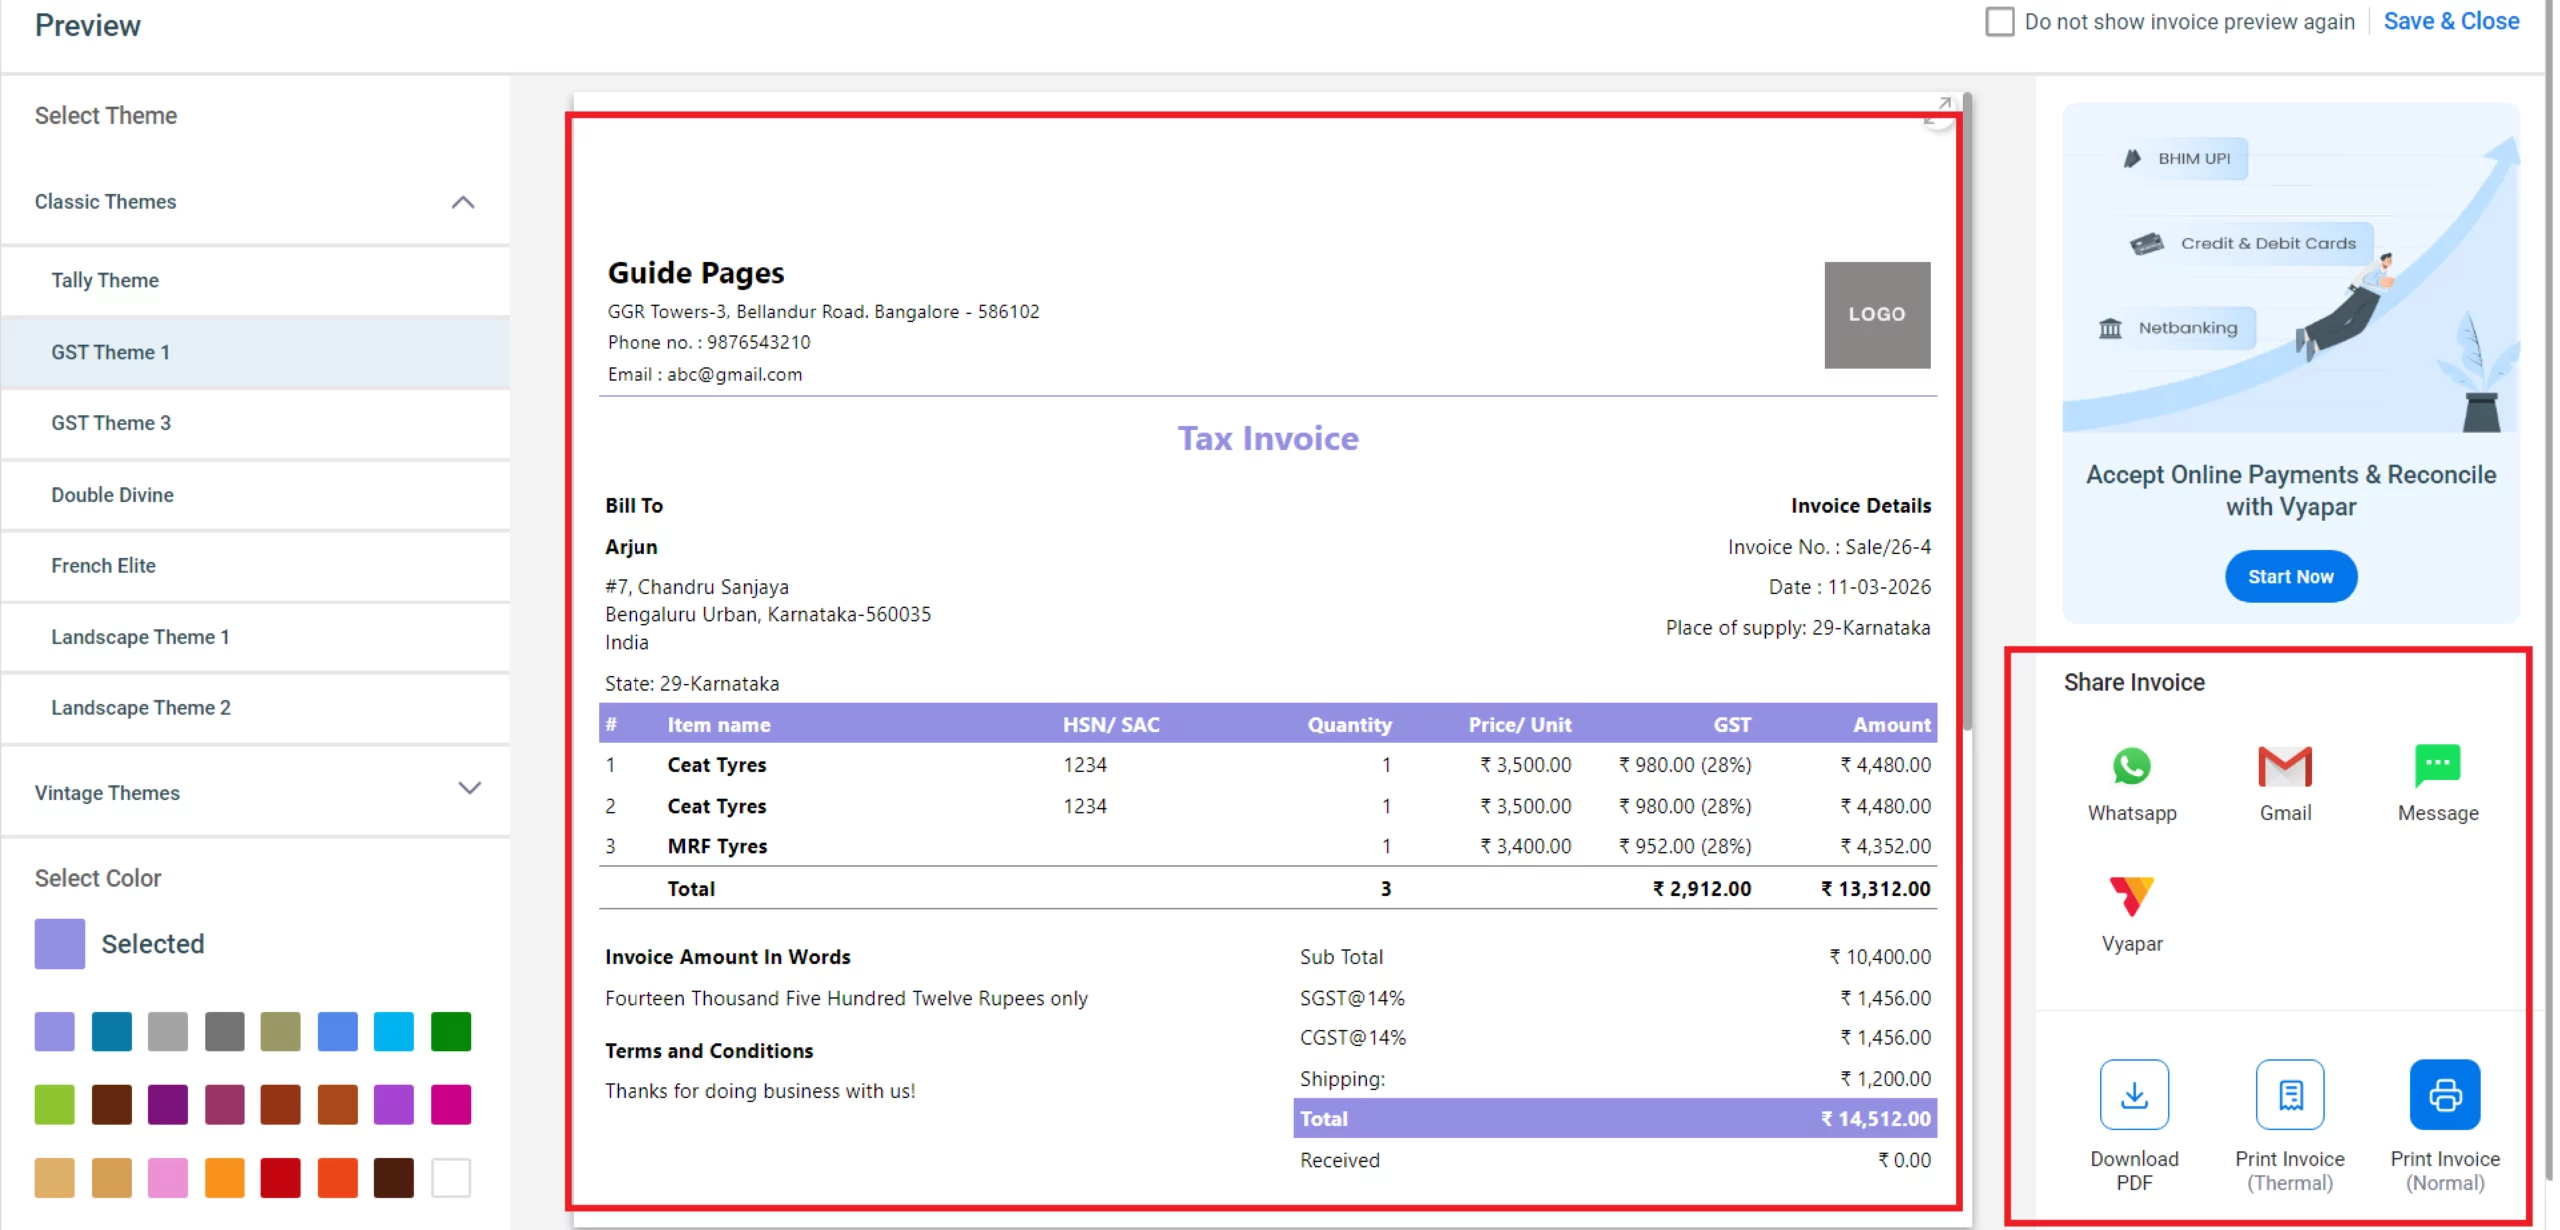
Share/Print Invoice
Once saved, click Print to get a hard copy or select Share to send the GST invoice directly via WhatsApp or Email.
13
Watch Step-by-Step Video Guide to Create GST Invoice
Create GST Invoice: Desktop Guide.
Still stuck? Get help in minutes.
Our support team is ready to help you succeed.
![]()
![]() 24/7 Support
24/7 Support
Why Is This Important for Your Business?
Using a dedicated GST billing tool like Vyapar provides several strategic advantages:

Error-Free Calculations
Eliminates manual calculation mistakes, ensuring your tax liability is always accurate with Vyapar GST billing software
ITC Eligibility
Professional GST invoices allow your B2B clients to claim Input Tax Credit, making them more likely to do business with you.
Simplified Filing
Since every invoice is recorded with the correct tax break-up, generating GSTR-1 and GSTR-3B reports becomes a one-click process.
Frequently Asked Questions (FAQs)
How does Vyapar decide between CGST/SGST and IGST?
It is based on the “State” selected in your Business Profile versus the “State” in the Customer’s profile. If they match, it applies CGST/SGST; if they differ, it applies IGST.
Can I change the GST rate for a single transaction?
Yes. While the default rate comes from the Item settings, you can manually click on the tax percentage within the sale window to adjust it for that specific invoice.
Can I create a Bill of Supply for exempt goods?
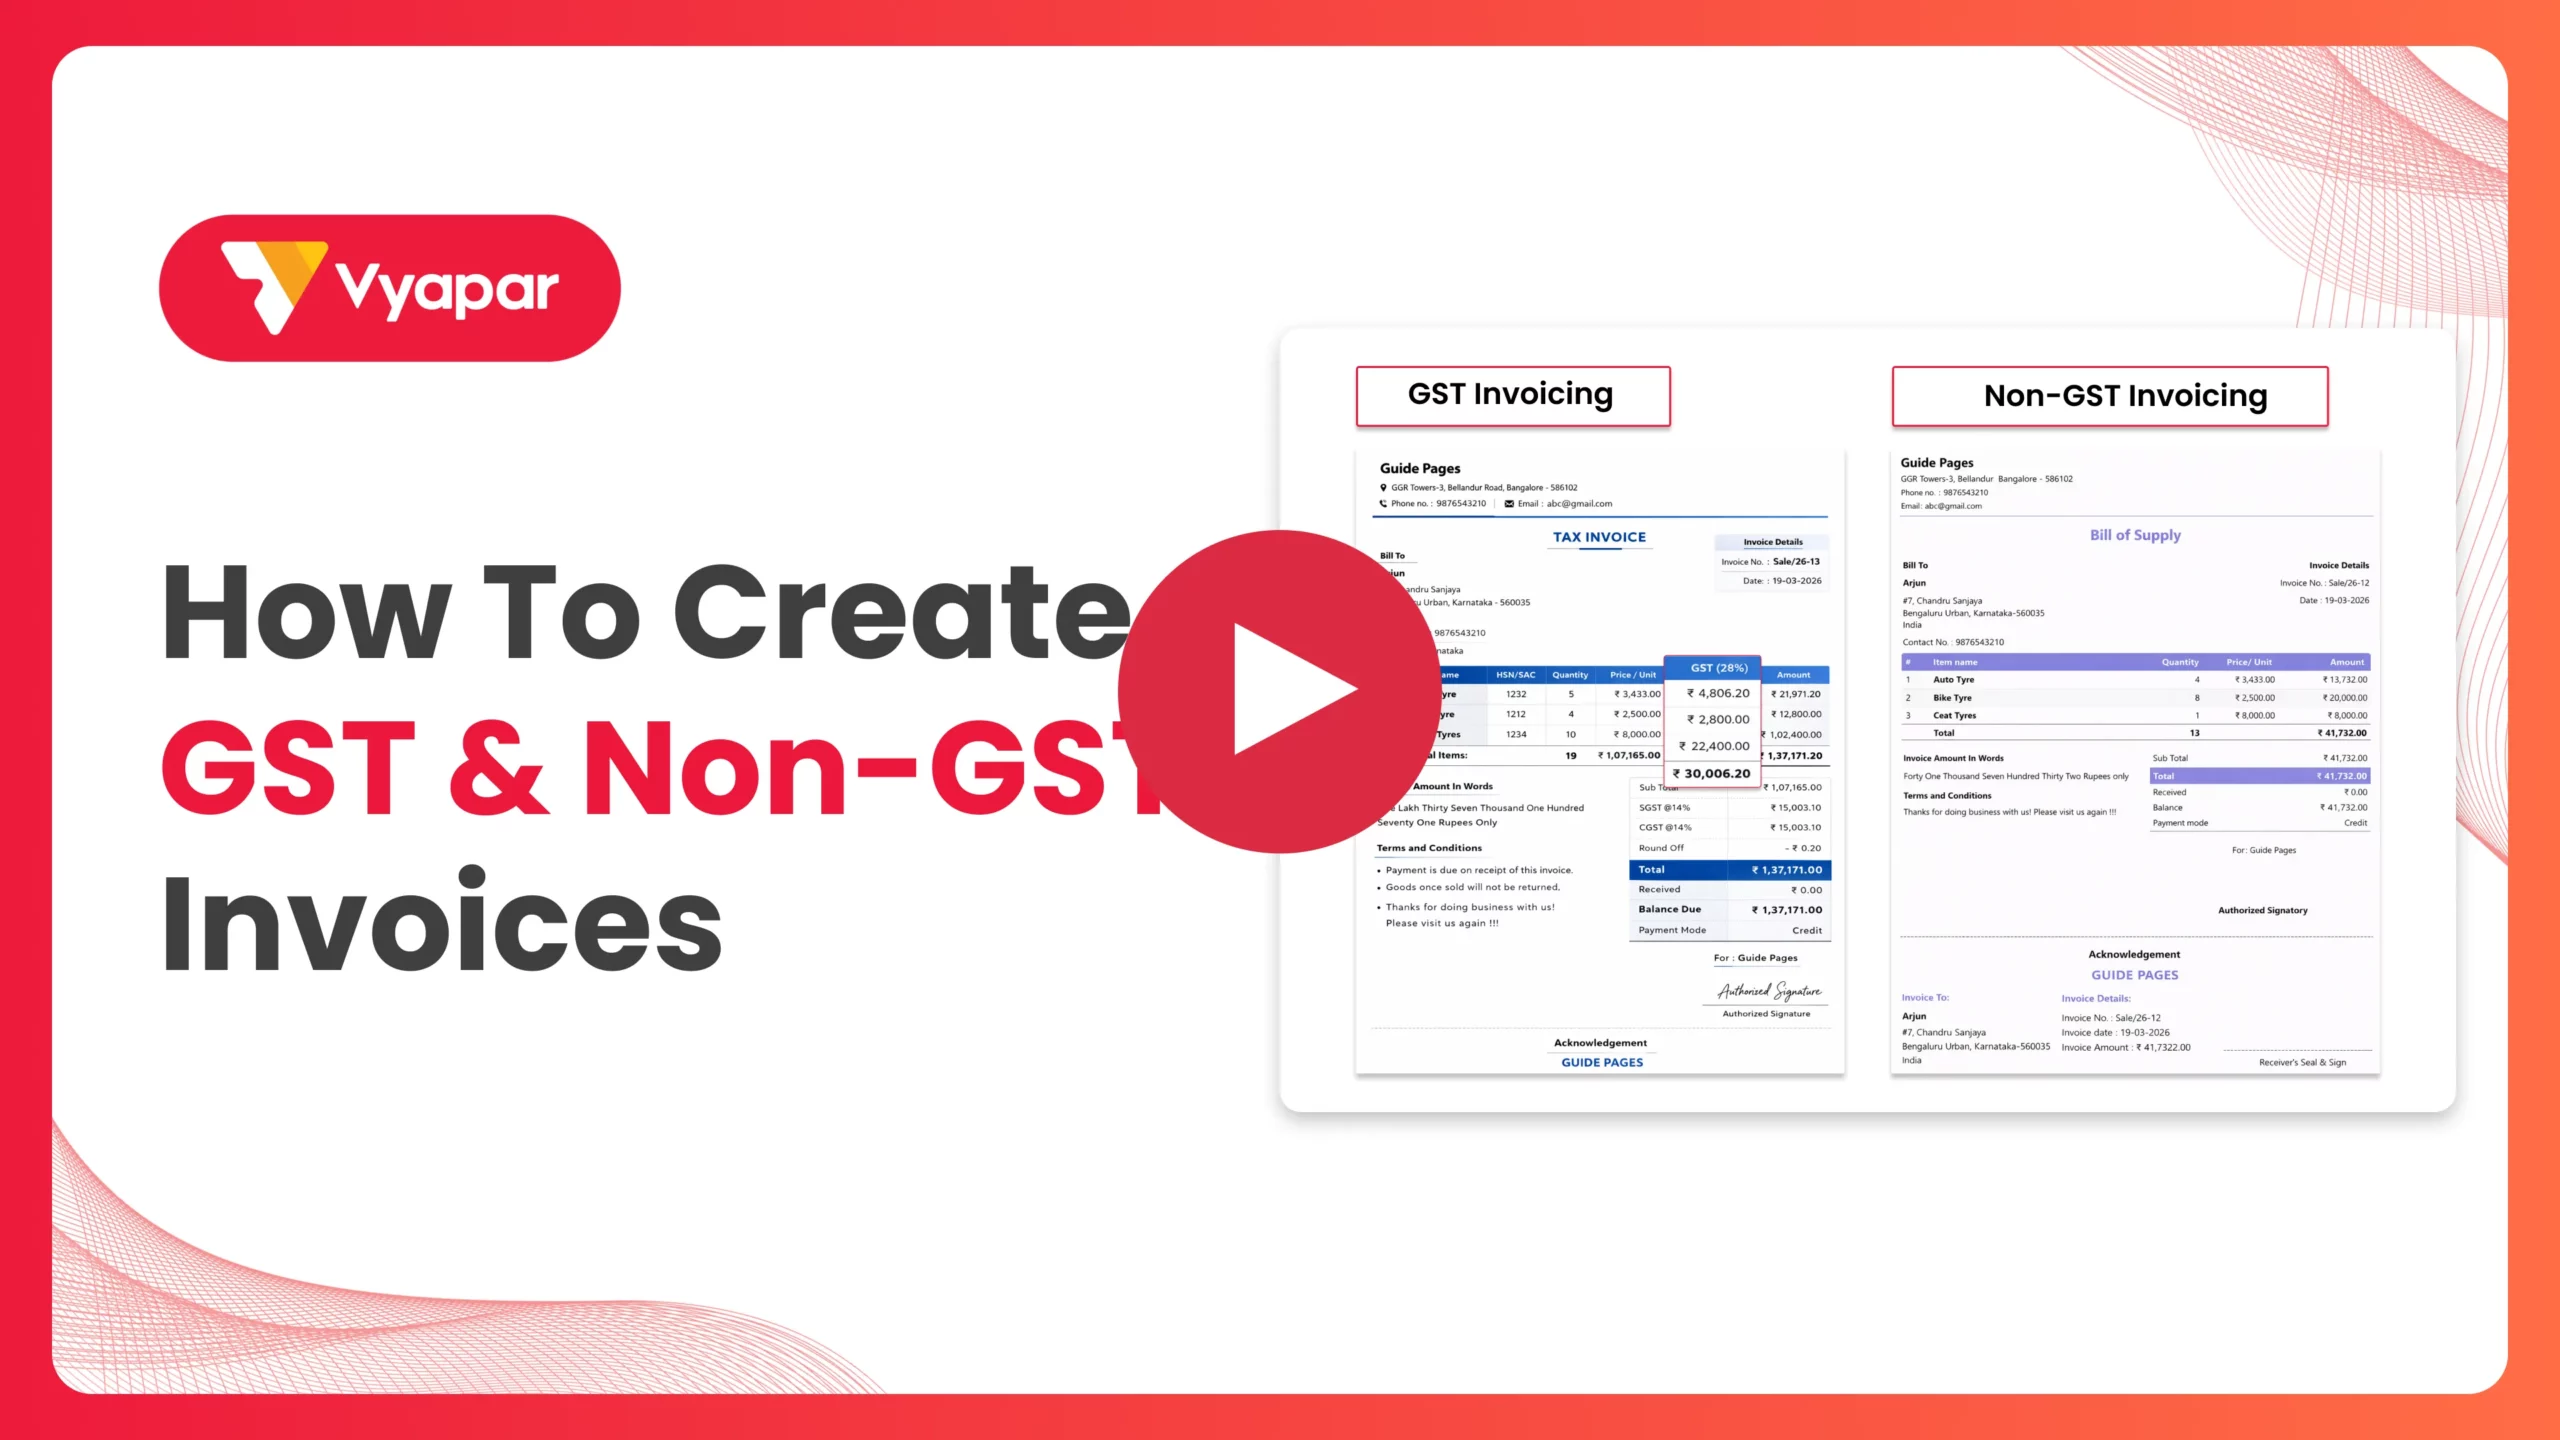
Yes. If you are a Composition Dealer or selling Exempted goods, Vyapar will automatically format the header as “Bill of Supply” instead of “Tax Invoice” based on your GST & Print settings.
Is it possible to add a signature to the invoice?
Absolutely. Go to Settings > Print, upload your signature image, and it will appear at the bottom of every invoice you generate.
Ready to Stop Tax Stress?
Start GST/TAX invoicing today and cut your filing time by 50%.


