How to Set Up Bank Details and Payment Integration in Vyapar?
Vyapar allows you to combine traditional banking information with modern digital payment tools. By integrating both, you ensure that whether a customer prefers a manual bank transfer (NEFT/IMPS) or an instant scan-and-pay (UPI), all the necessary information is printed directly on your invoice.
Follow this simple guide to add your payment details once and have them appear automatically on every invoice you generate.

Before You Start

Accurate Banking Info: Have your Account Number, IFSC, and Bank Name ready.
UPI Credentials: Ensure you have a valid UPI ID for instant QR generation.
Feature Check: Decide if you want these details to appear on both print and digital versions of your invoices.
How to Add Bank Details & Integrate for Payments:
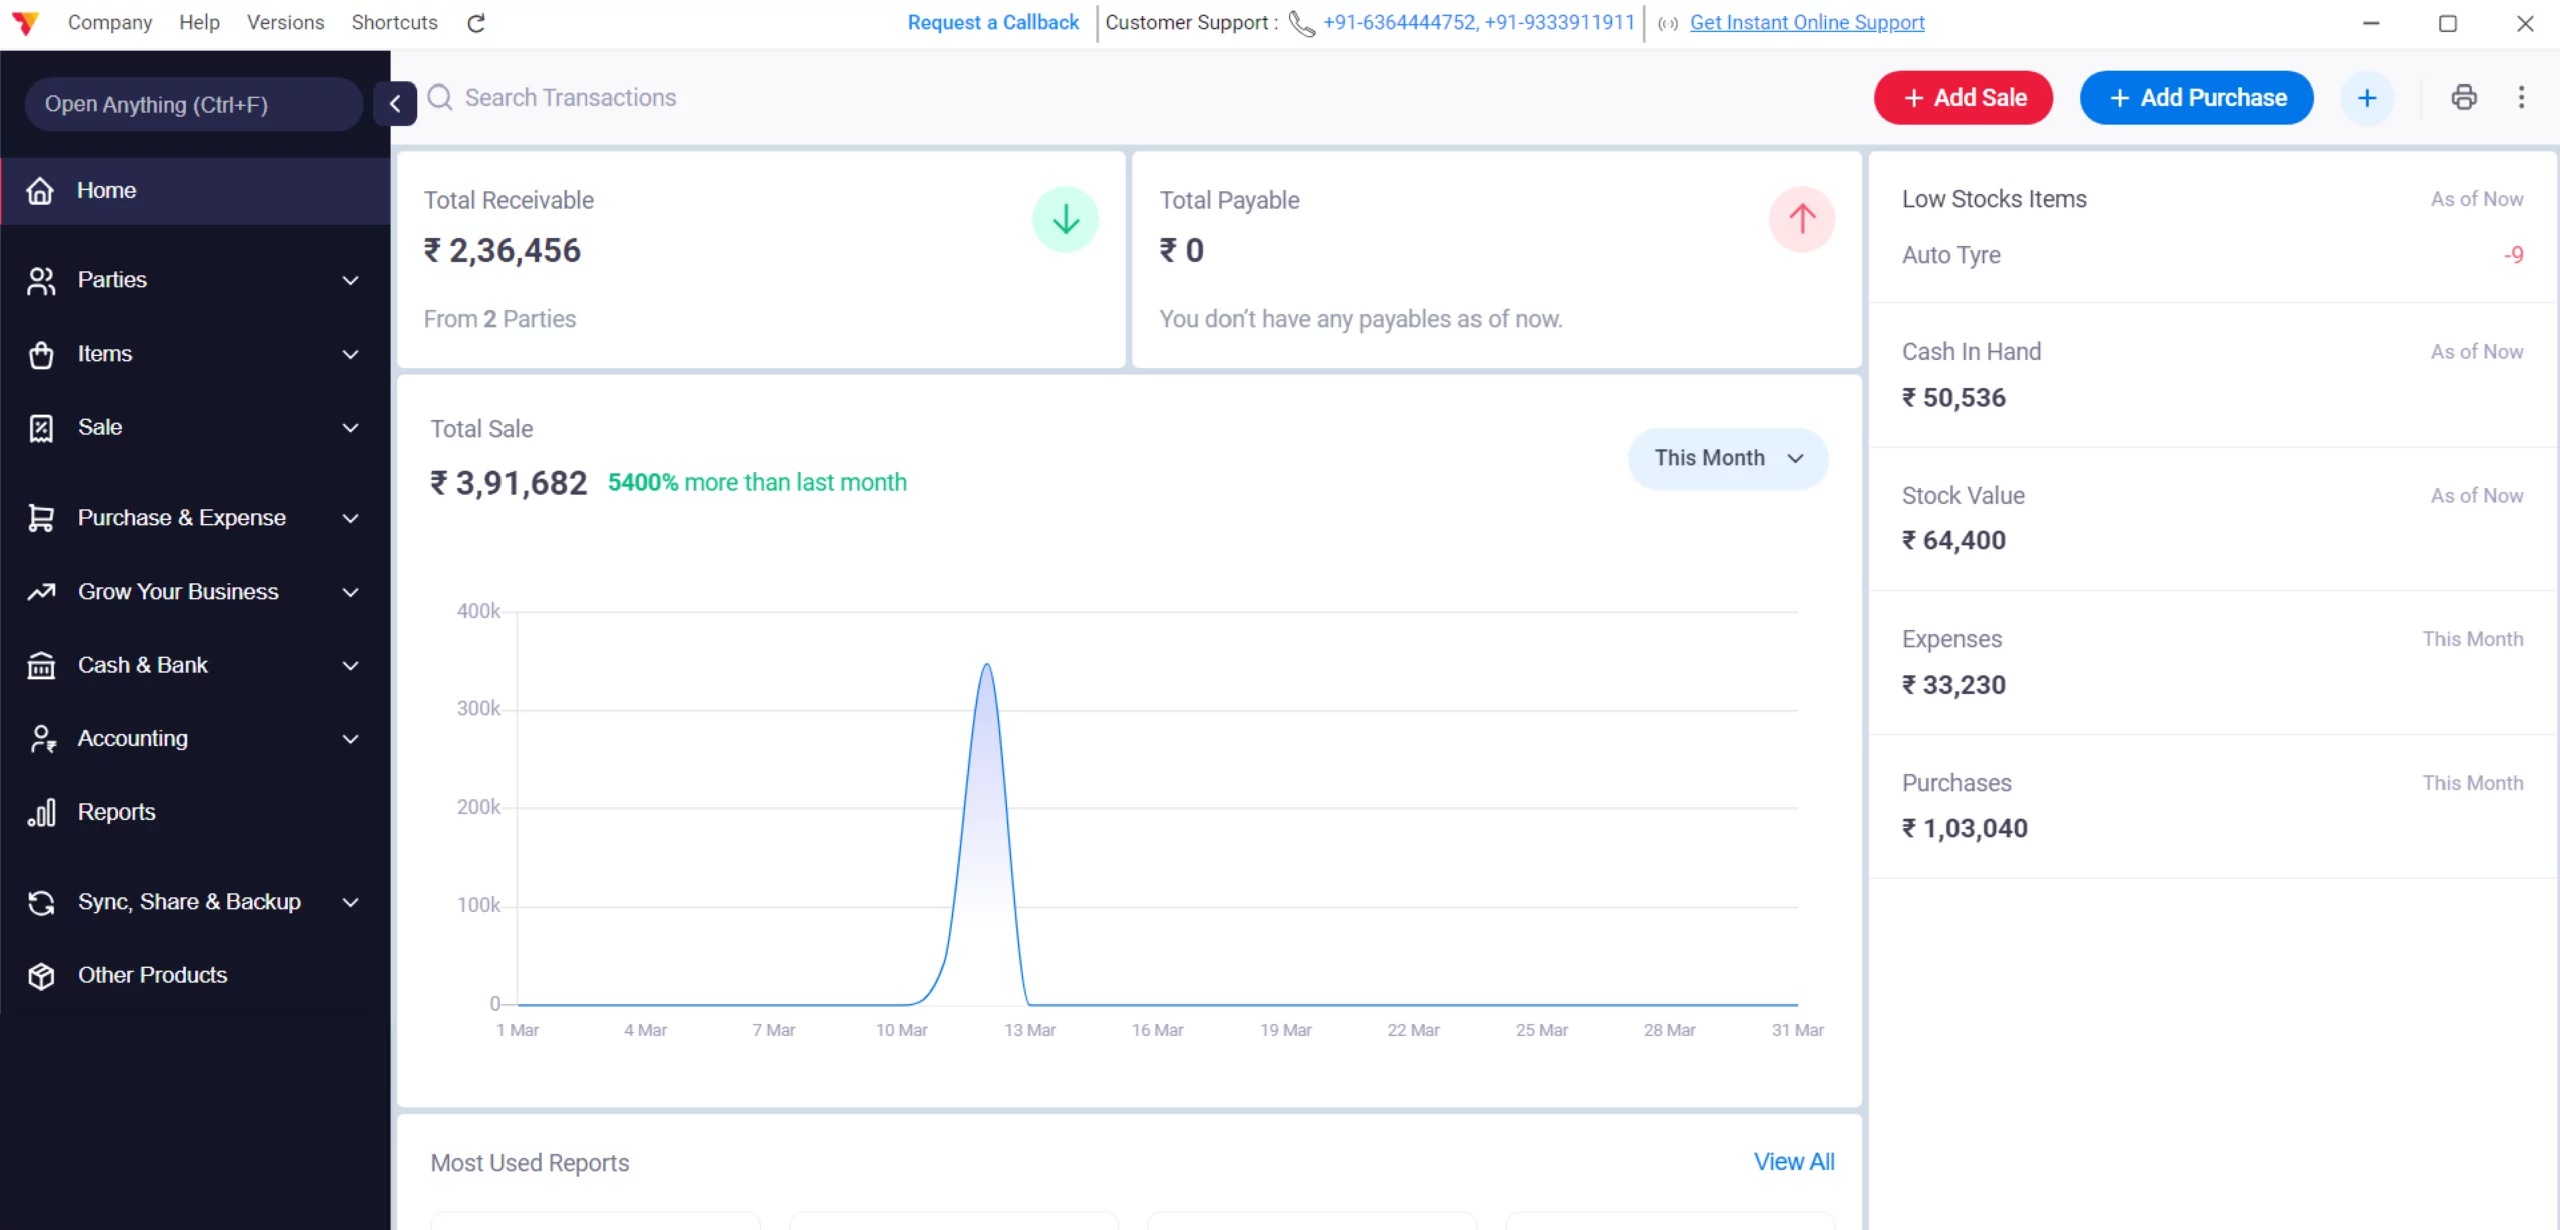
Launch Vyapar App
Open Vyapar billing software on your Desktop.
01
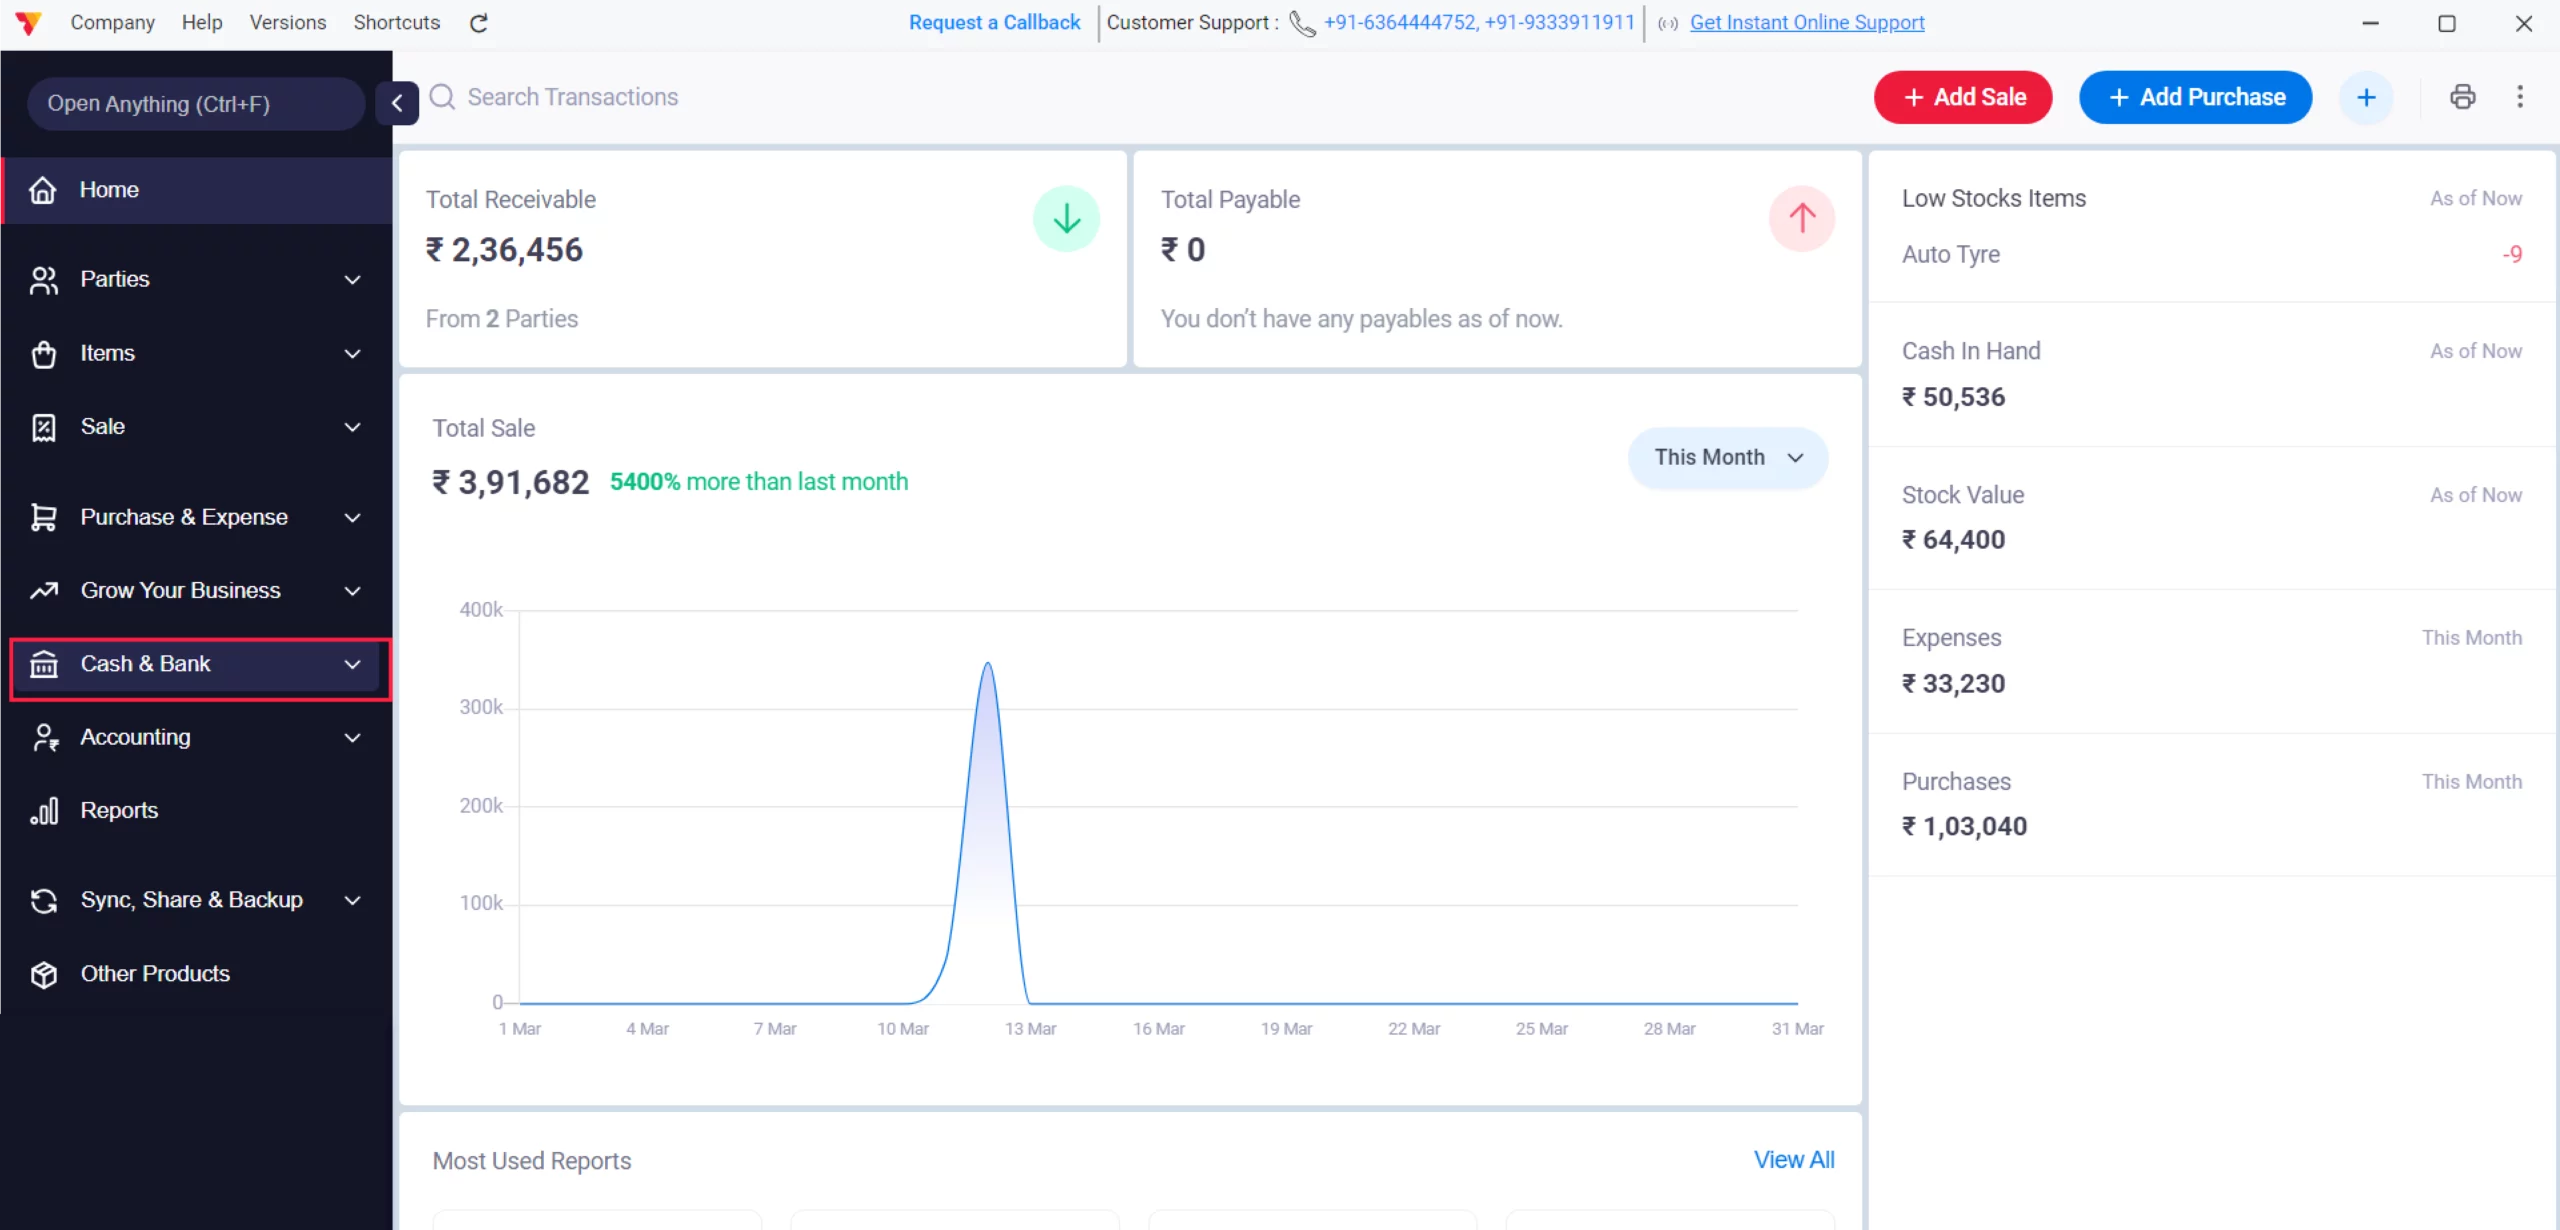
Access Cash & Bank
Navigate to the Left Menu and look for the “Cash & Bank” option, and click on it.
02
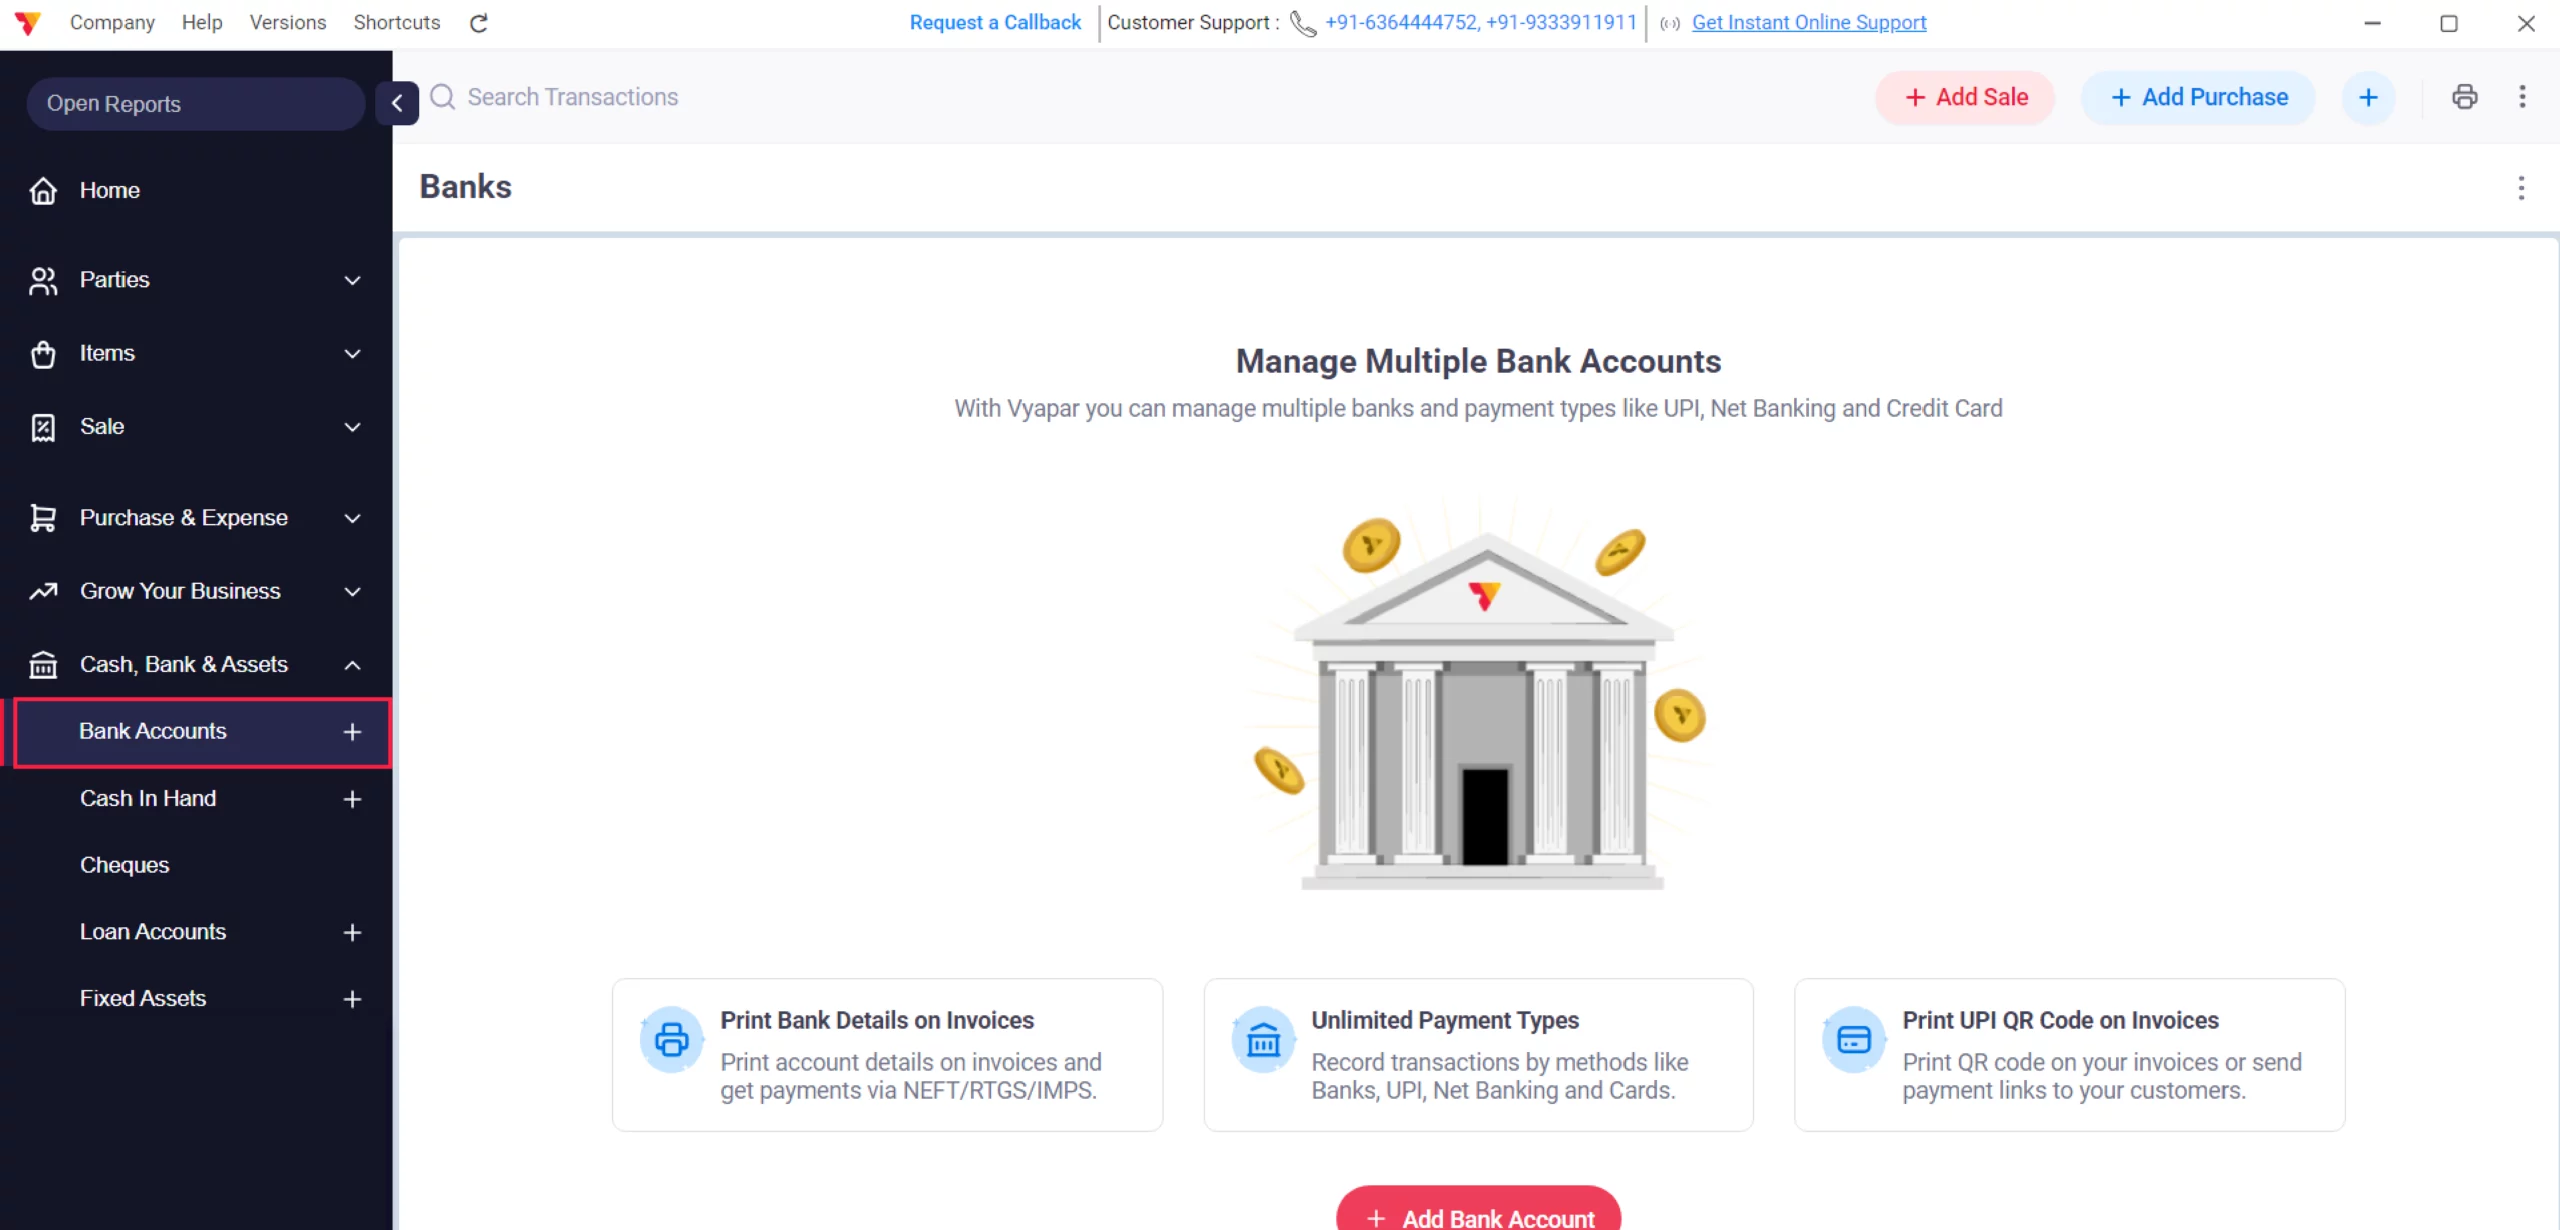
Choose Bank Accounts
Click on the “Bank Accounts” option from the list.
03
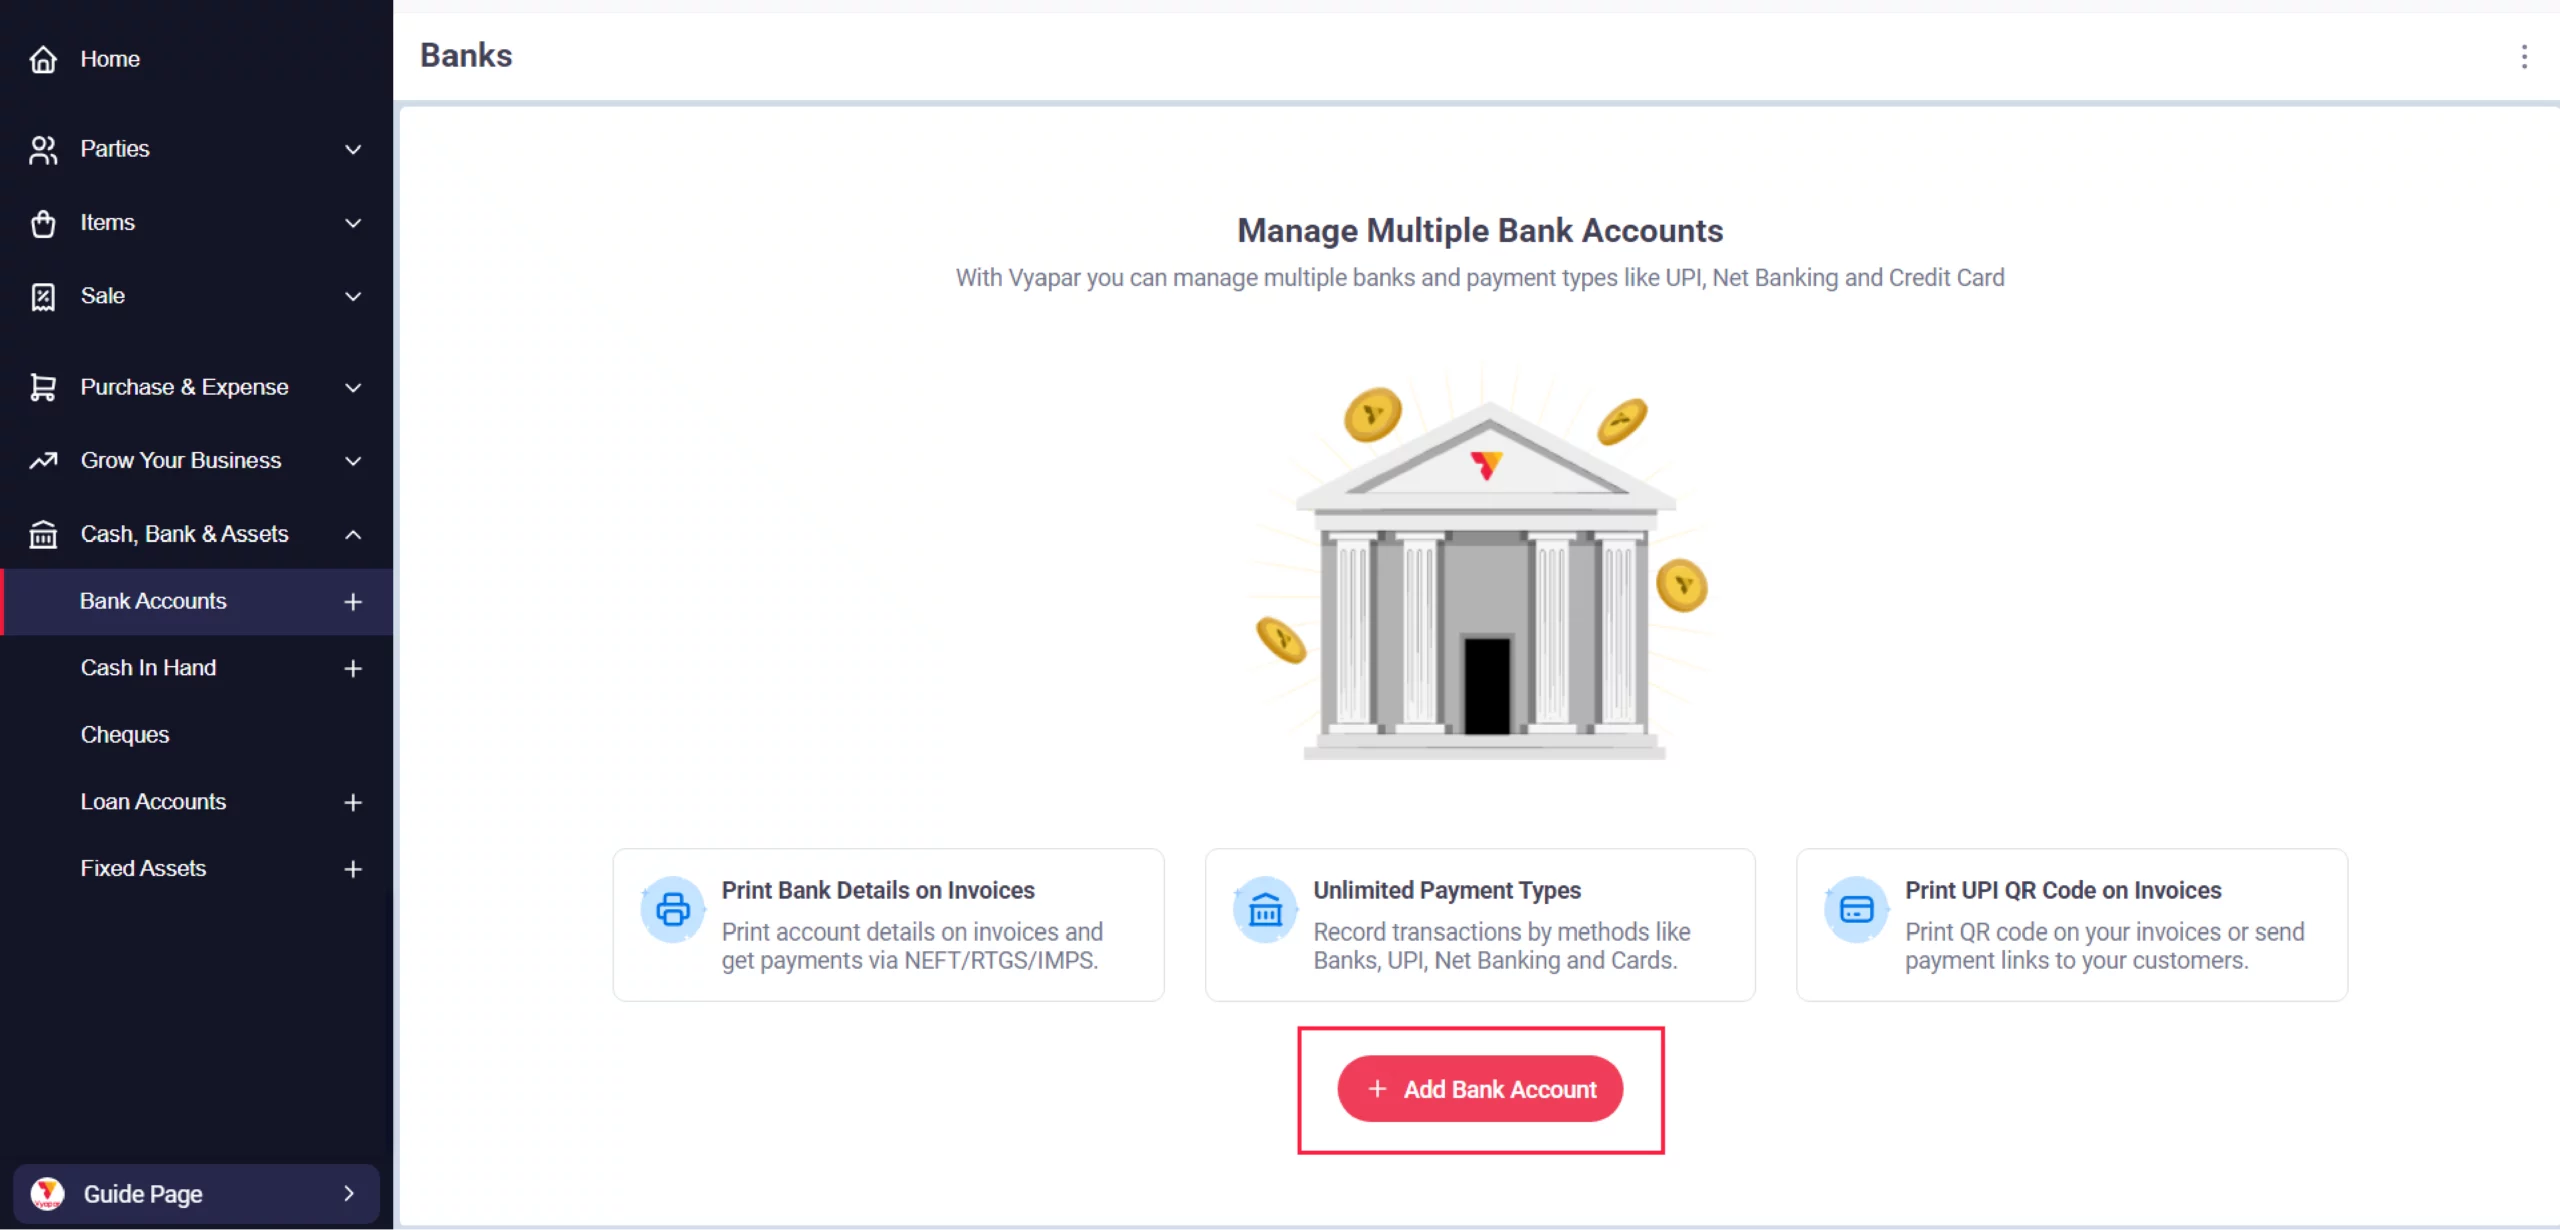
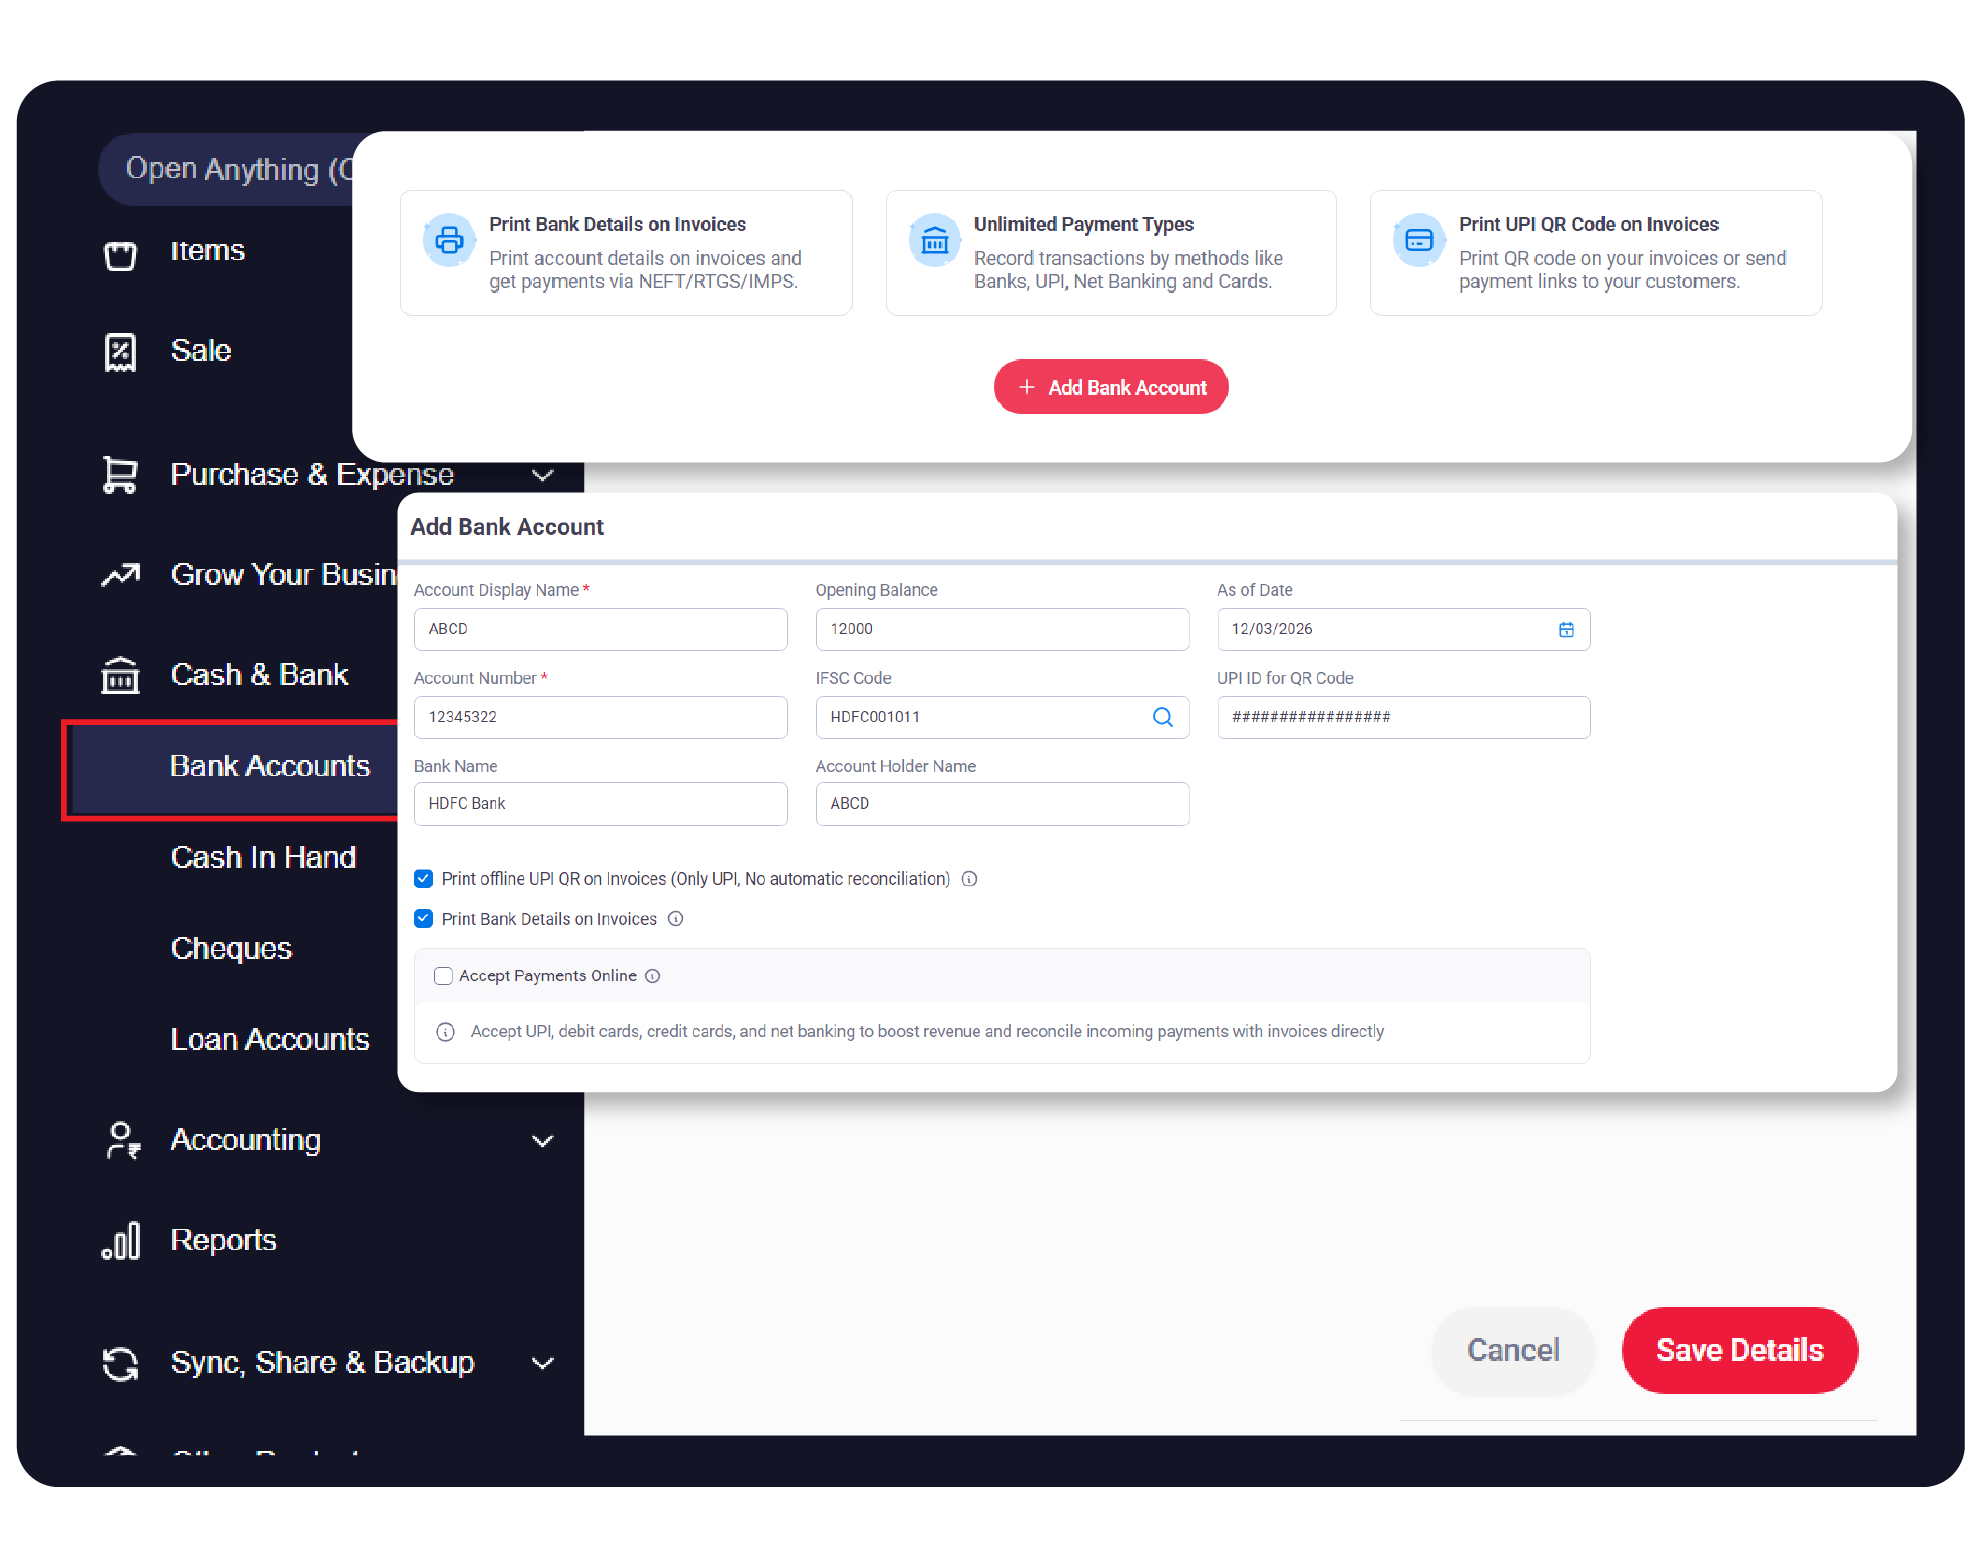
Add Bank Account
Now, click on “+Add Bank Account” from the screen.
04
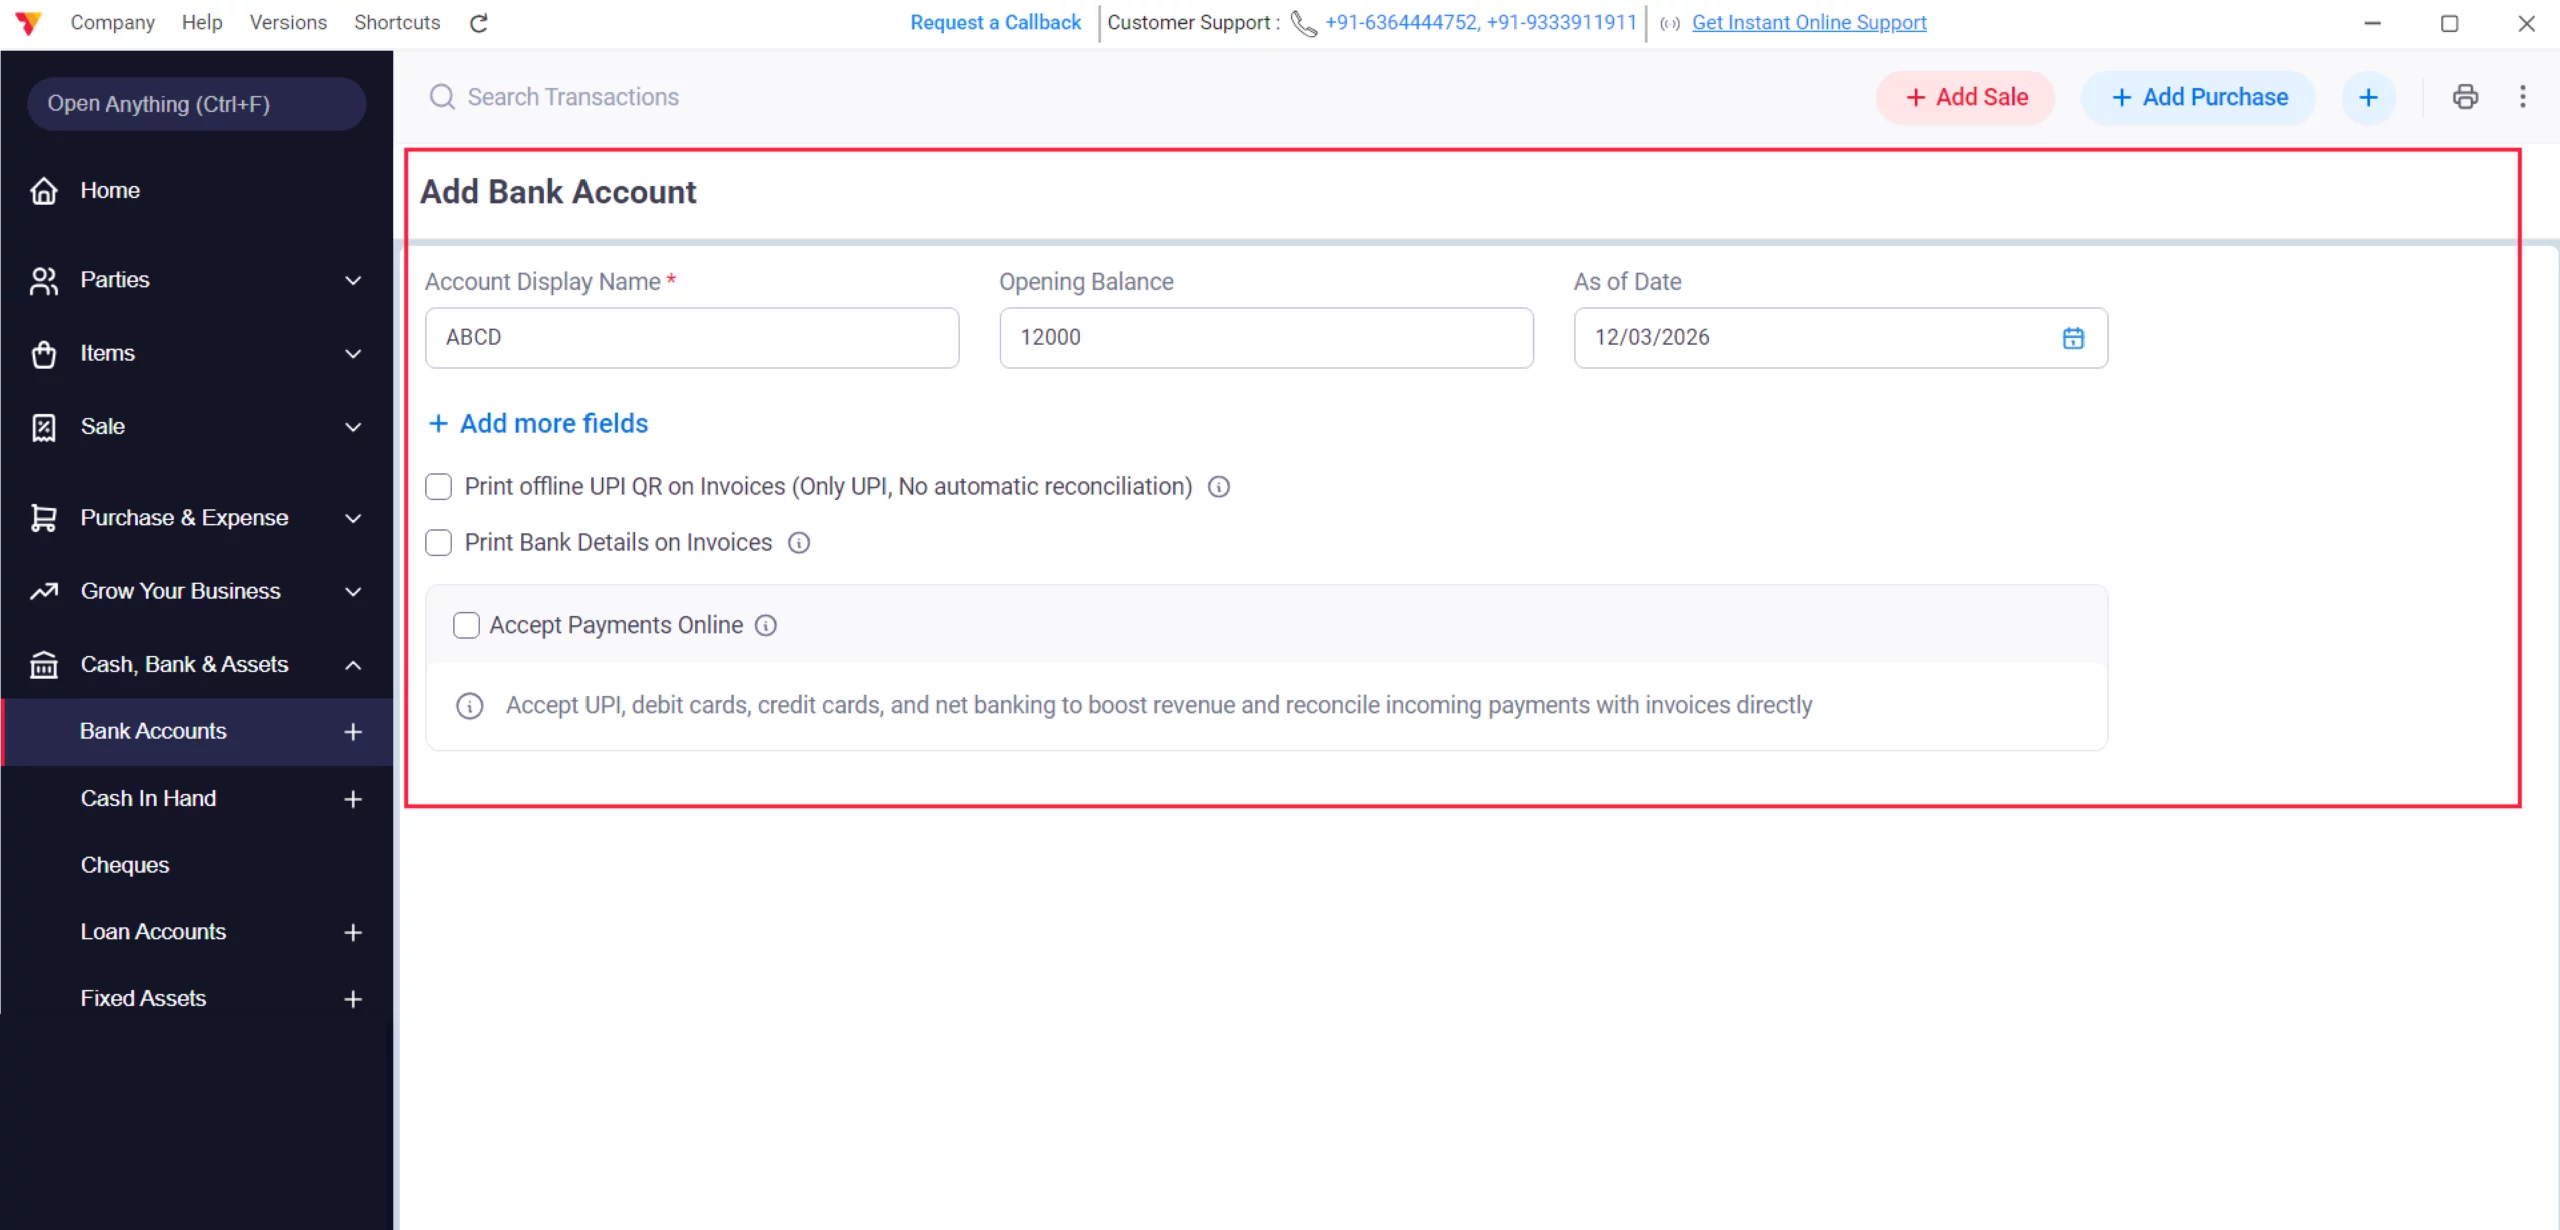
Enter Bank Details
Add all the necessary details, such as account display name, opening balance, and as-of date.
05
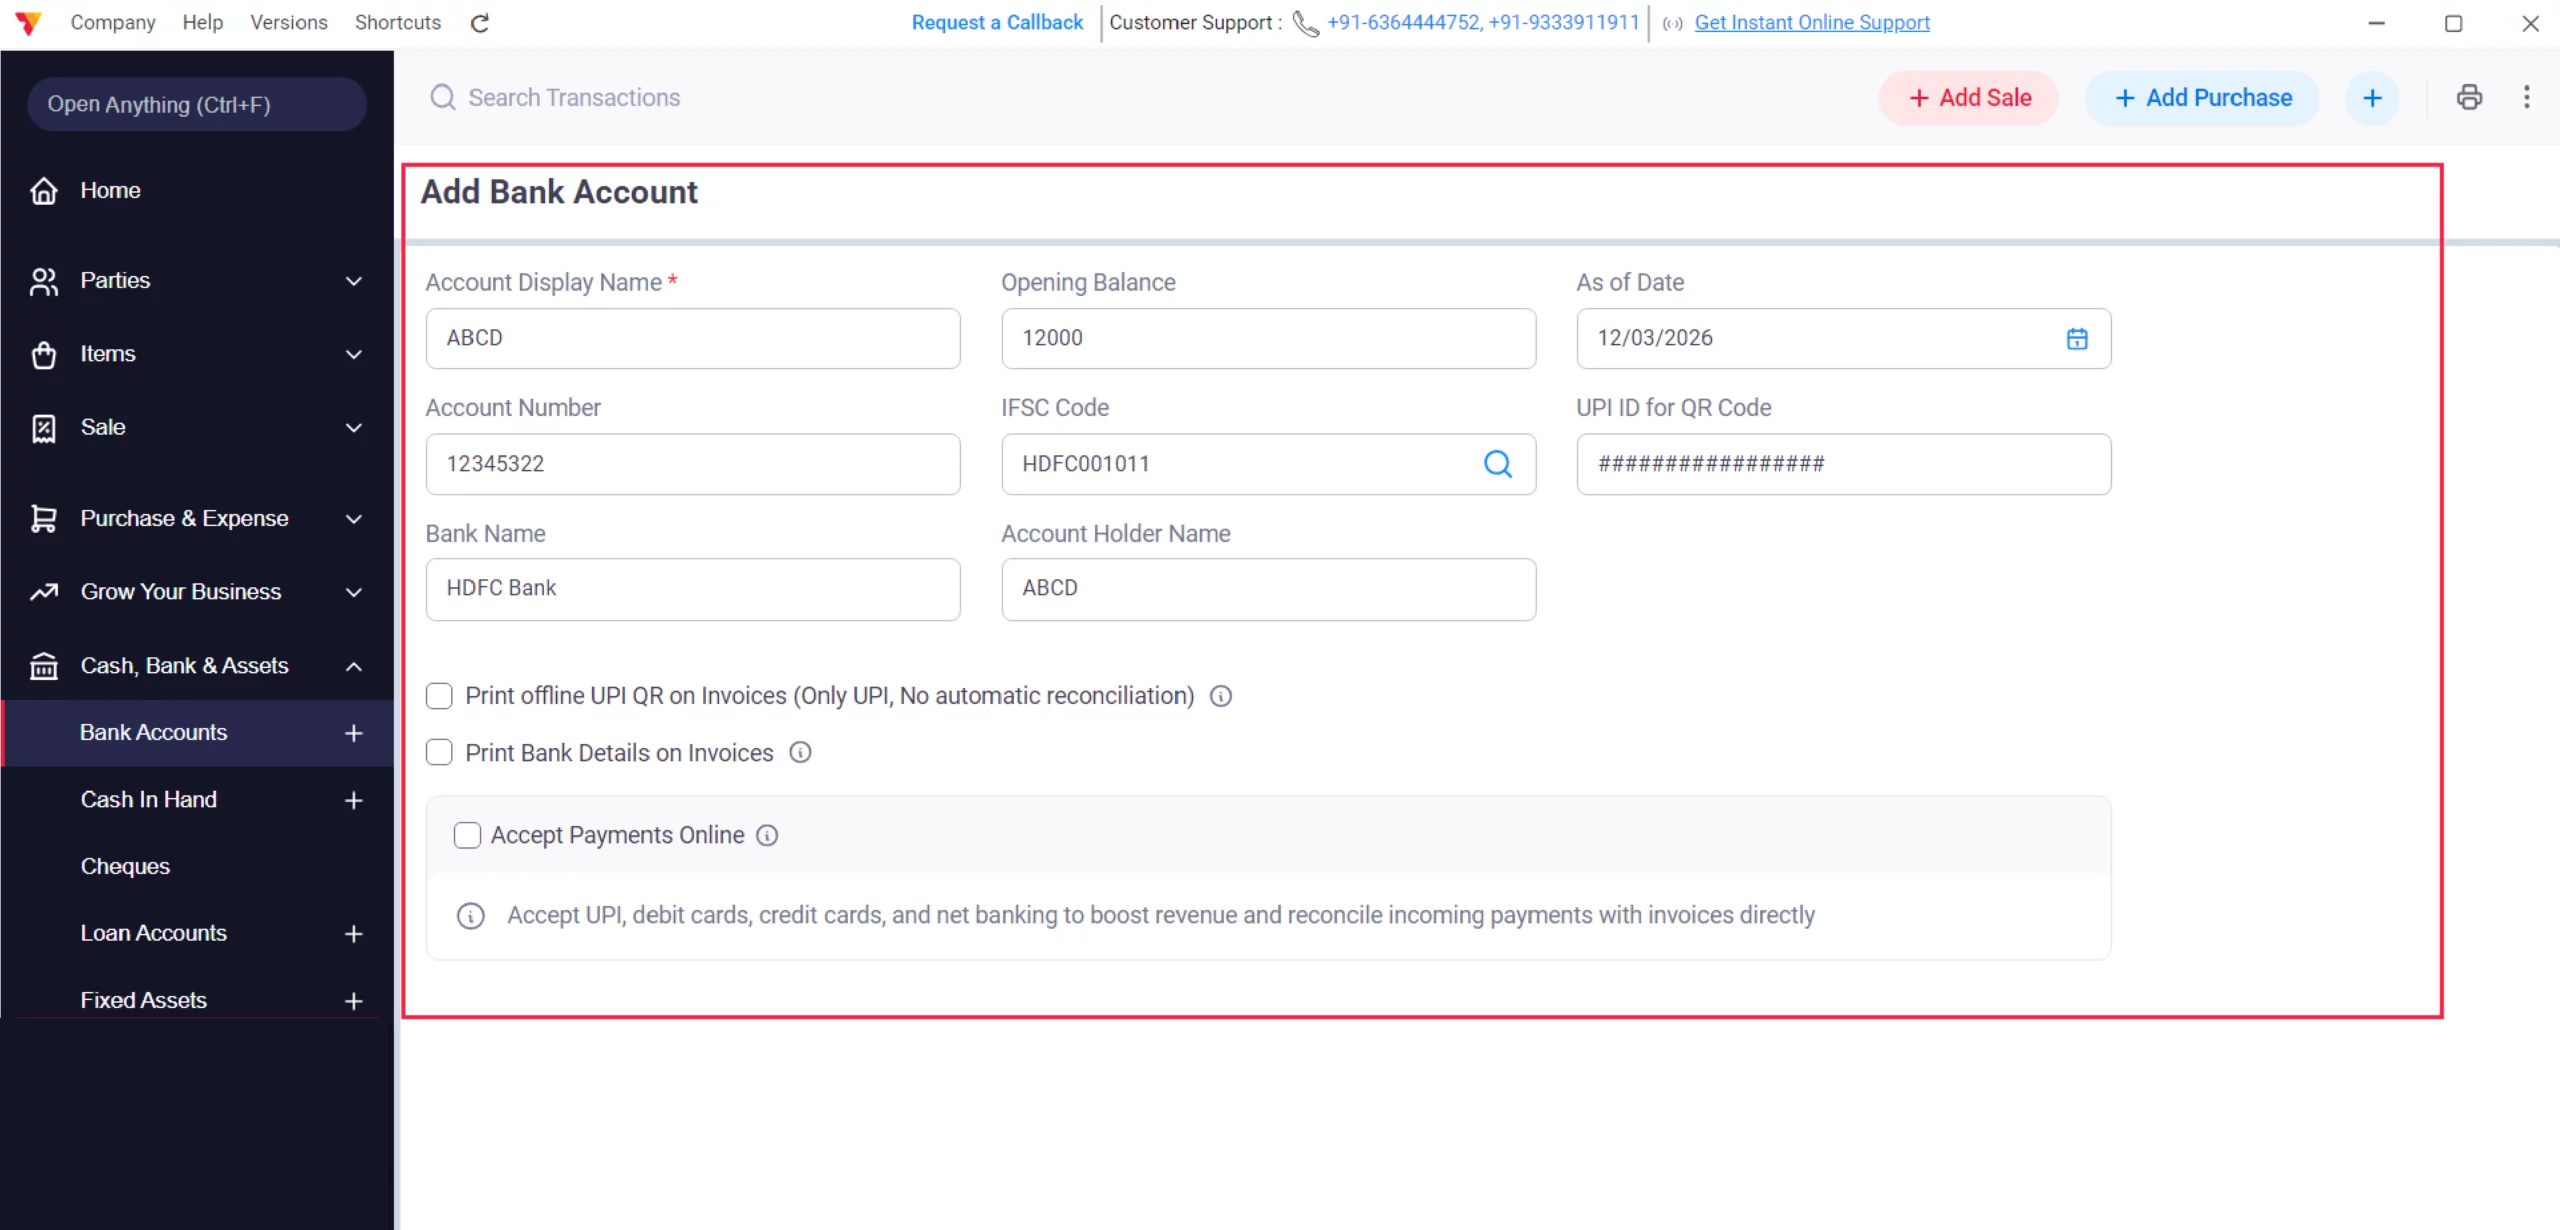
Expand Additional Fields
Click on + Add more fields to enter your Account Number, IFSC Code, Bank Name, and Account Holder Name.
06
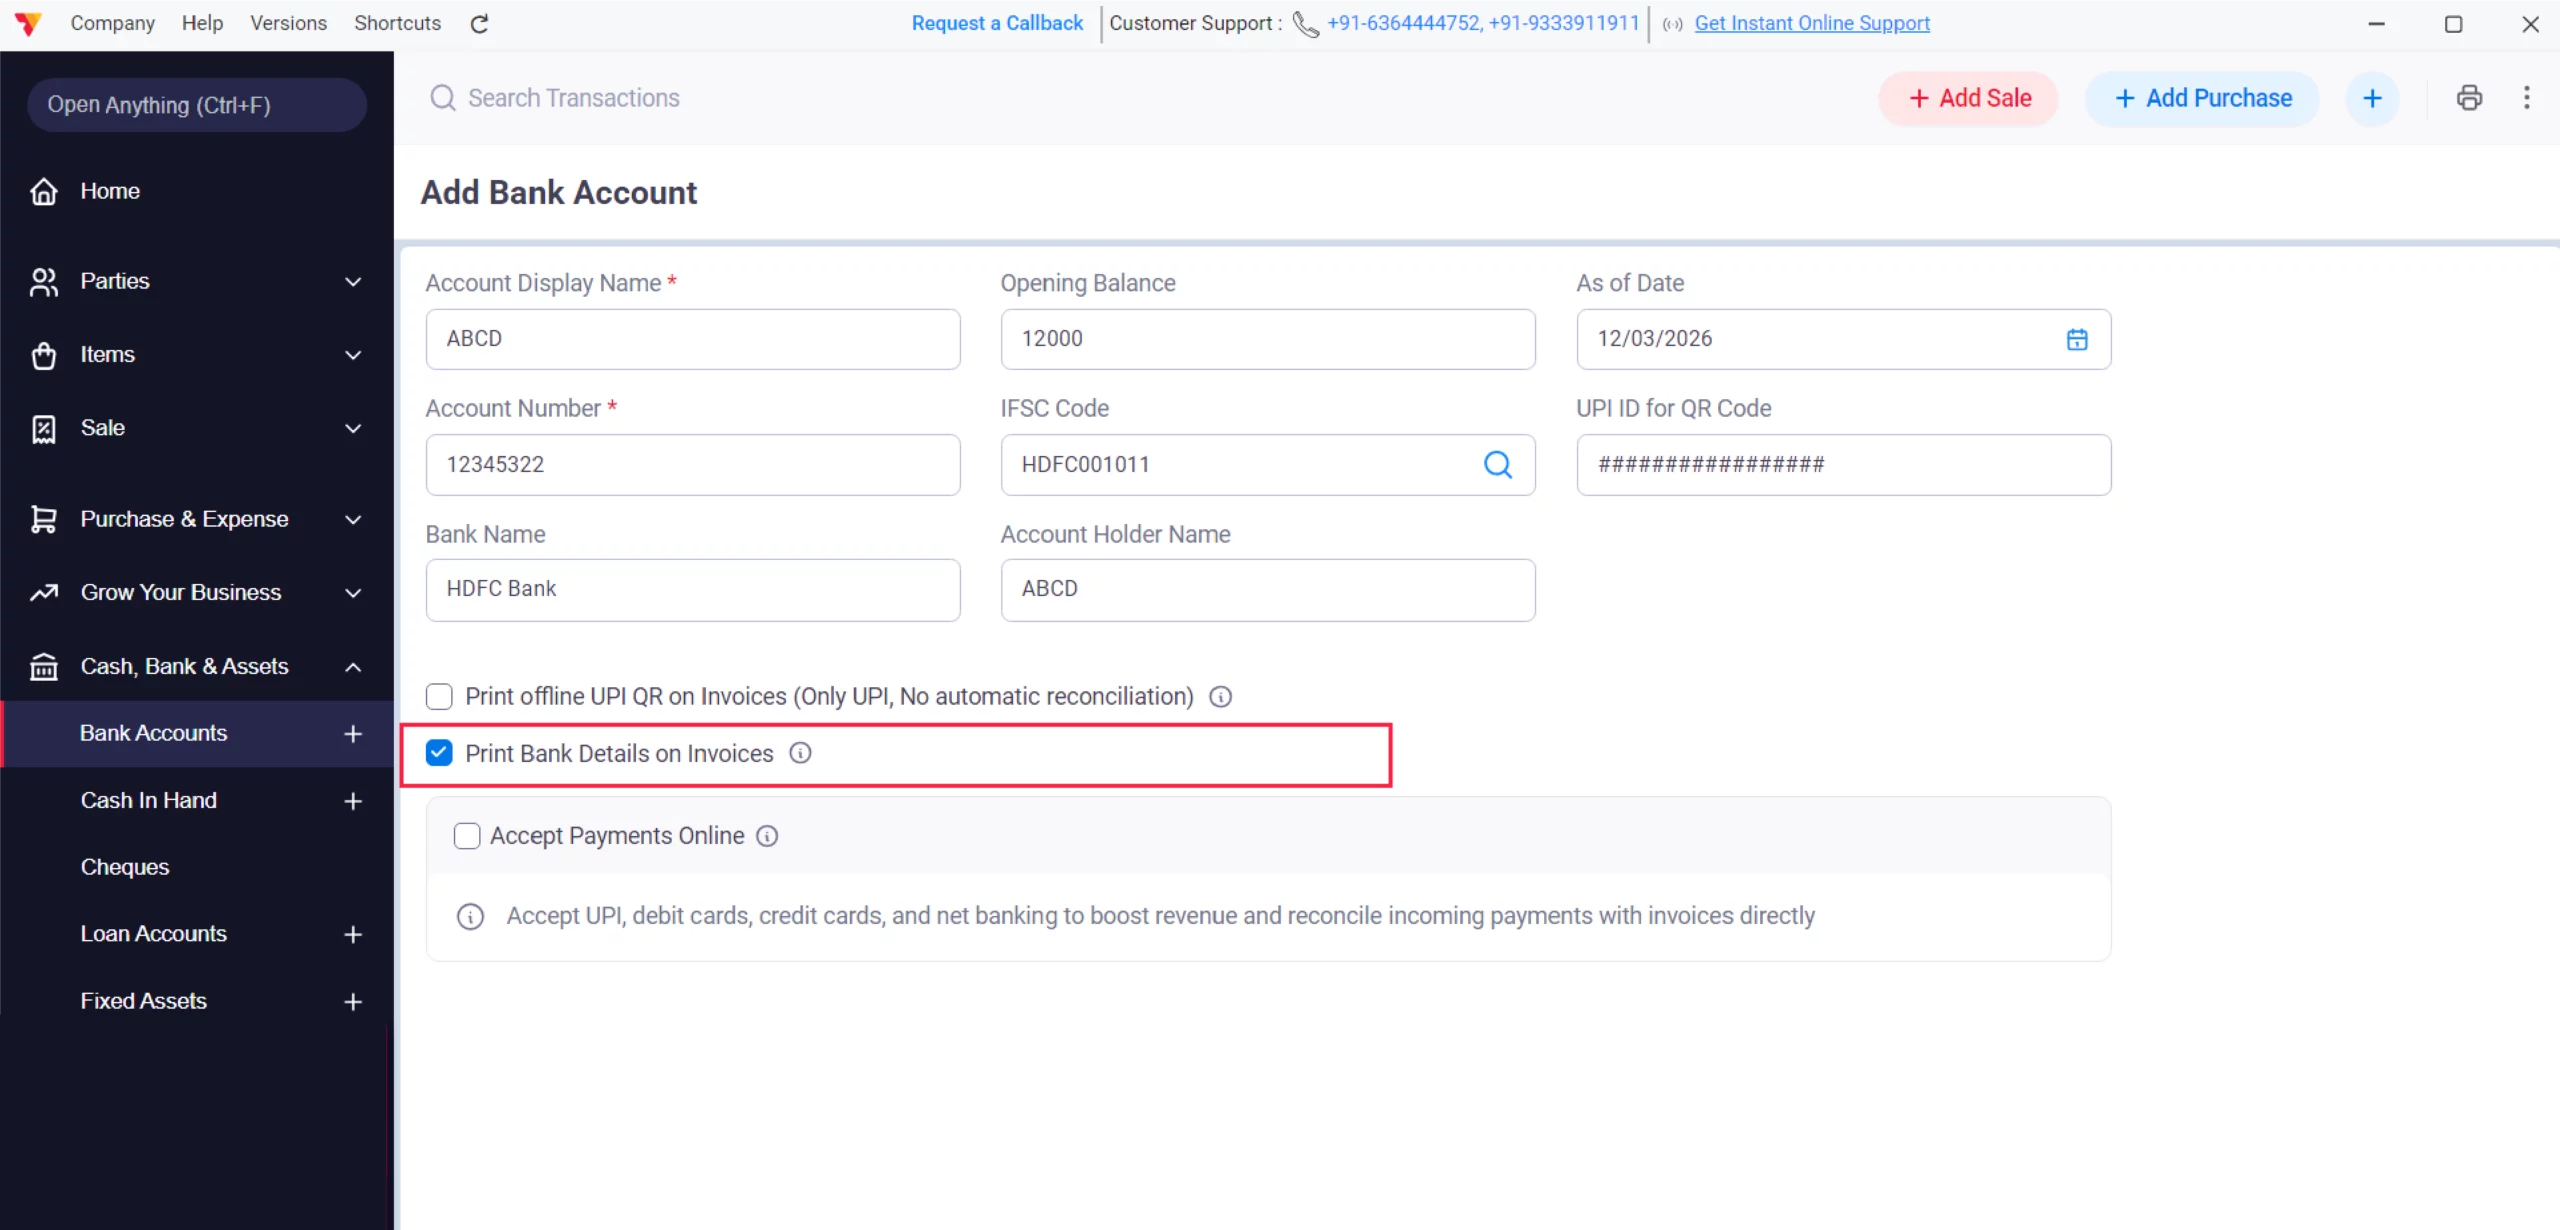
Enable Invoice Printing
Check the box for “Print Bank Details on Invoices” to ensure your manual transfer details are visible to customers on every bill.
07
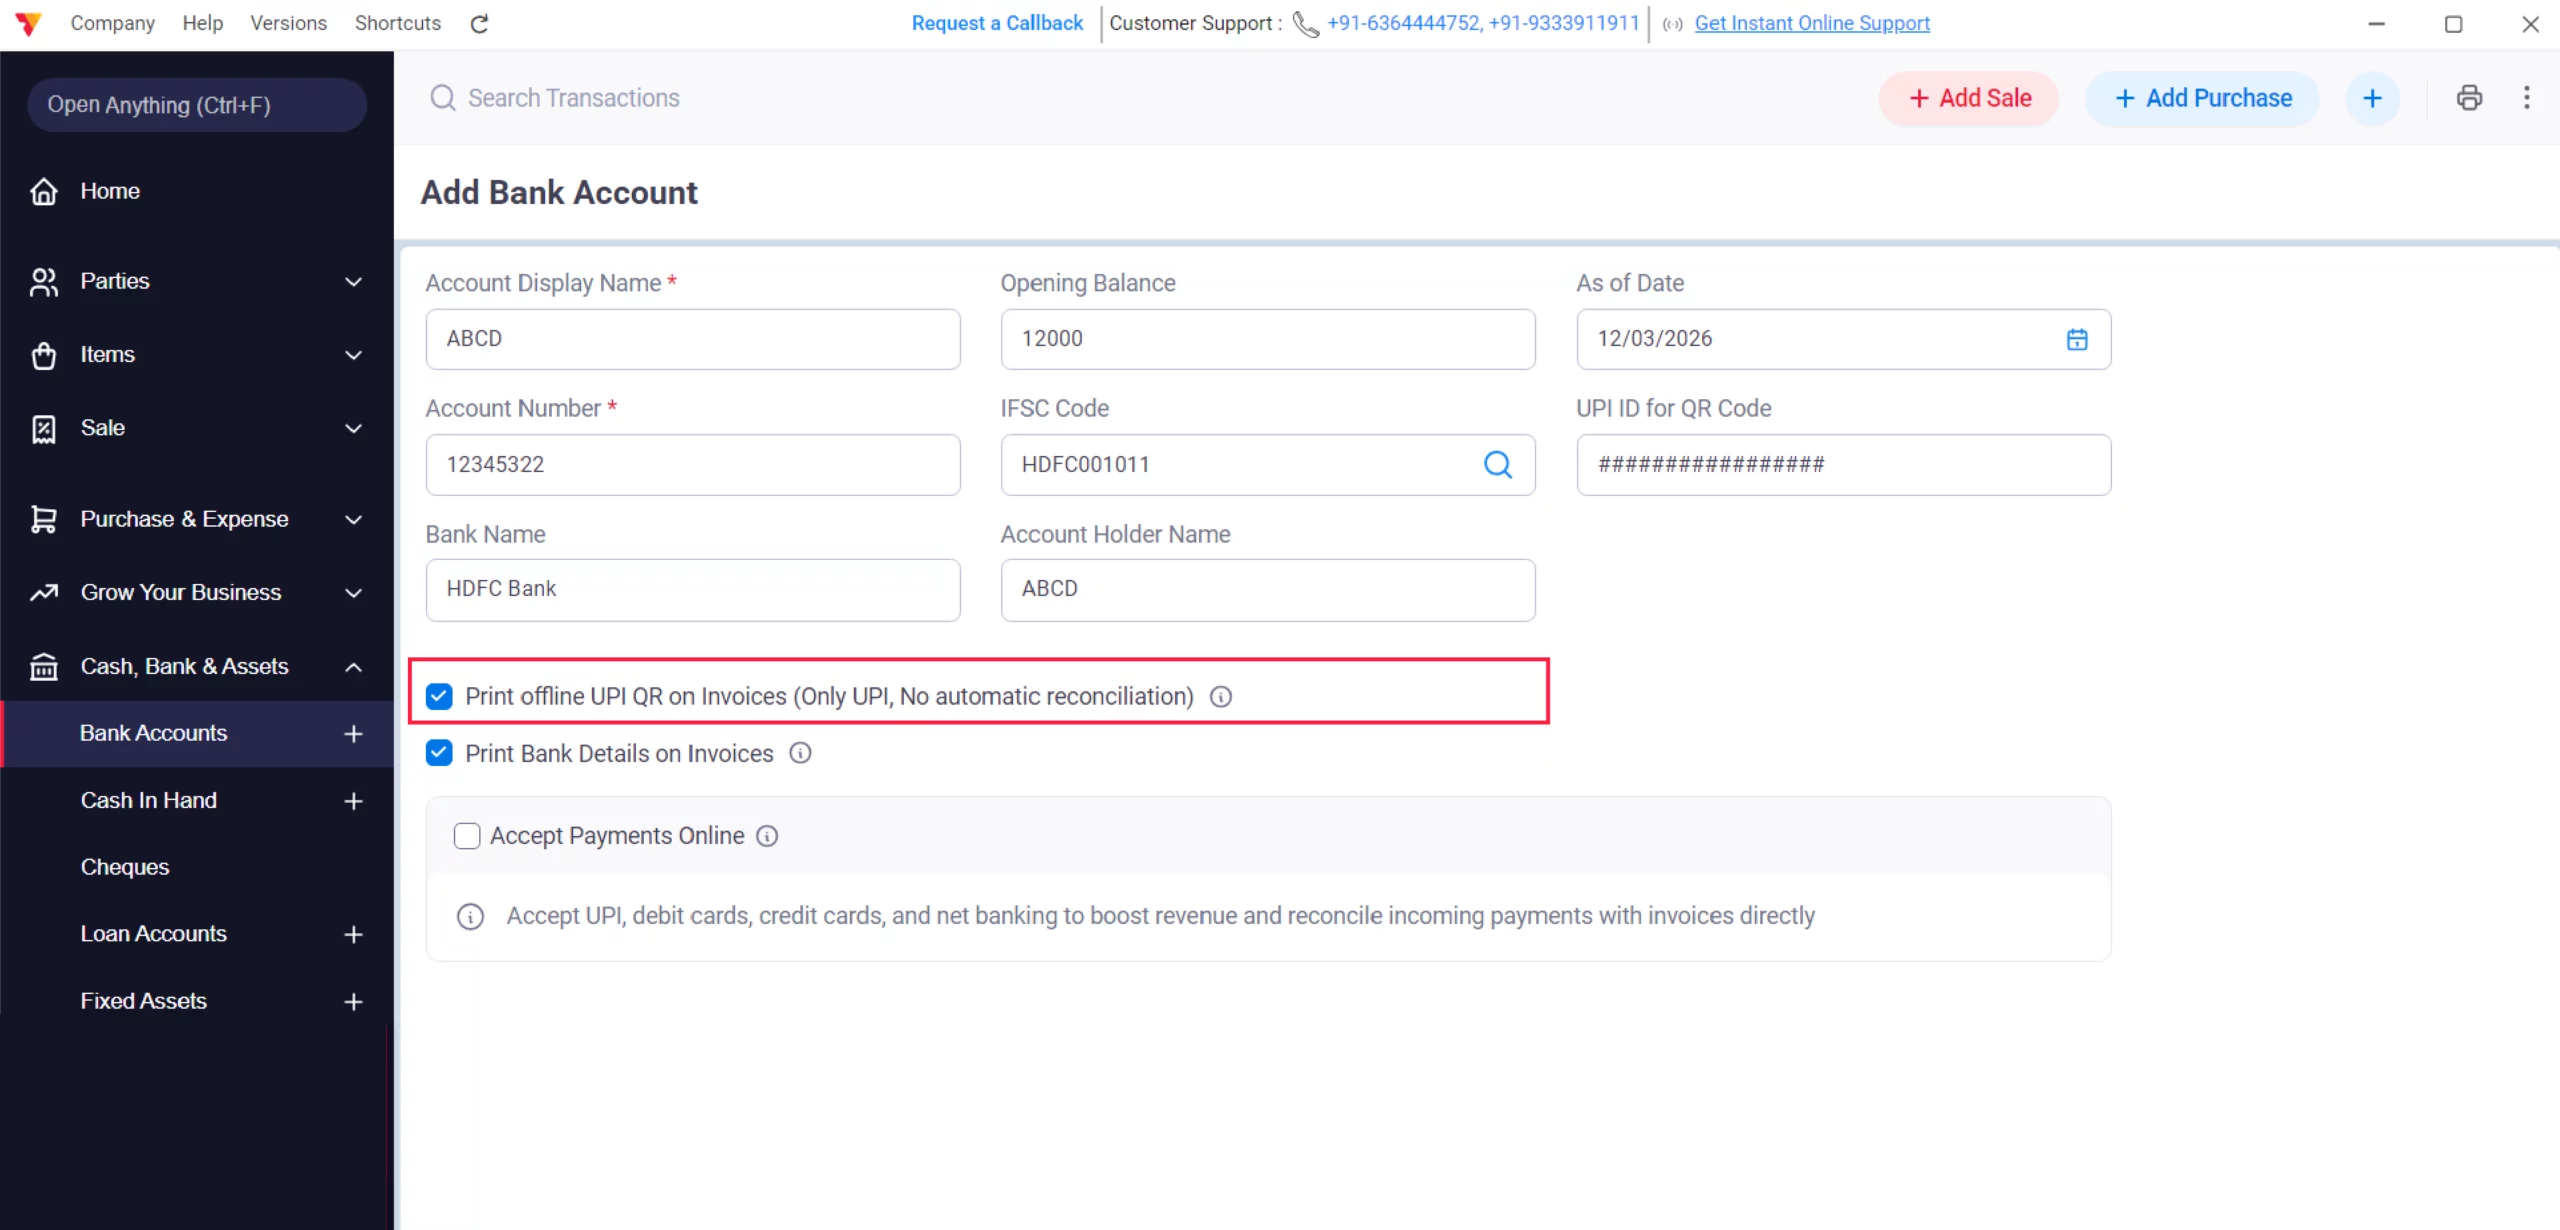
Integrate UPI QR Code
Check the box for “Print offline UPI QR on Invoices” and enter your UPI ID for QR Code. This generates a scannable code on your invoices for instant mobile payments.
08
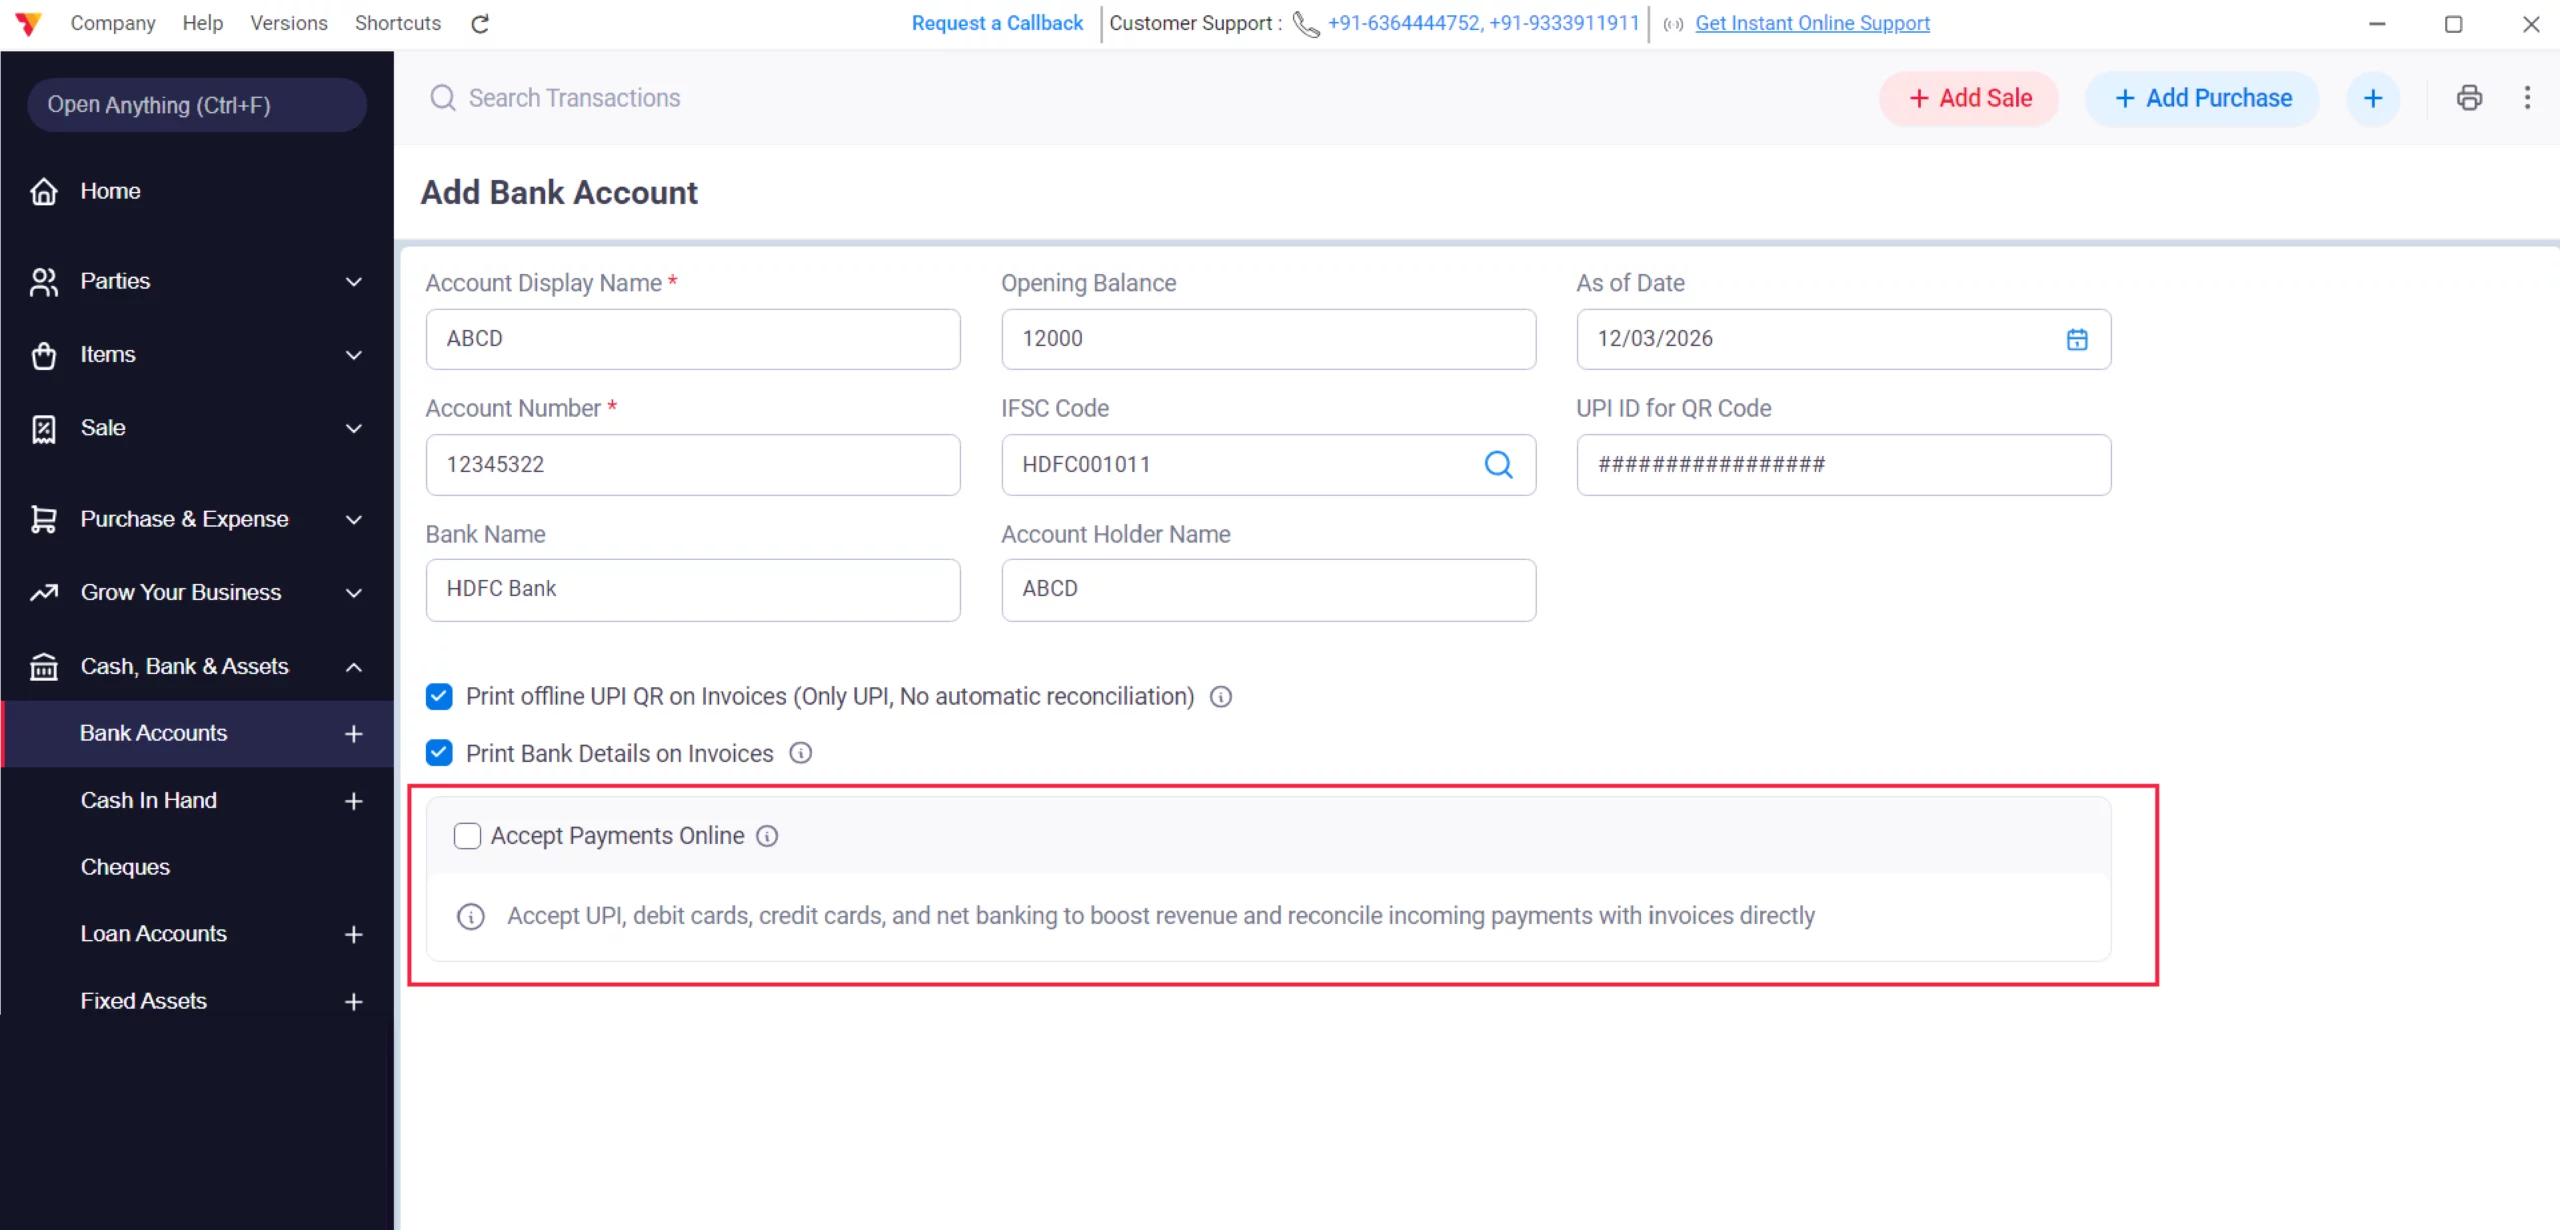
Online Payment Links (Optional)
If you want to boost revenue and reconcile payments directly, check the “Accept Payments Online” box to enable UPI, debit cards, and net banking via digital links. ( Needs to Connect RazorPay Account )
Note: There is no automatic reconciliation until and unless you enable the “Accept Payments Online” feature.
09

Finalize & Save
Review all entries for accuracy and click the Save Details button at the bottom right. You will receive a success notification.
10
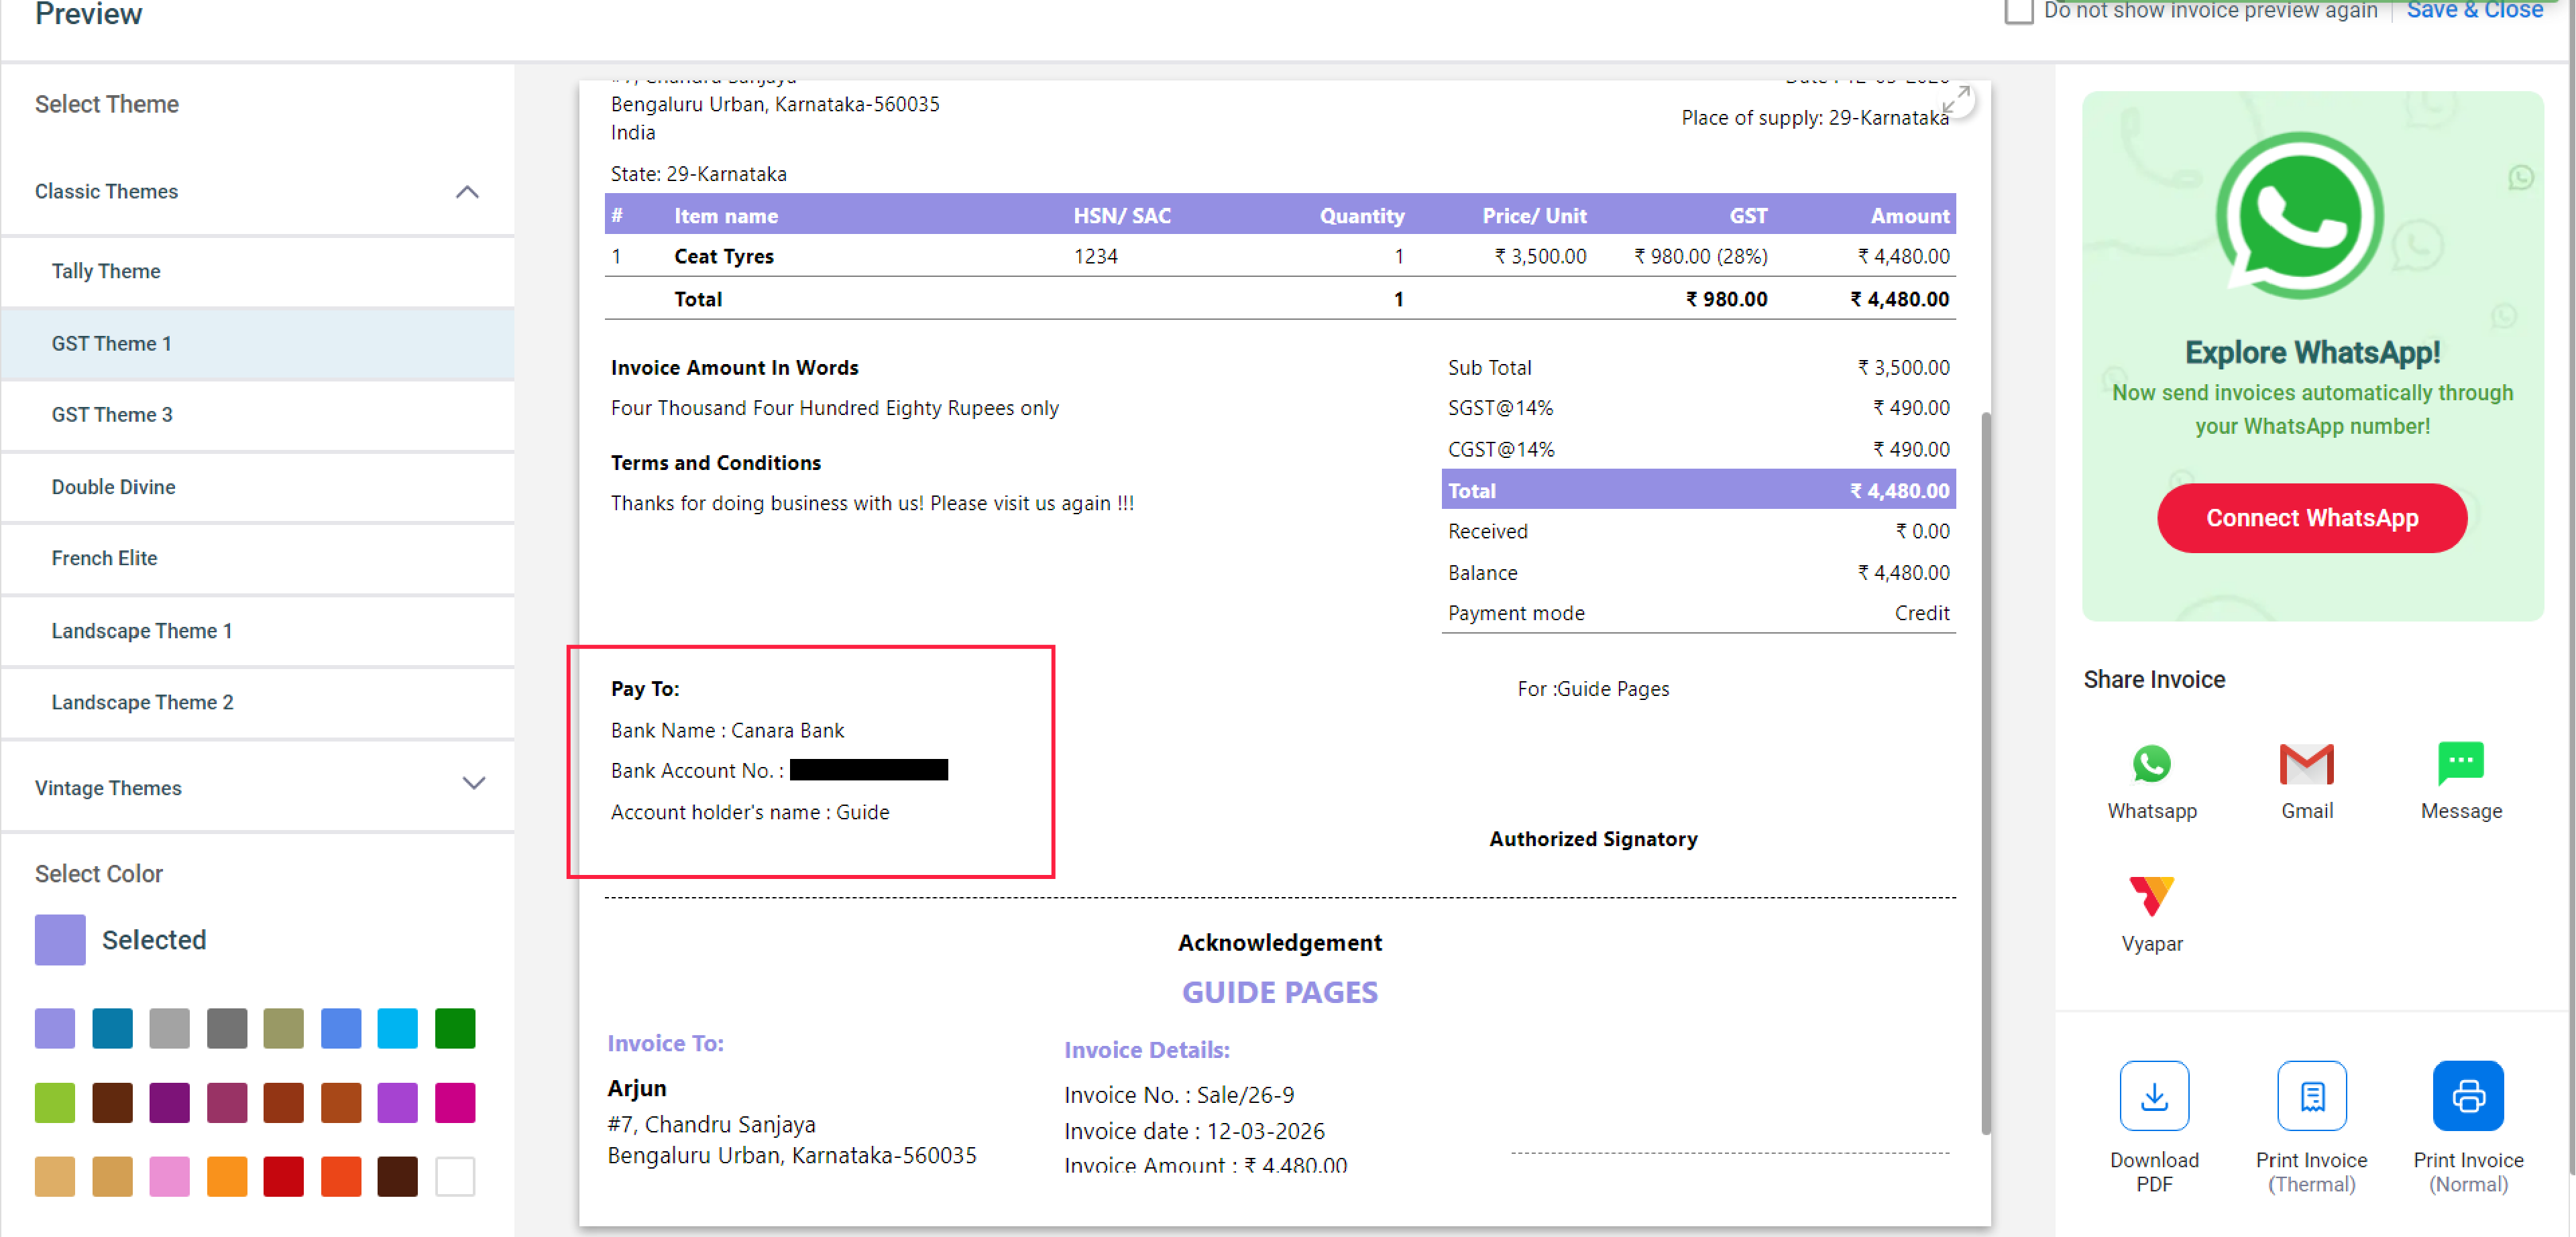
Verify on Invoice
Check the box for “Print Bank Details on Invoices” to ensure your manual transfer details are visible to customers on every bill.
11
Watch Step-by-Step Video Guide to Add Bank Details on Invoice
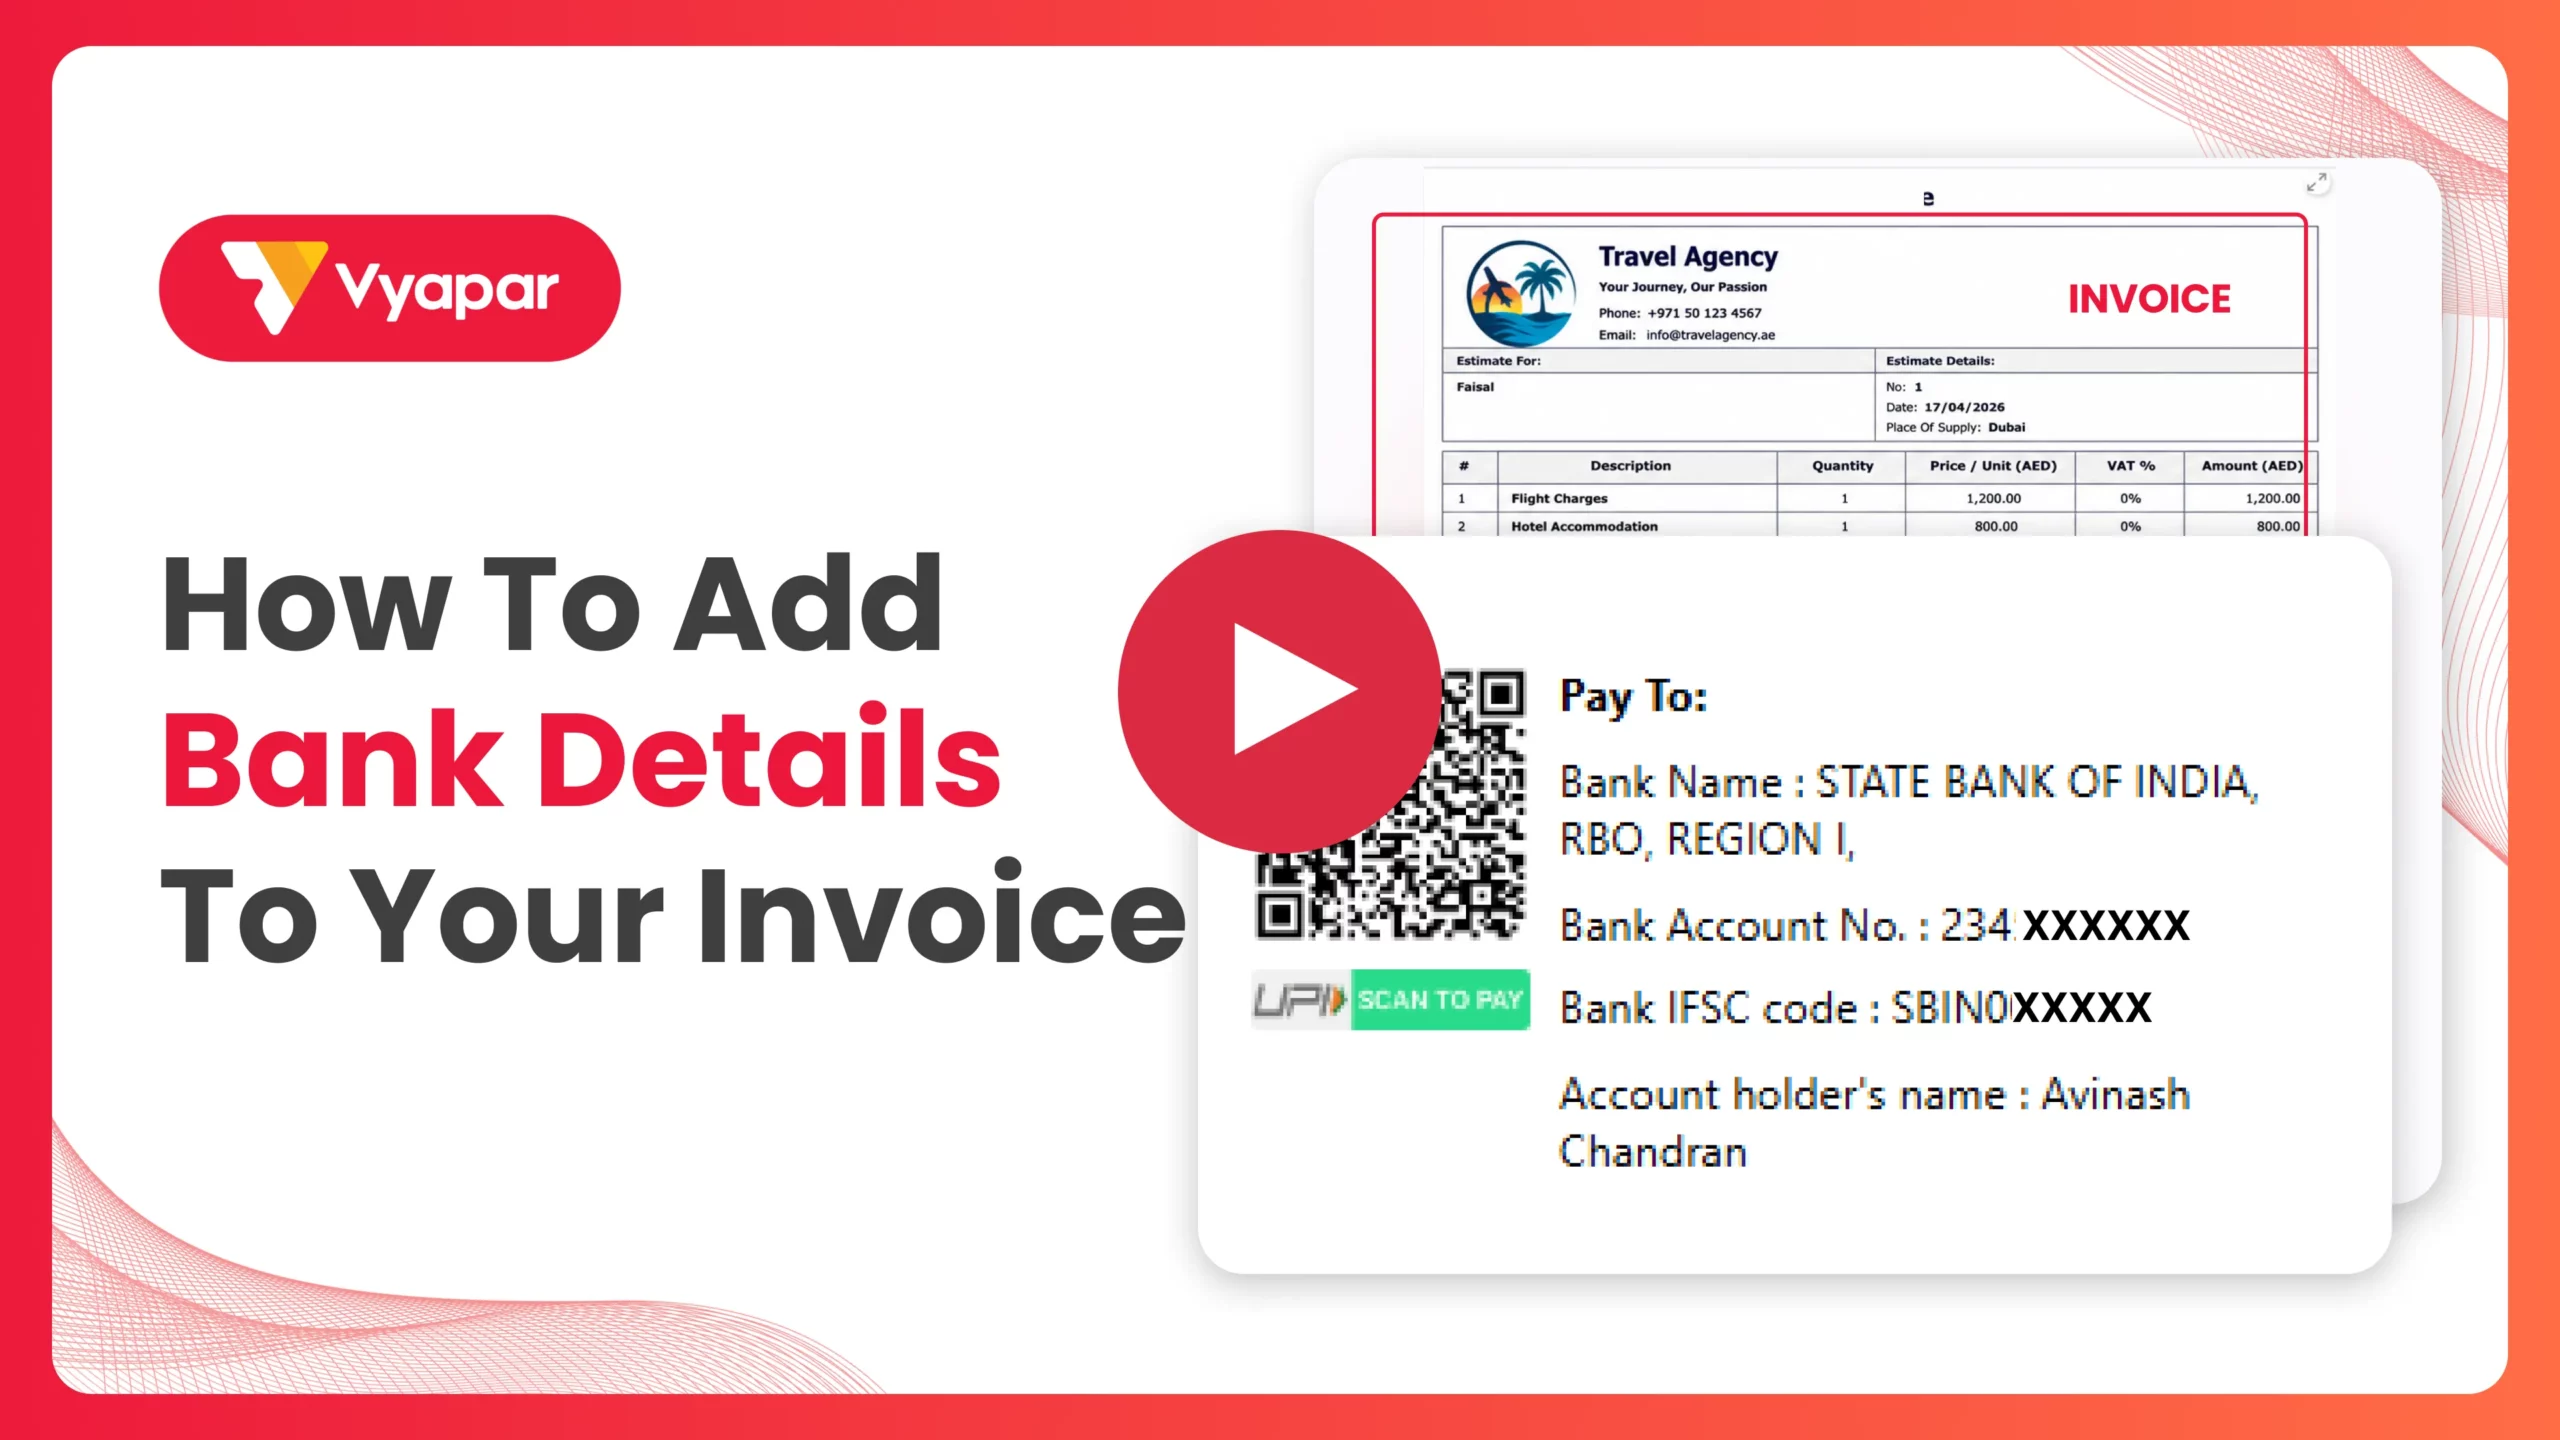
Add Bank Details on Invoice: Desktop Guide.
Still stuck? Get help in minutes.
Our support team is ready to help you succeed.
![]()
![]() 24/7 Support
24/7 Support
Why This Combined Setup Is Important?
Clear banking information is a key driver for faster payment collection and financial transparency:

Zero Payment Friction
Customers don’t have to ask for your details; they are already on the bill.
Flexible Options
You cater to both traditional clients (Bank Transfer) and modern ones (UPI/QR).
Faster Liquidity
Digital integrations lead to instant settlements, significantly improving your cash flow.
Frequently Asked Questions (FAQs)
Does the QR code work for all banks?
Yes, any UPI-enabled app (GPay, PhonePe, Paytm) can scan the QR code generated by Vyapar.
Does Vyapar charge a fee for these integrations?
Vyapar does not charge a fee for displaying bank details or offline UPI QR codes, though the “Accept Payments Online” gateway may have its own charges.
Is there automatic reconciliation?
Automatic reconciliation is only available when the “Accept Payments Online” feature is enabled.
Ready to Get Paid Instantly?
Link your bank account today and cut your collection time by 50%.


