How to Add and Manage Expenses in Vyapar App
Recording expenses in Vyapar is essential for maintaining a healthy bottom line and ensuring you never miss out on Input Tax Credit (ITC). By tracking these costs, you subtract the tax you’ve paid from the tax you owe, directly increasing your business savings.

Before You Start

Identify Item Type: Determine if the item is for resale (Selling Item) or for business consumption (Expense Item).
Expense Classification: Decide if the cost should be categorized as a Direct Expense (linked to production) or an Indirect Expense (operating overhead).
HSN/SAC Codes: Have the correct tax codes ready for the expense items to ensure GST compliance.
Step-by-Step Guide to Adding Other Income:
Open Vyapar App
Launch Vyapar expense management software on your Desktop device.
01
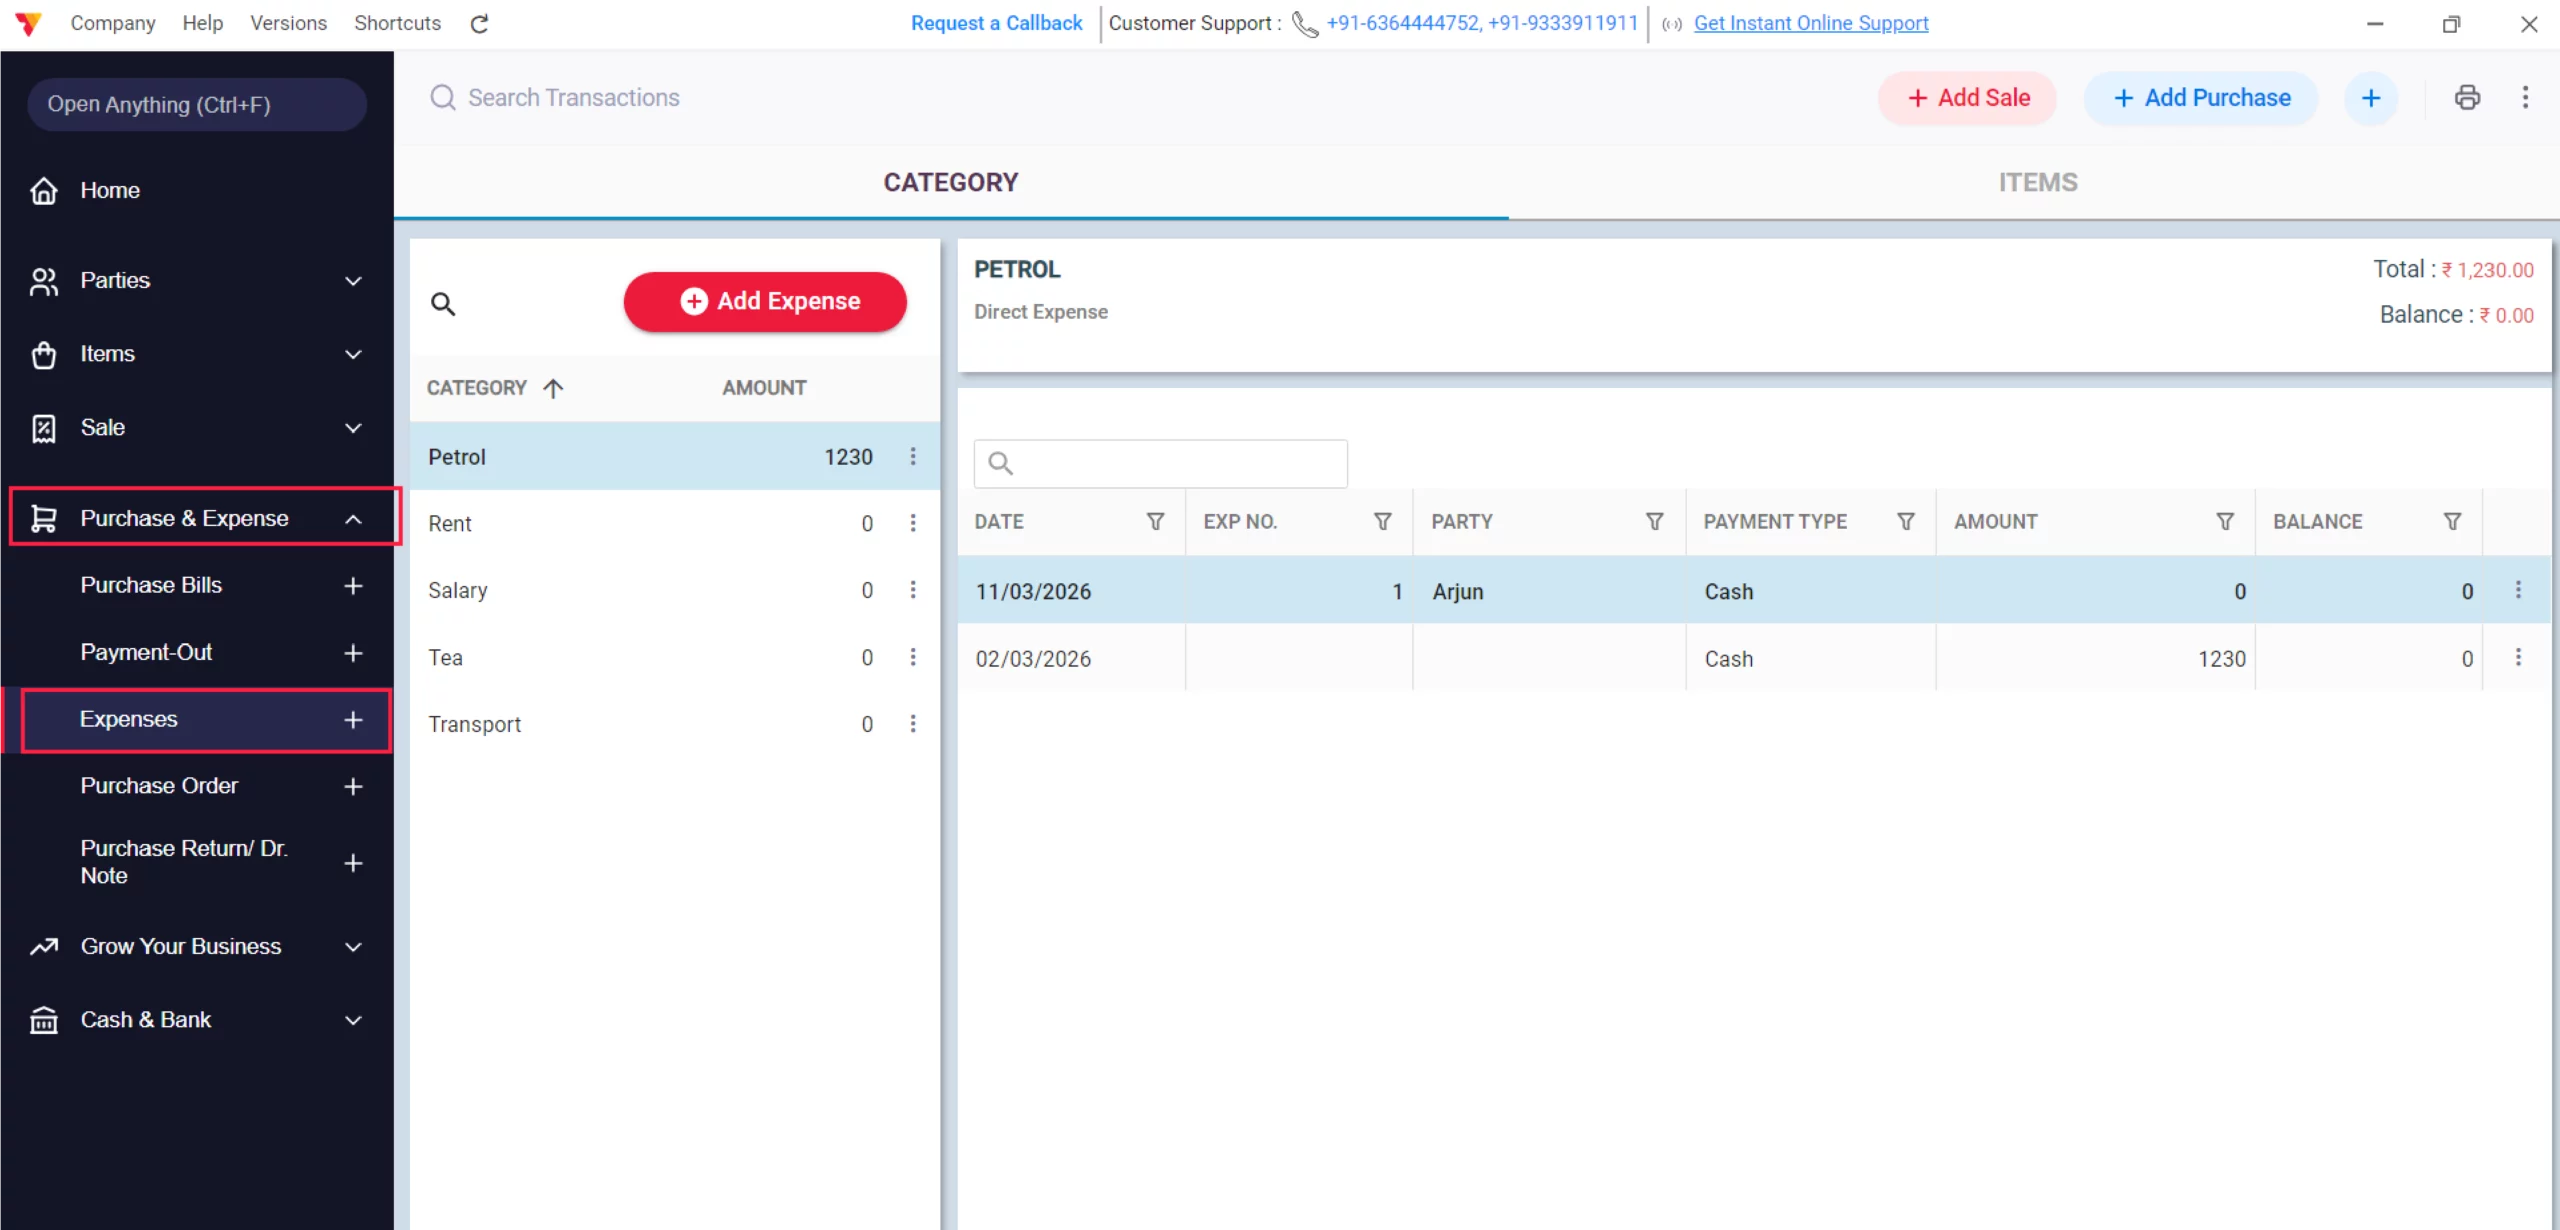
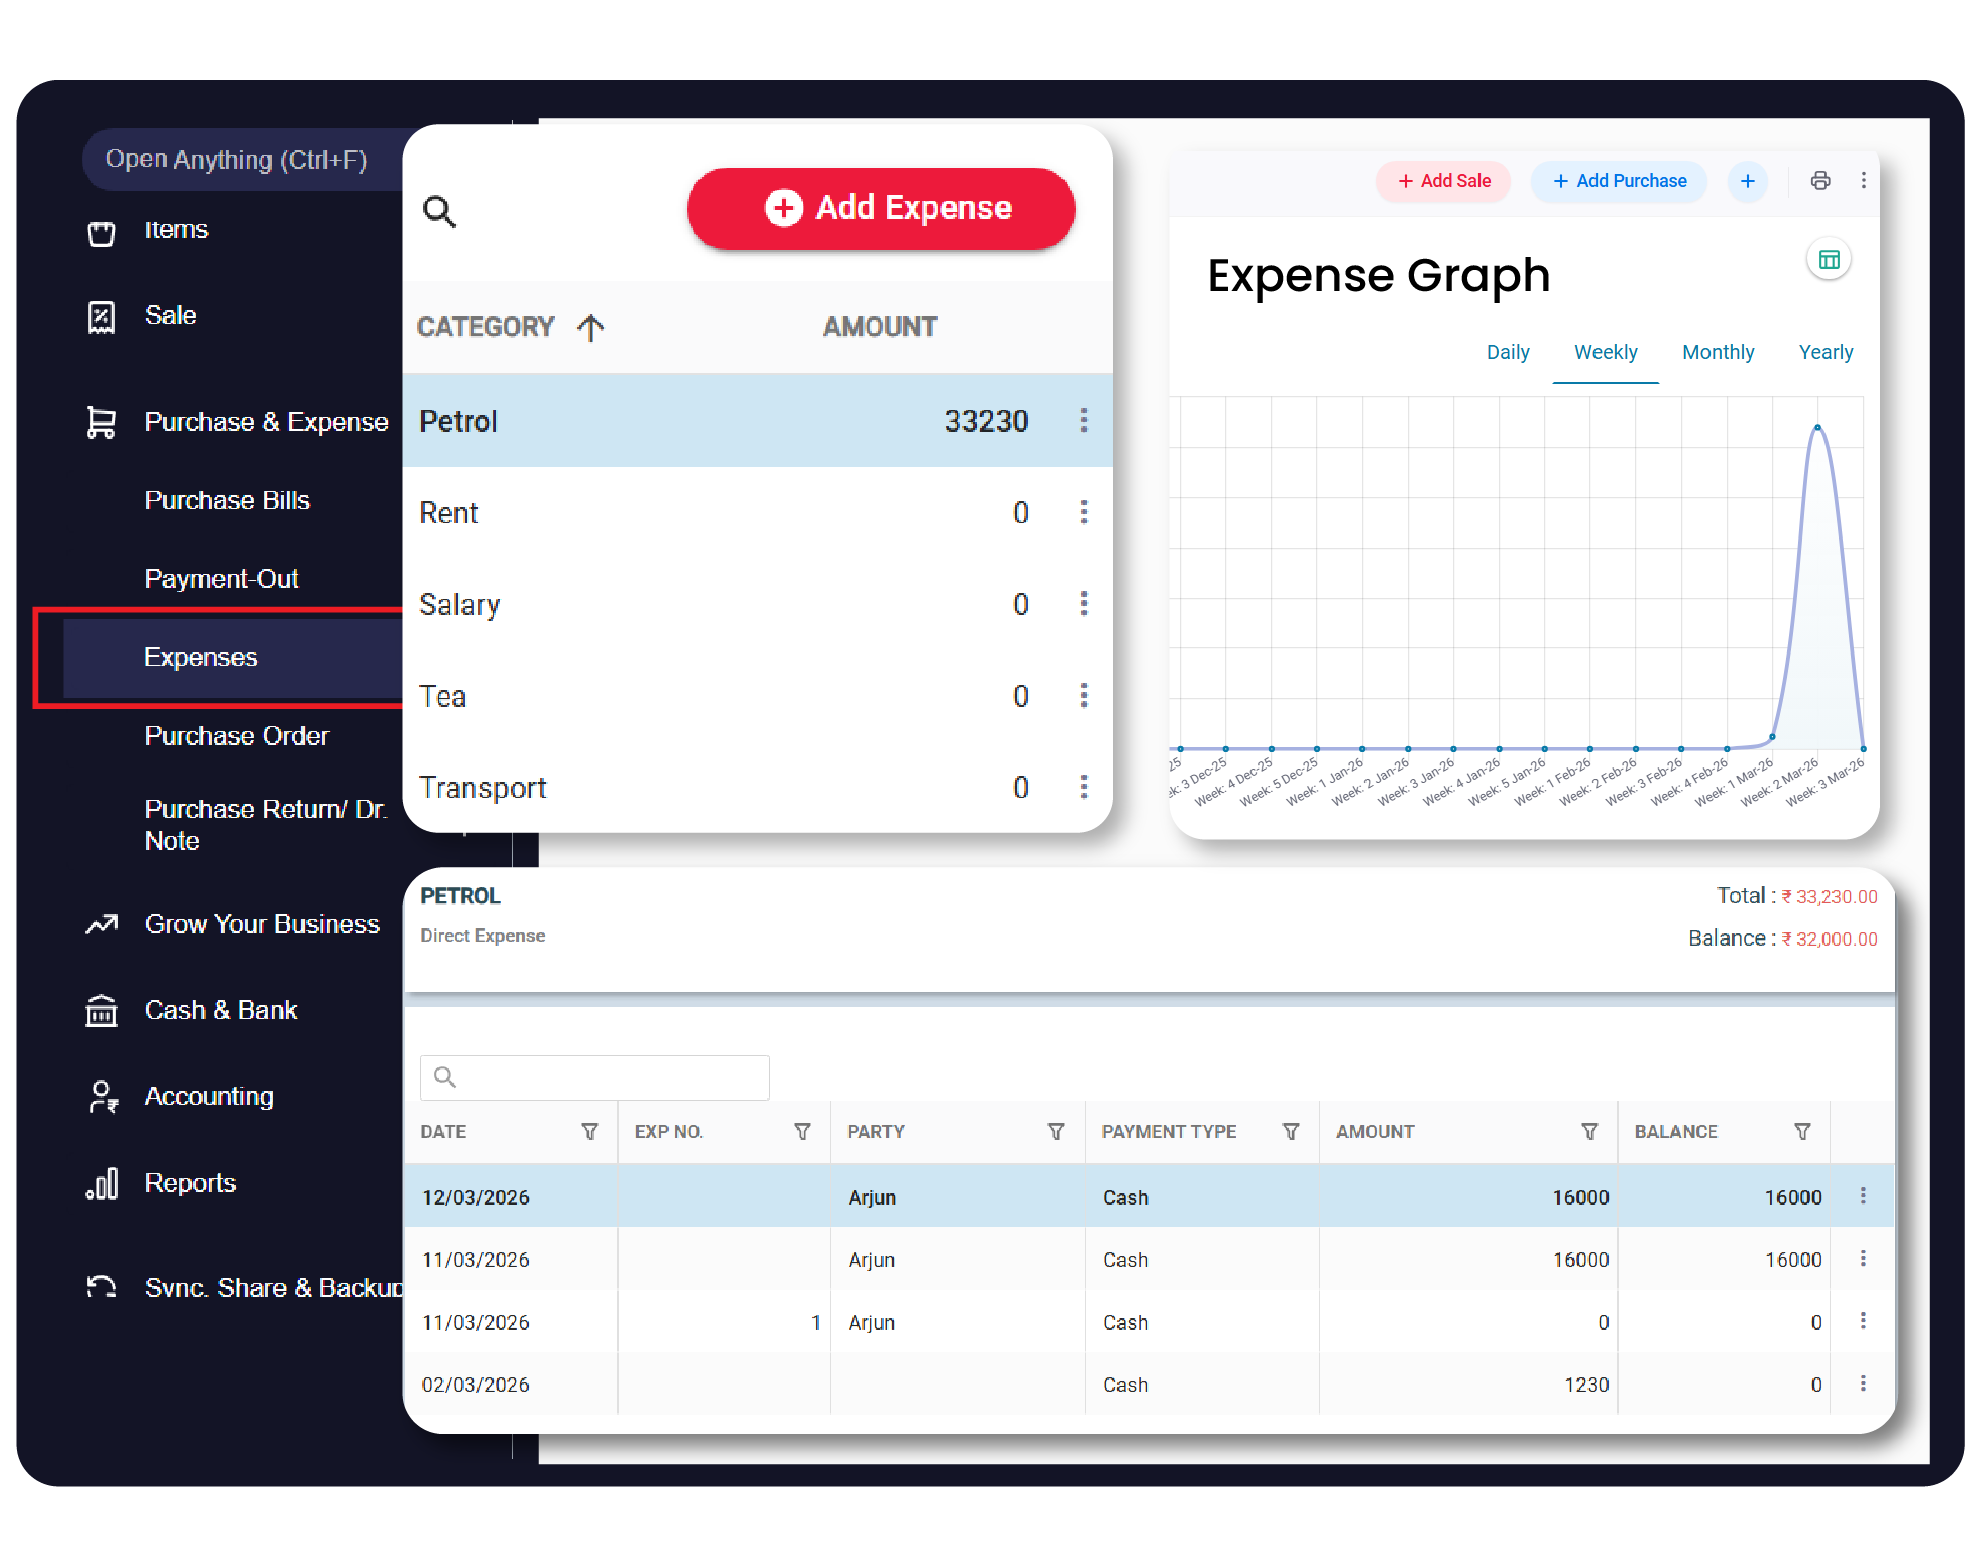
Access Expenses
Navigate to the left-hand main menu, click on Purchase & Expenses, then click the Expenses option in the dropdown.
02
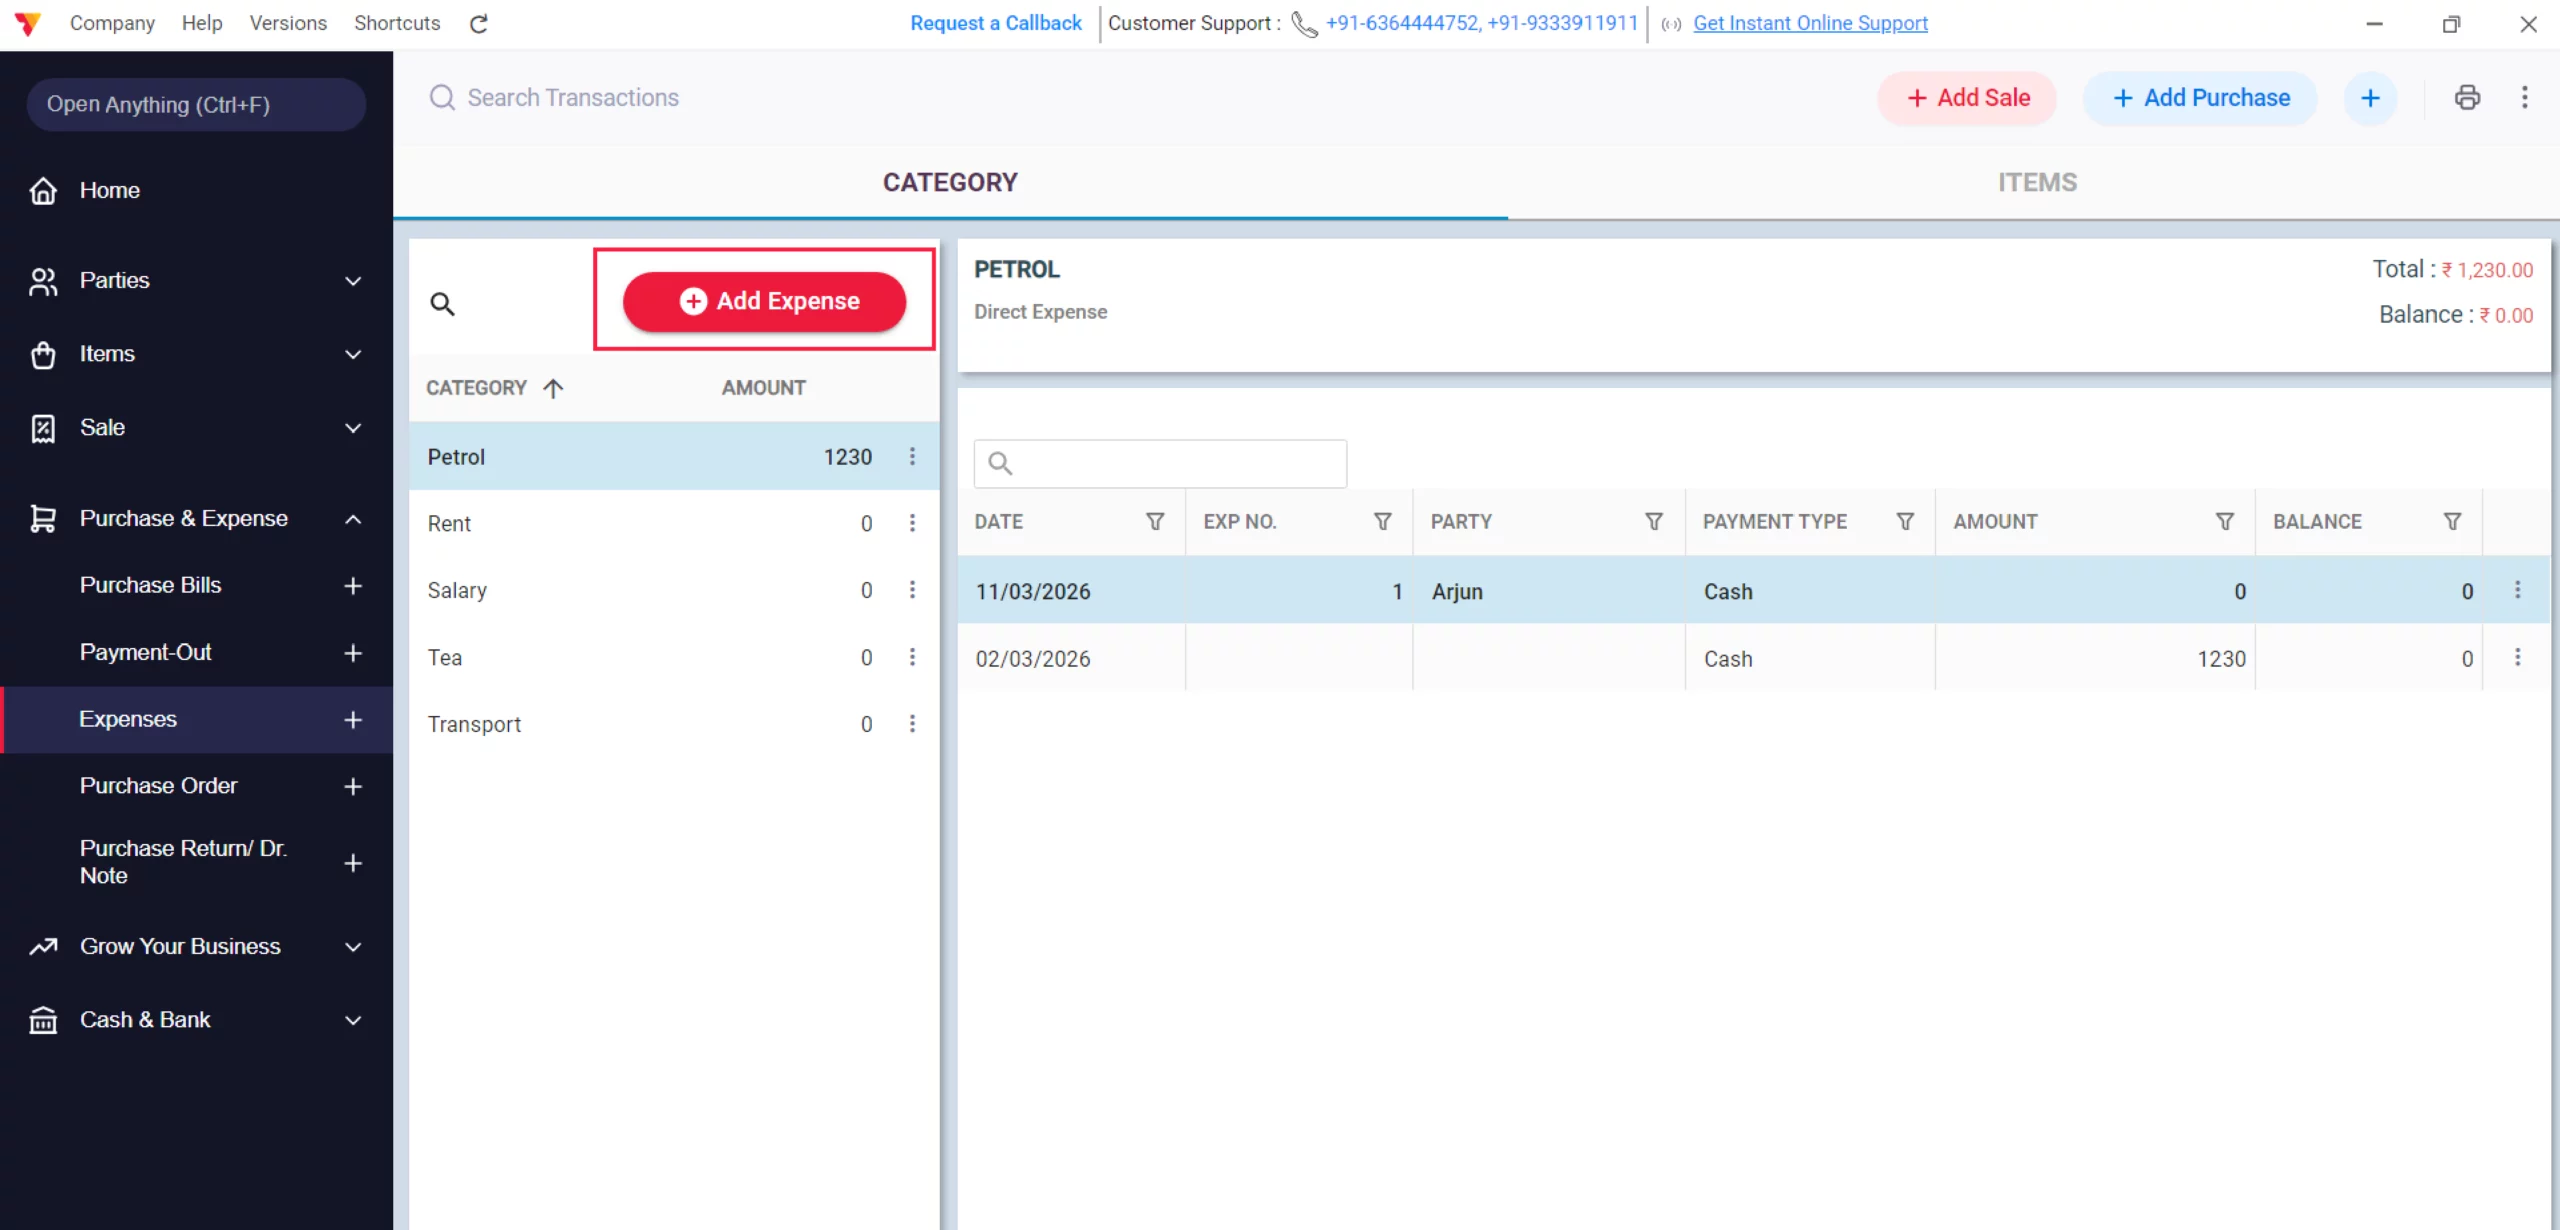
Create New Entry
Click the Add Expense button to open the transaction form.
03
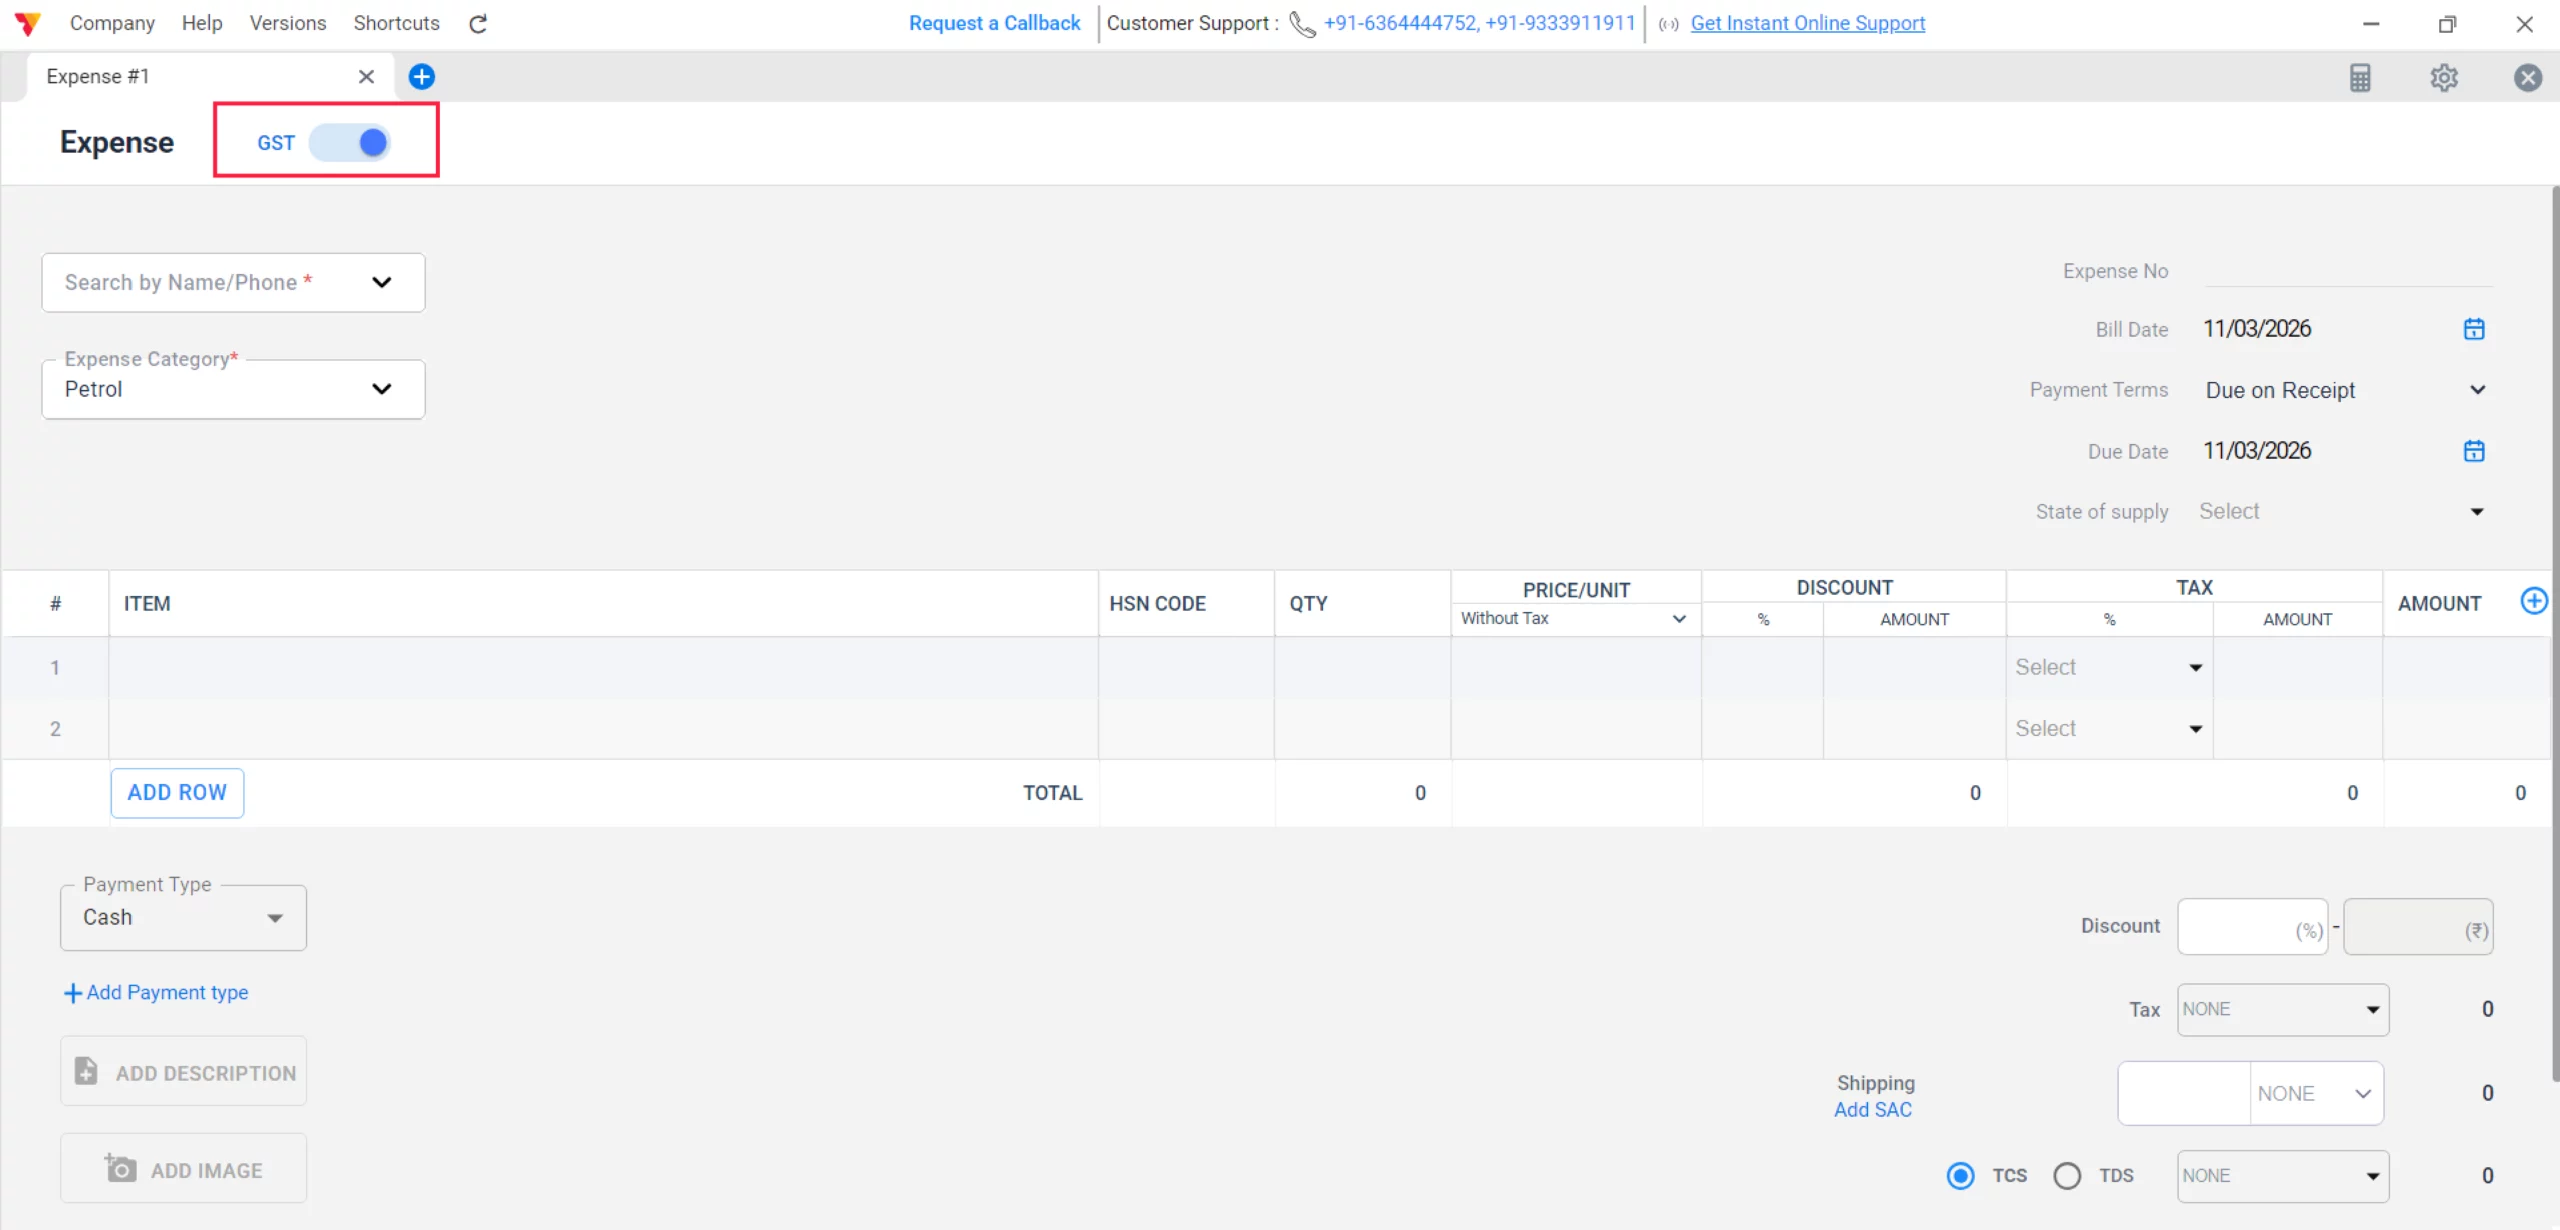
Set GST Toggle
Switch the GST toggle to ON if you have a GST invoice, or keep it OFF for non-GST expenses like local transport or staff tea.
04
Categorize Expense Type
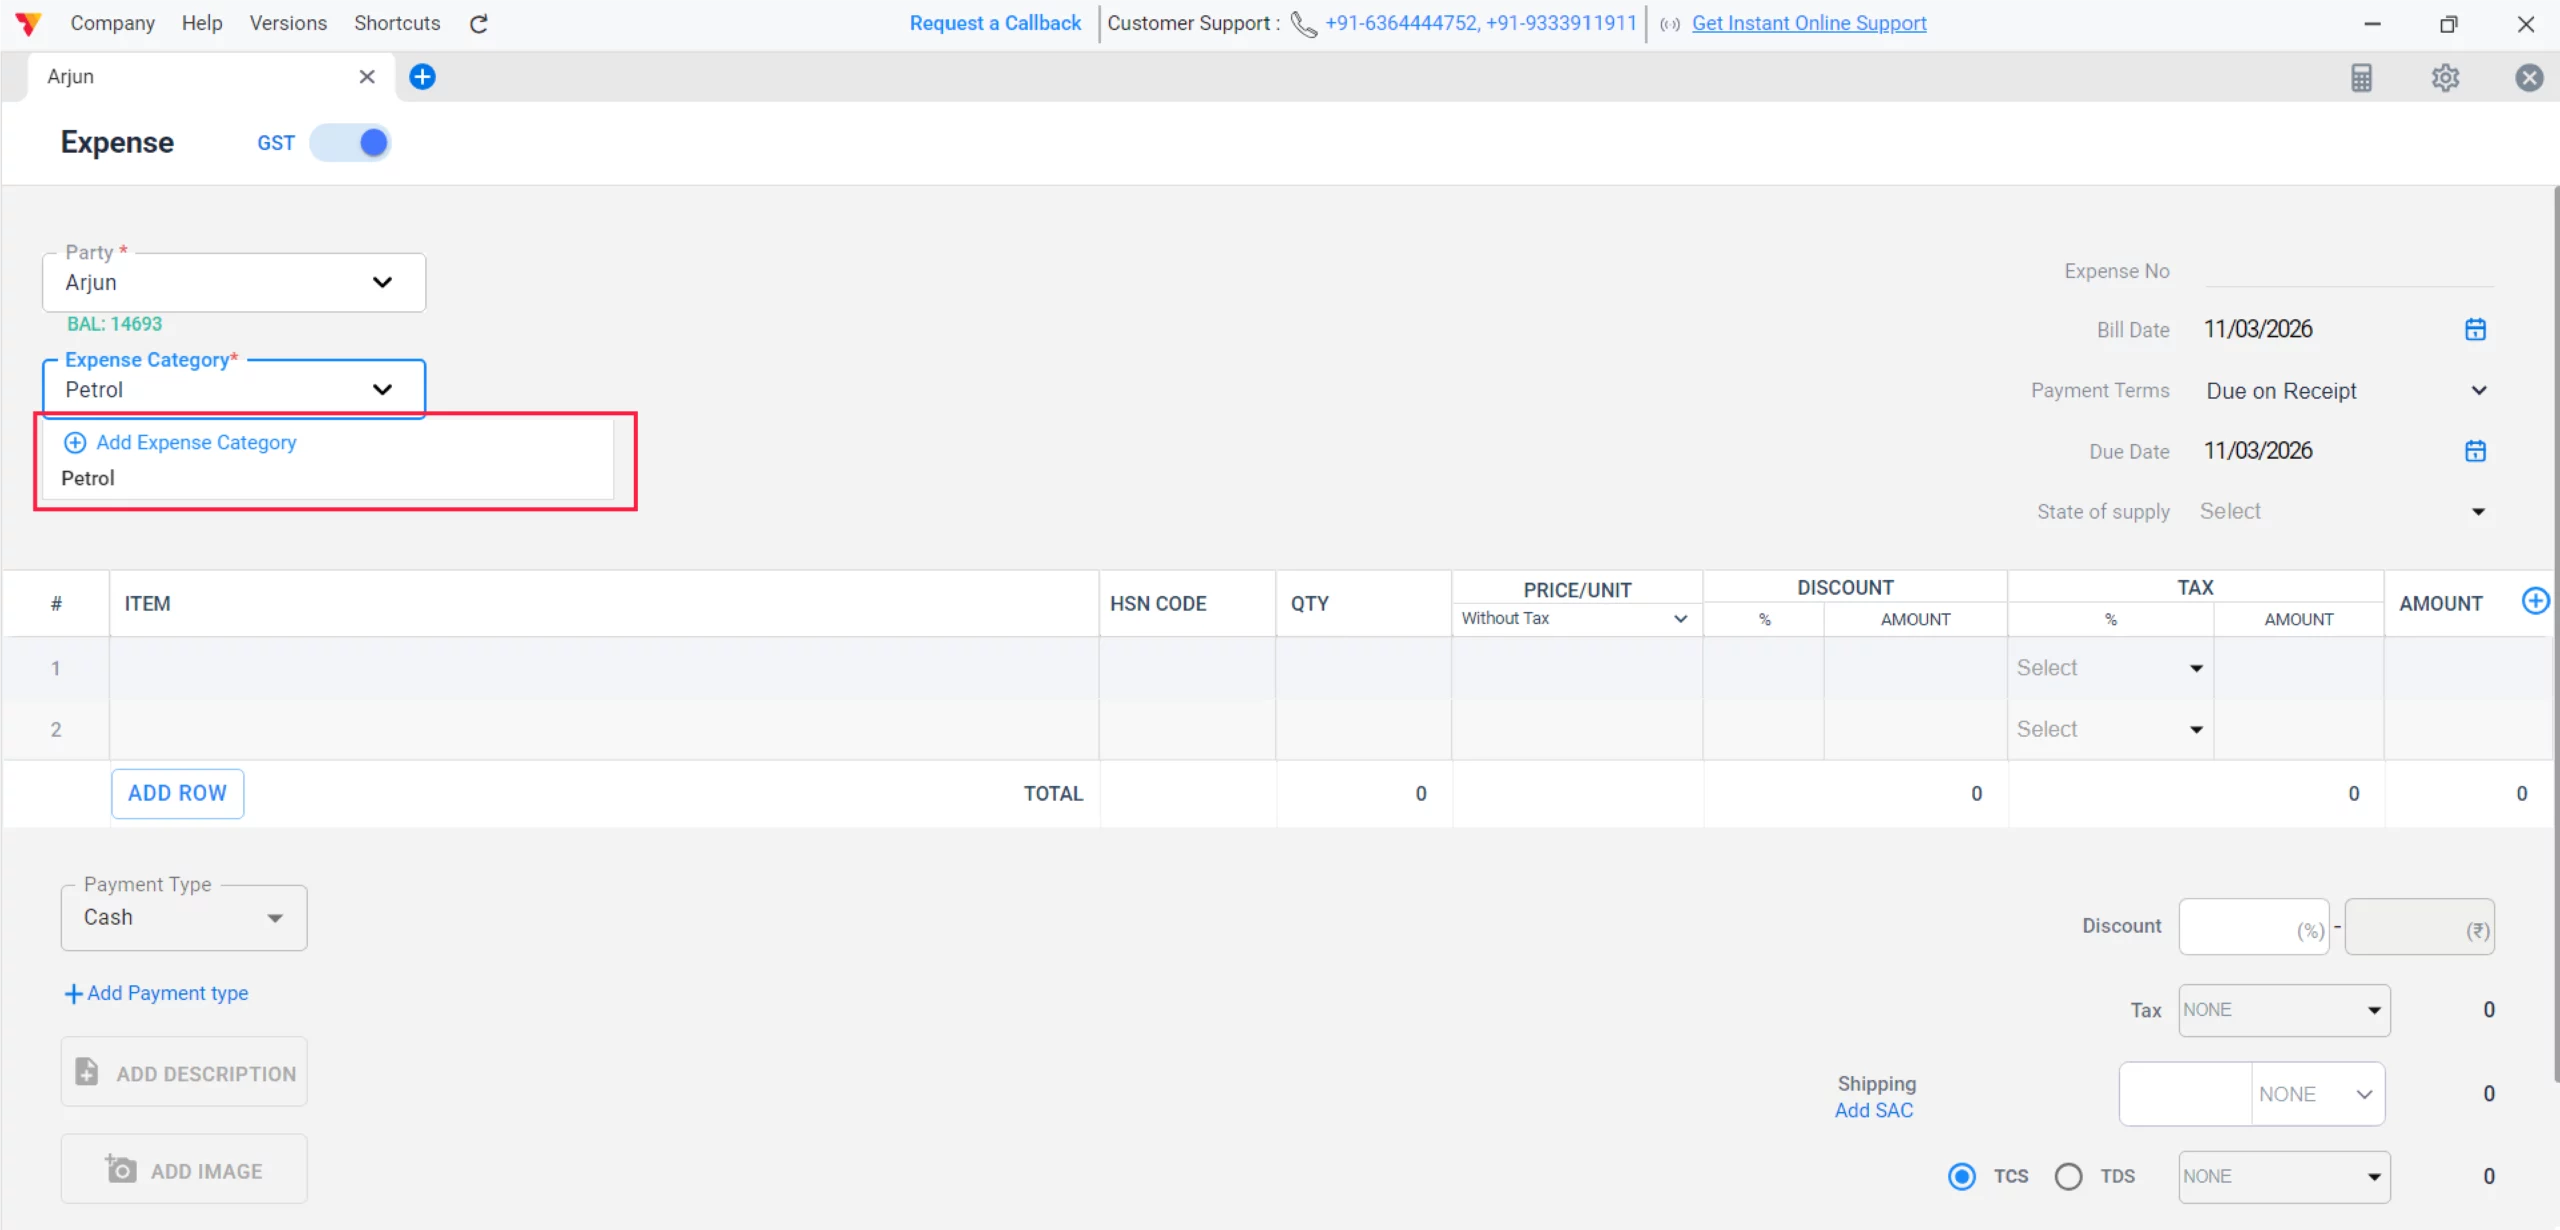
When adding or selecting a New category, click on the Add Expense Category window to select between Direct Expense or Indirect Expense from the dropdown menu.
05
Select Category & Party
Choose the correct Expense Category and select the Party (vendor) if the GST toggle is ON.
06
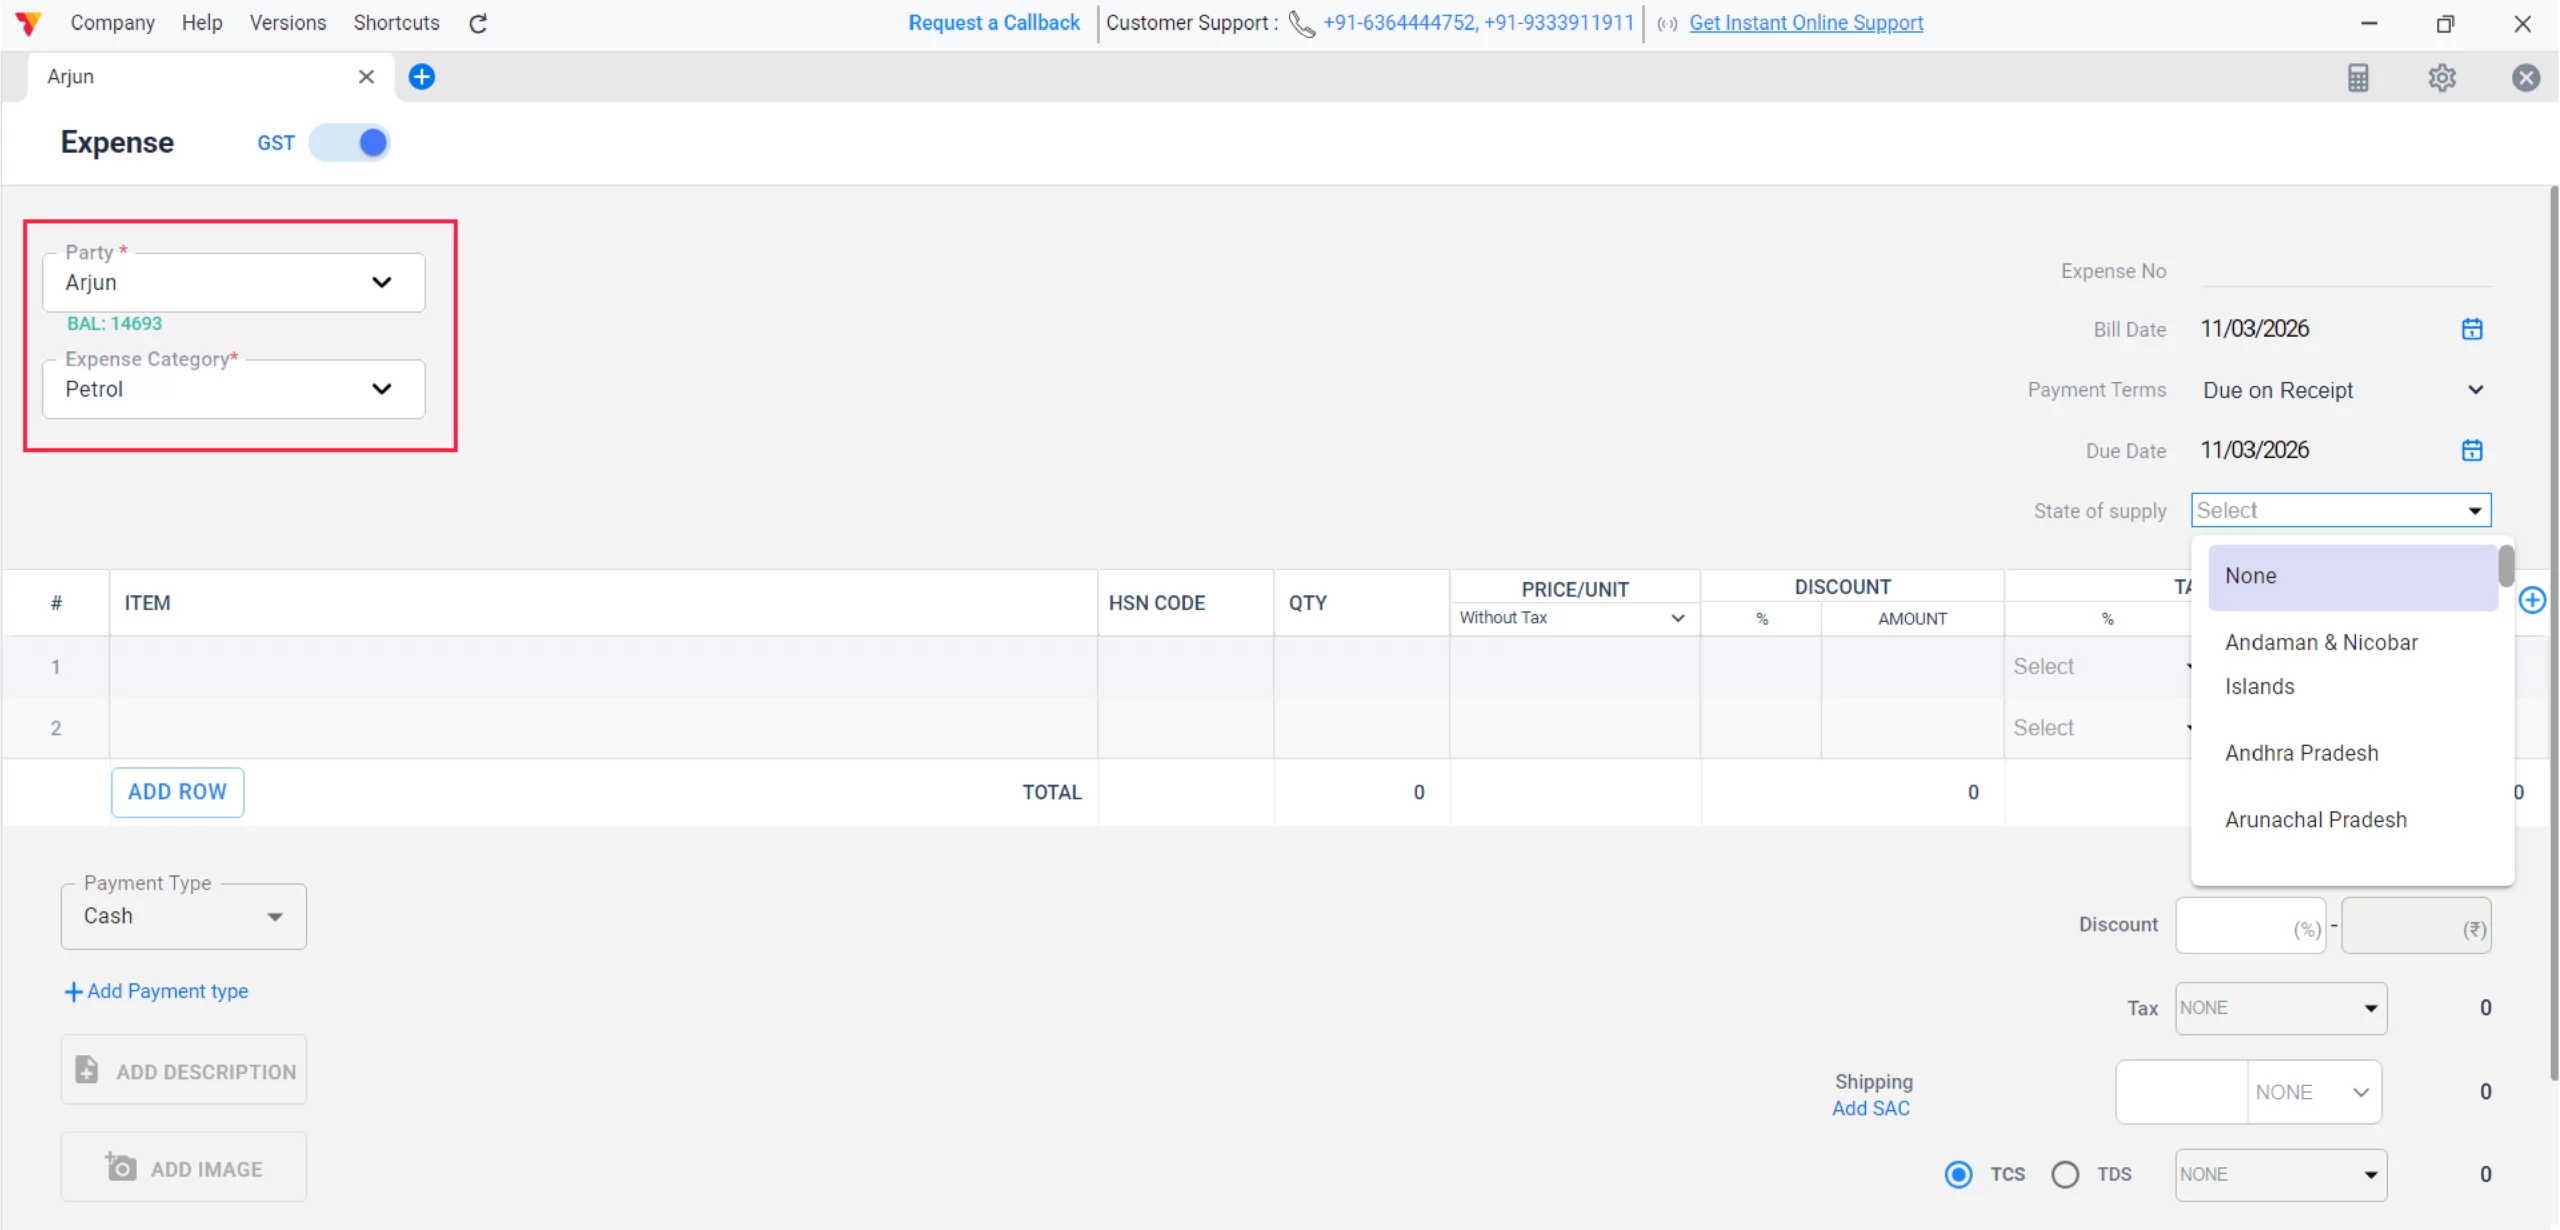
Configure State of Supply
Select the State of supply to ensure Vyapar applies the correct CGST/SGST or IGST.
07
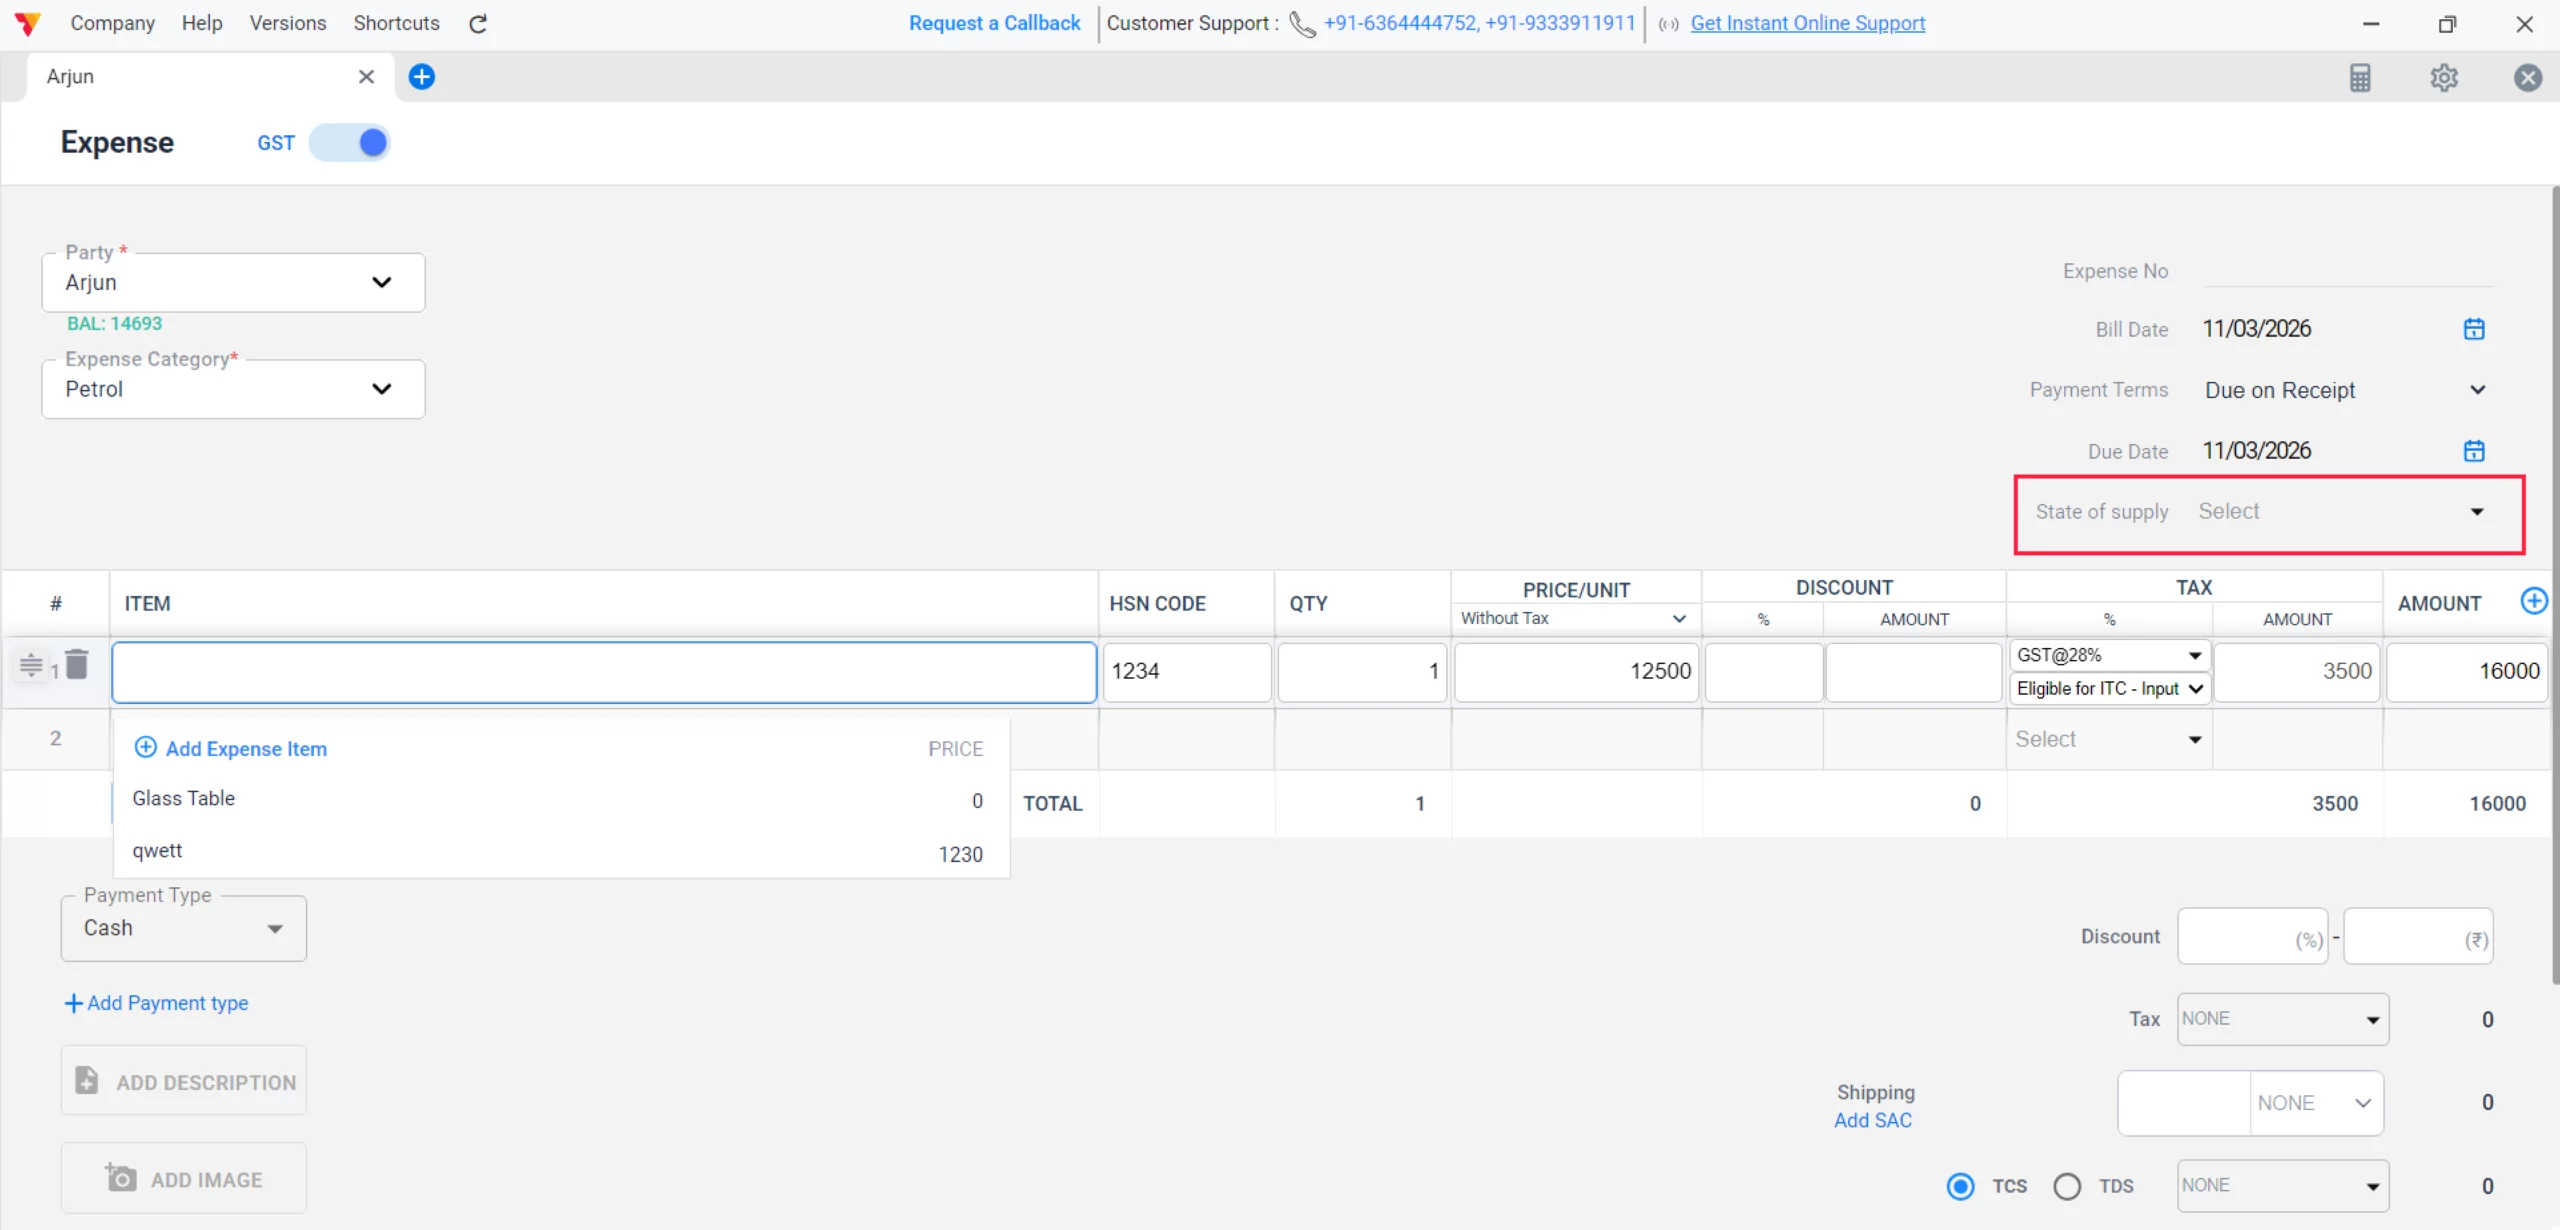
Create New Expense Item
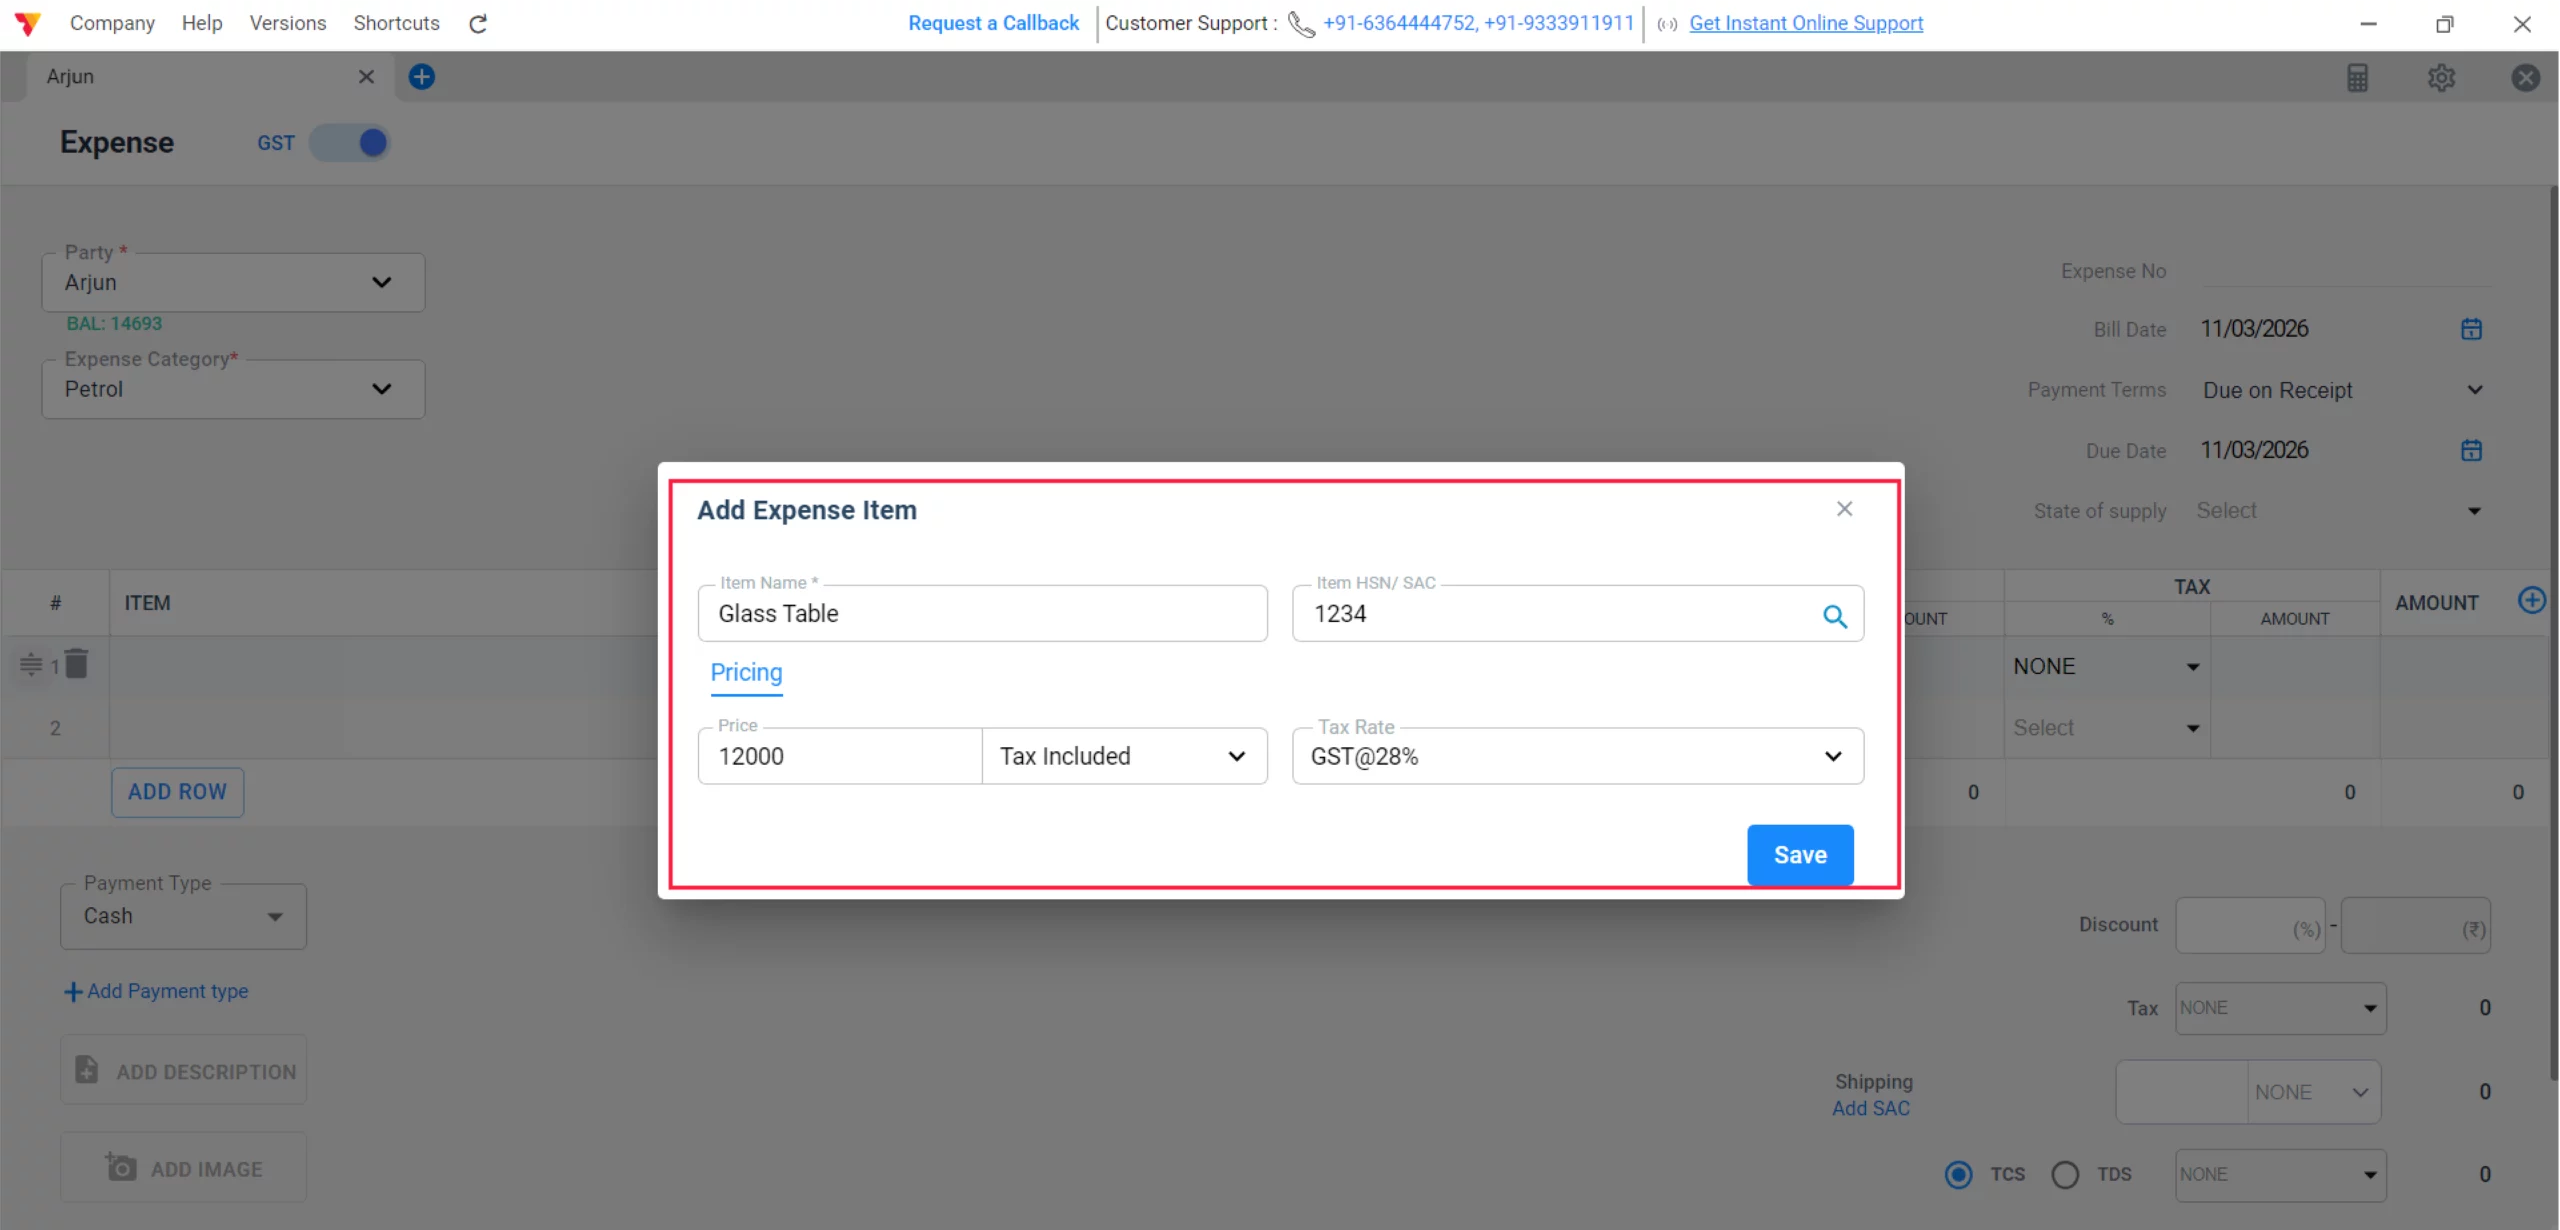
Inside the item table, click to add a new row and select Add Expense Item to open the specialized configuration window.
08
Enter Item Name & HSN/SAC
Input the specific name of the expense (e.g., “Office Printer Ink”) and its relevant HSN/SAC code, Price and Taxes and click on “Save”.
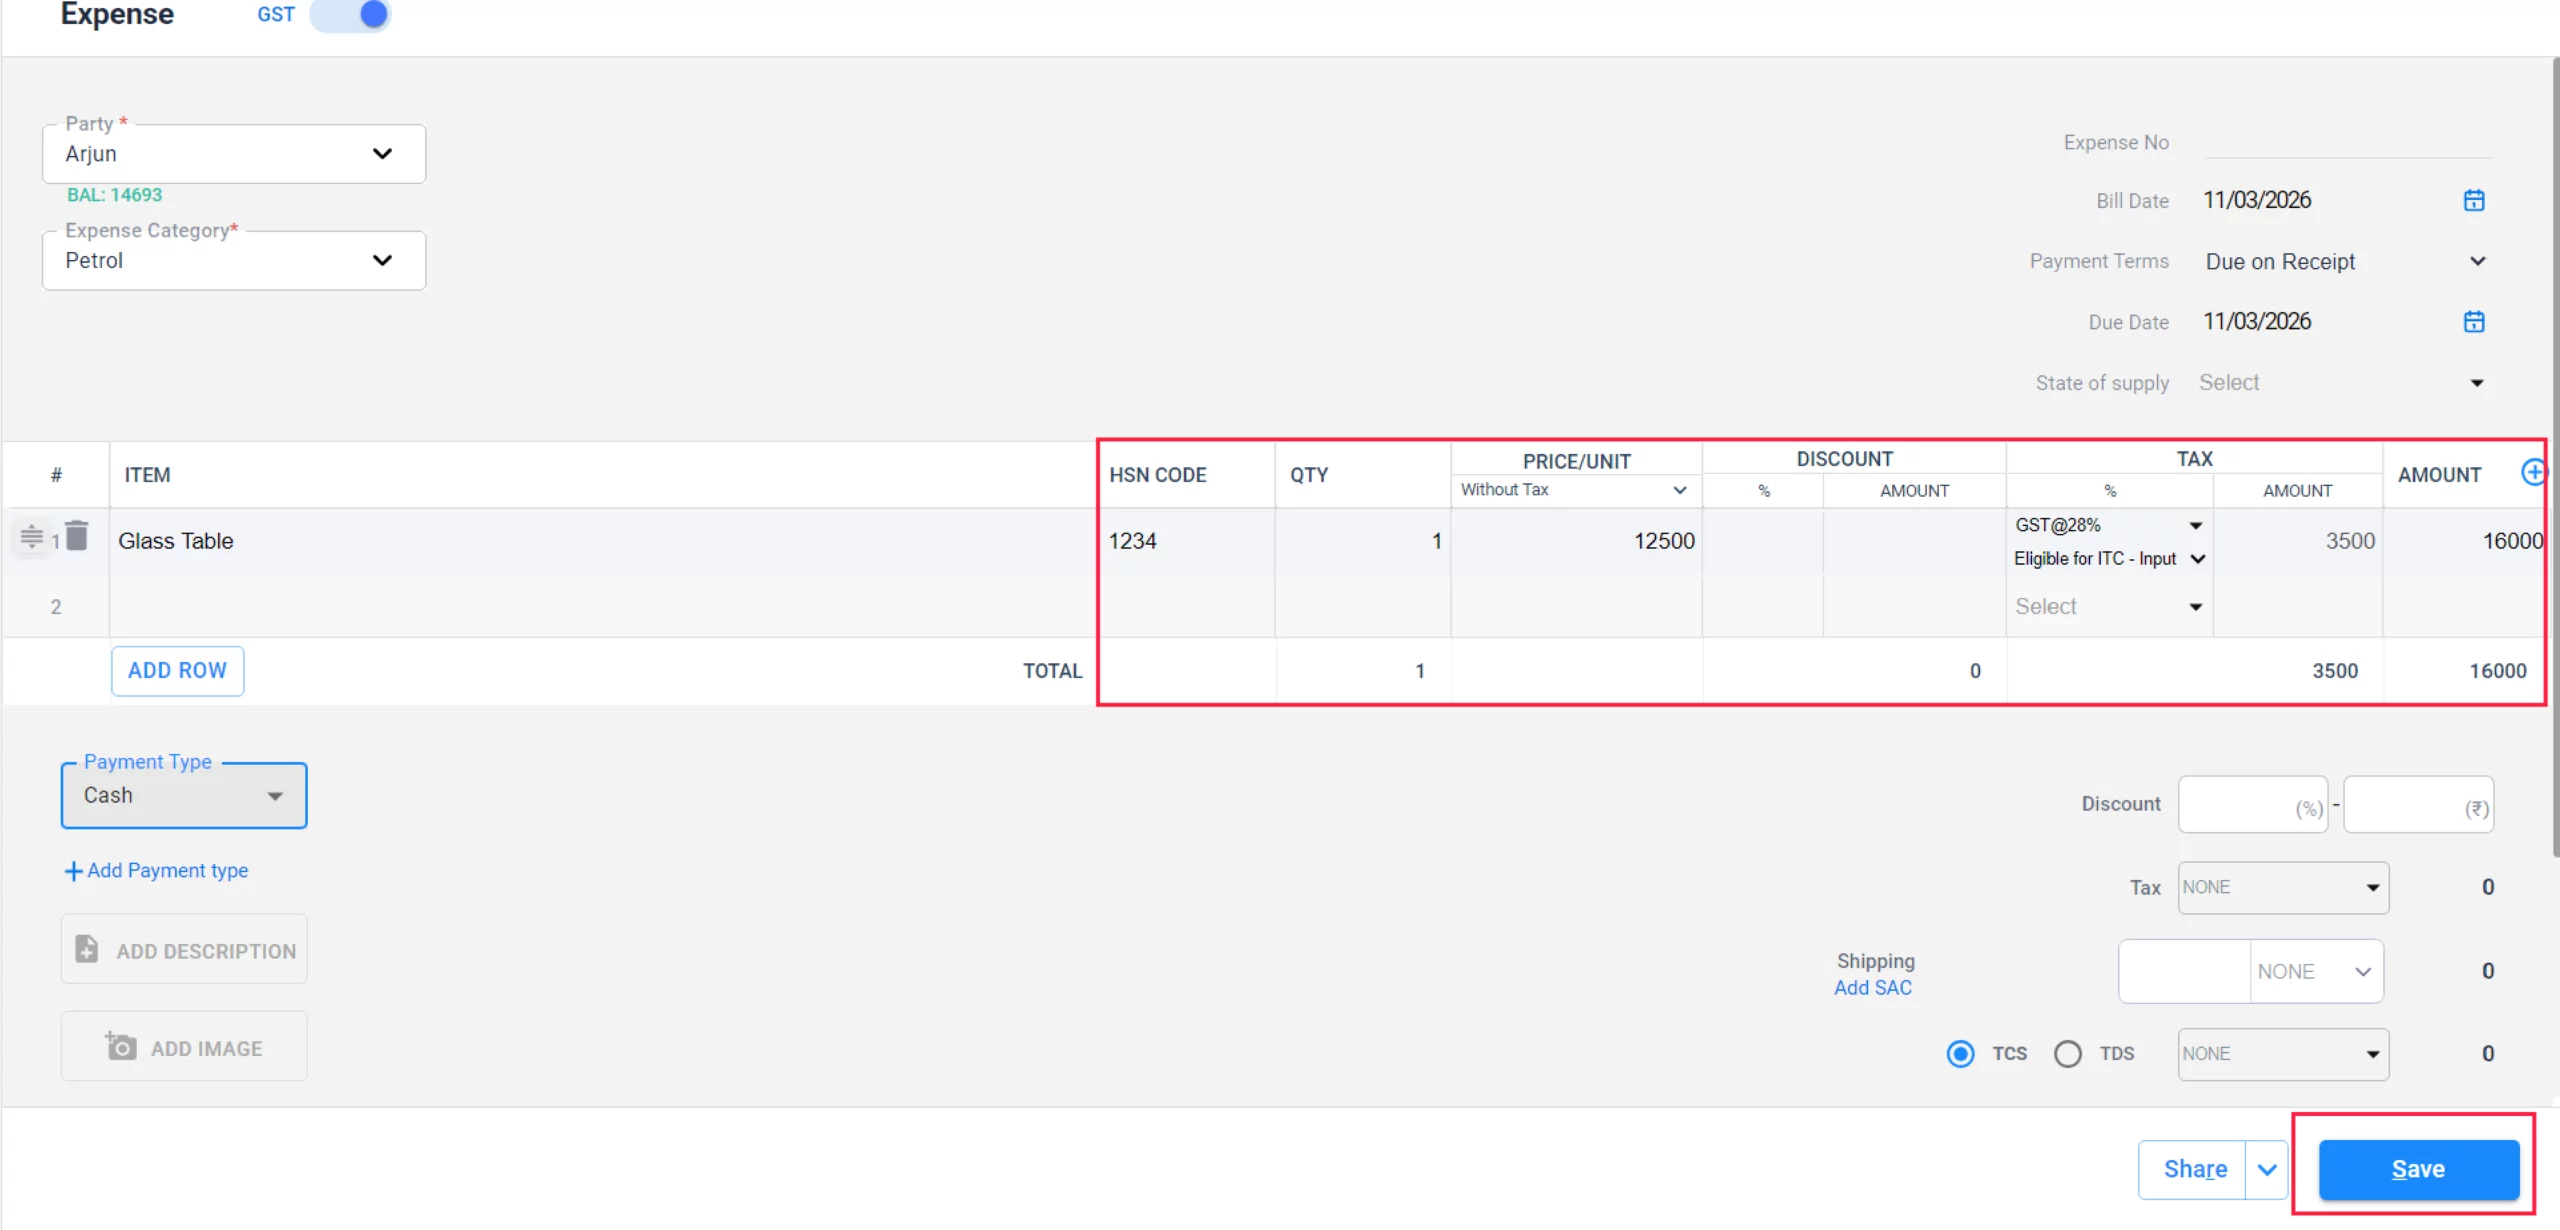
09
Choose Payment Type
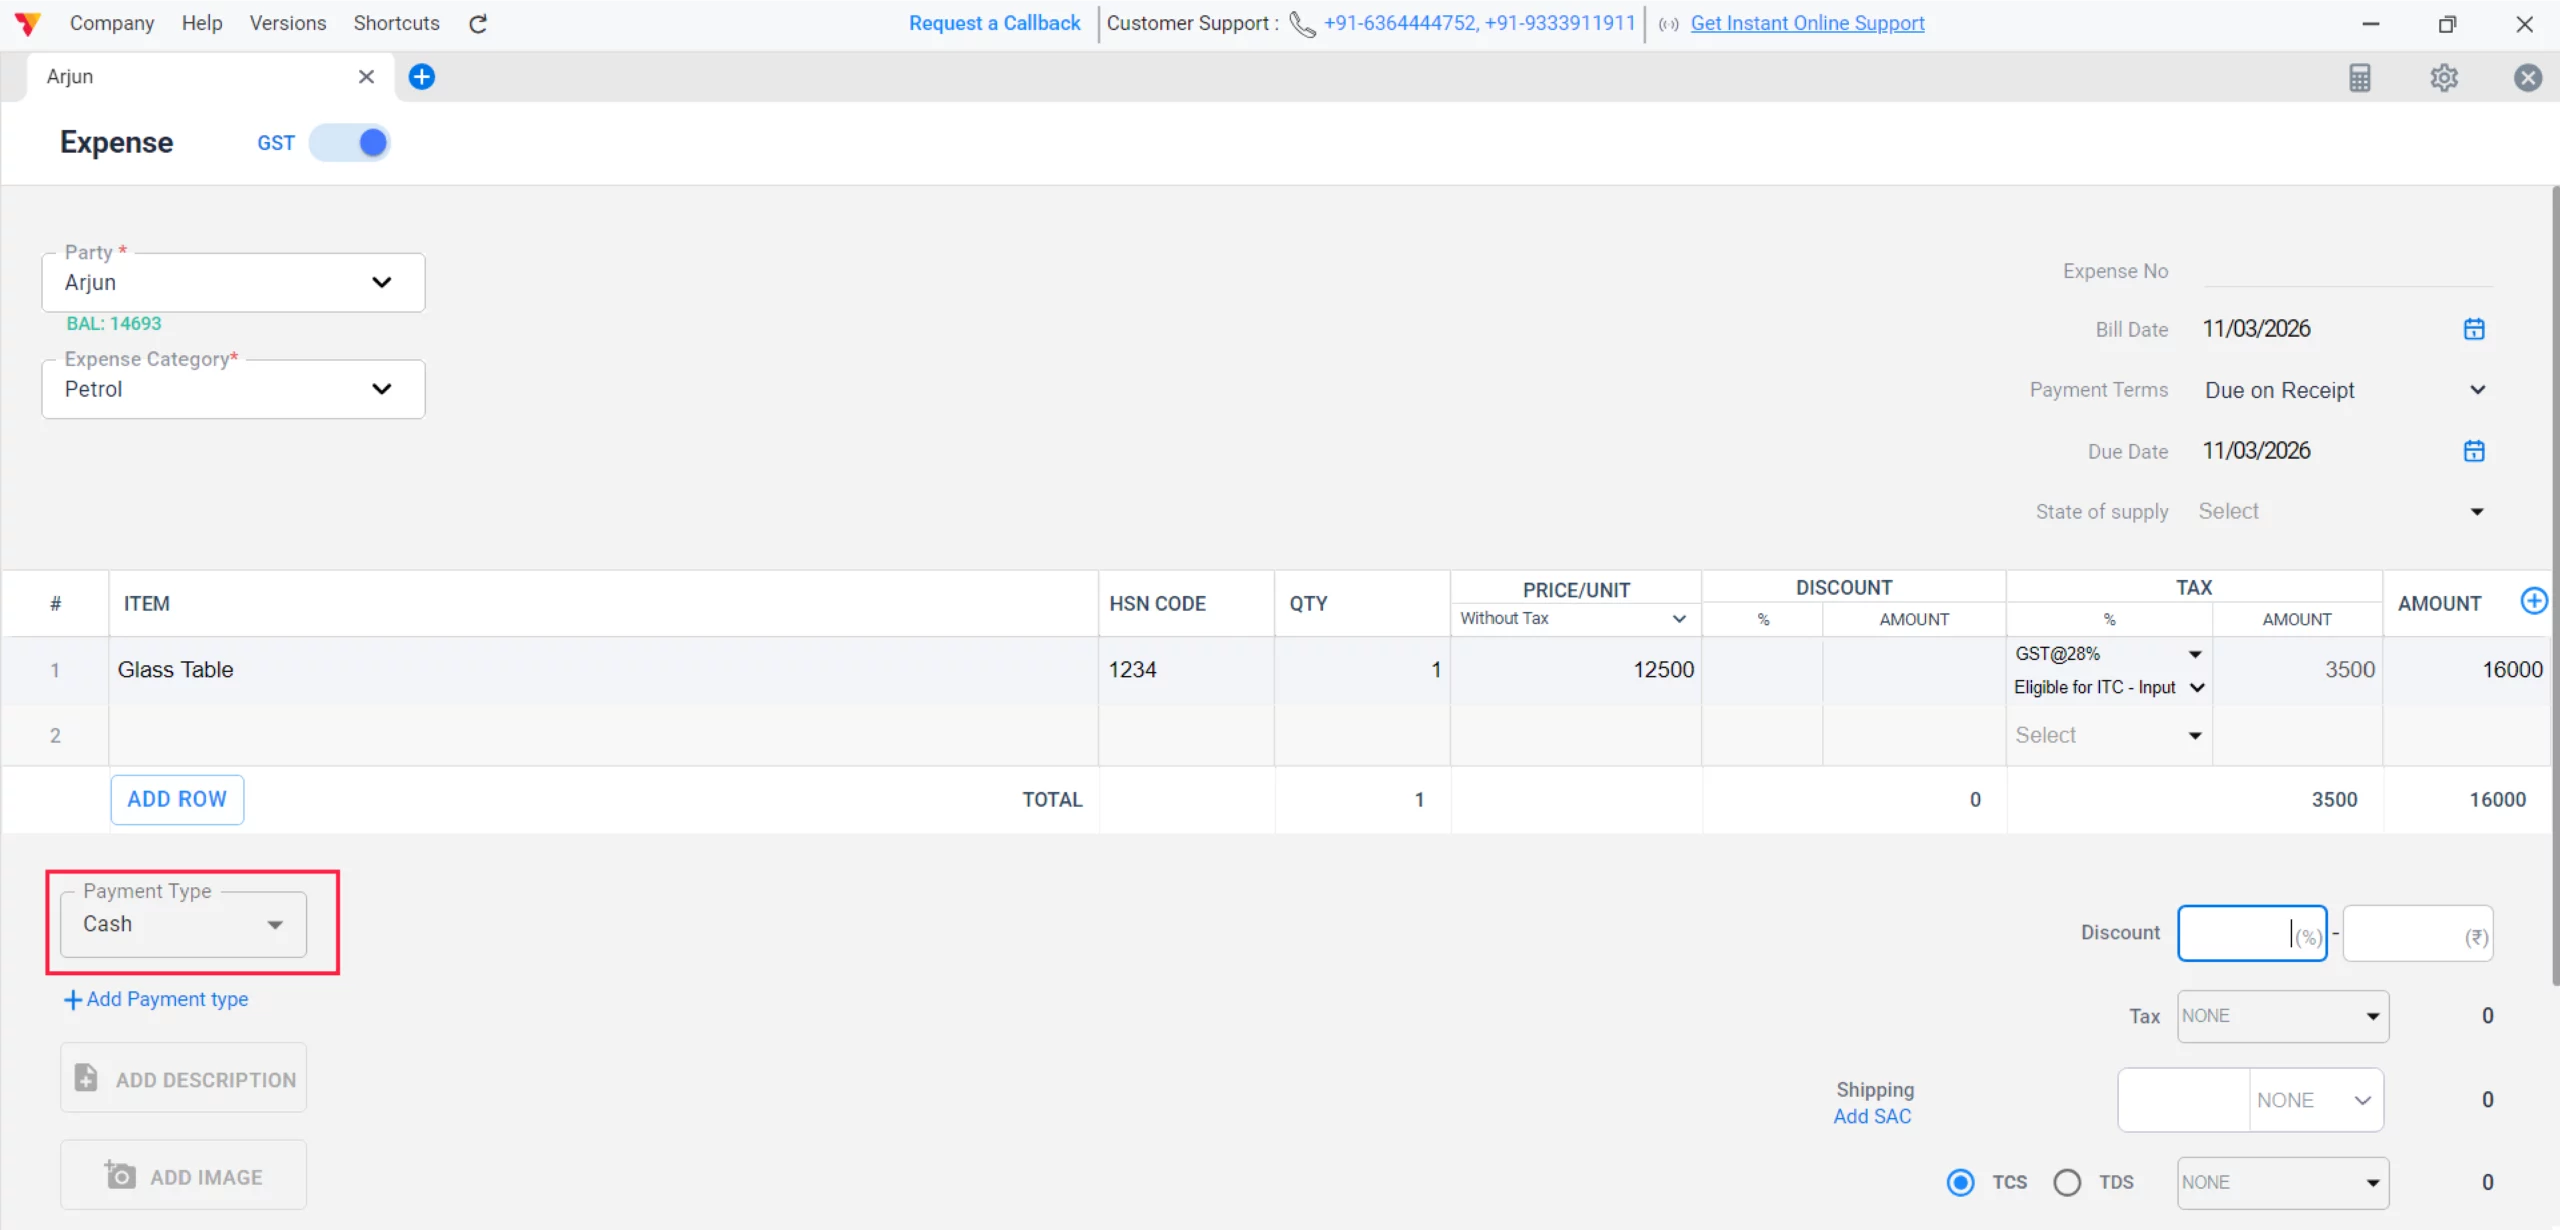
Specify the payment mode (e.g., Cash or Bank) to keep your accounts balanced.
10
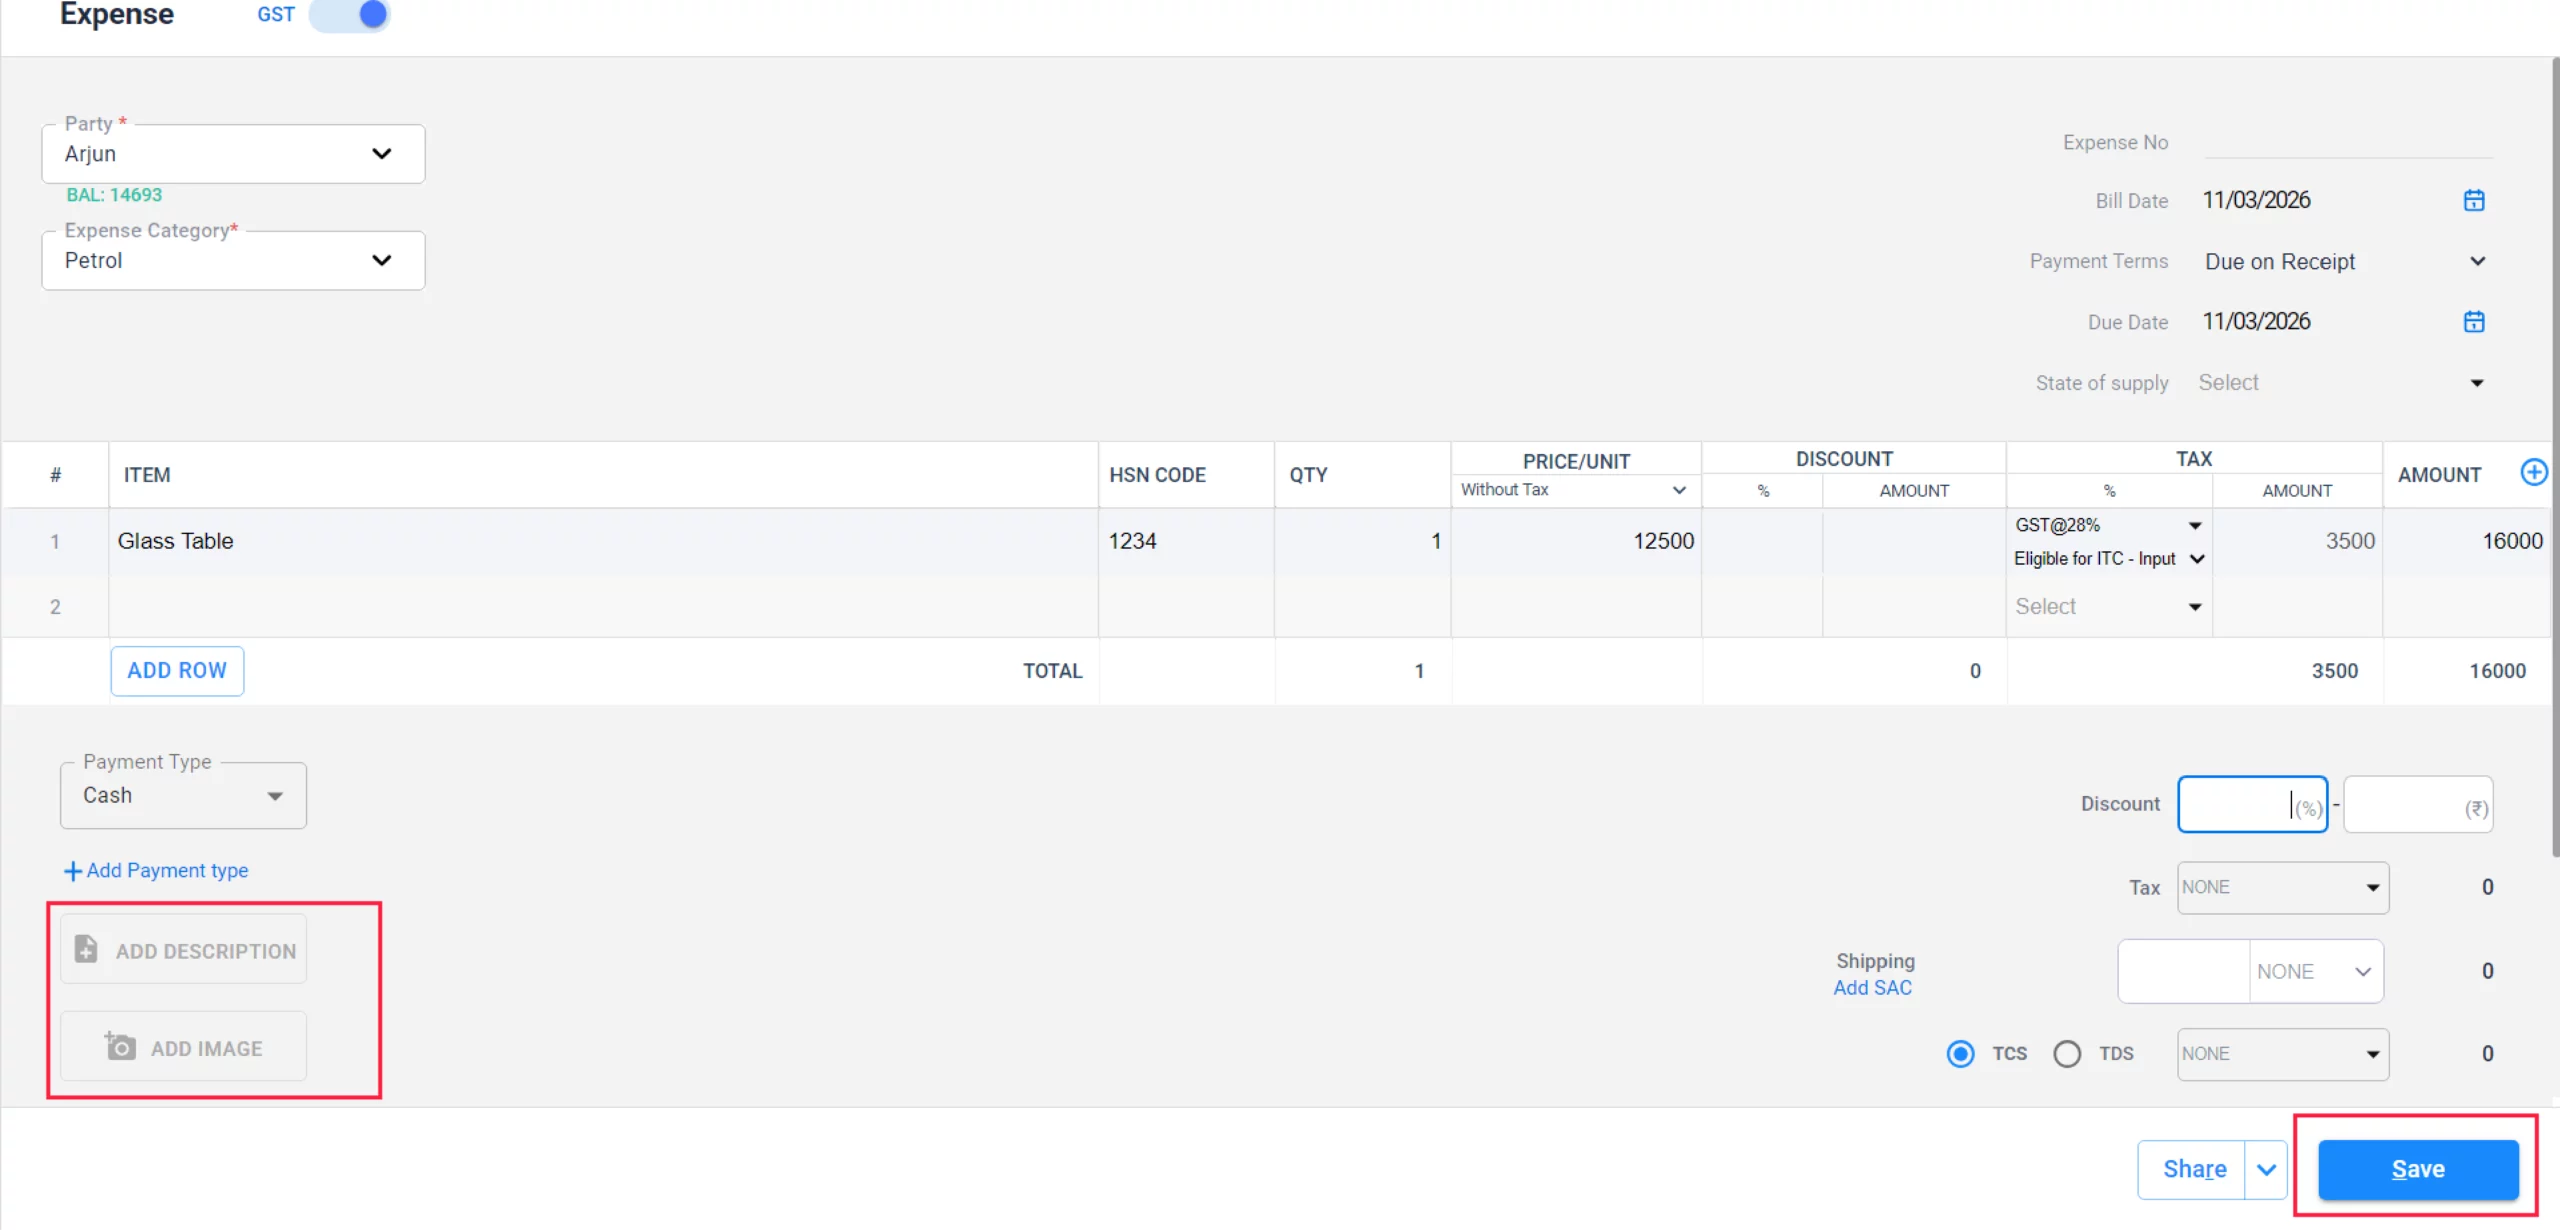
Attach Document
Click Add Image or Add Document to upload a digital copy of the receipt.
11
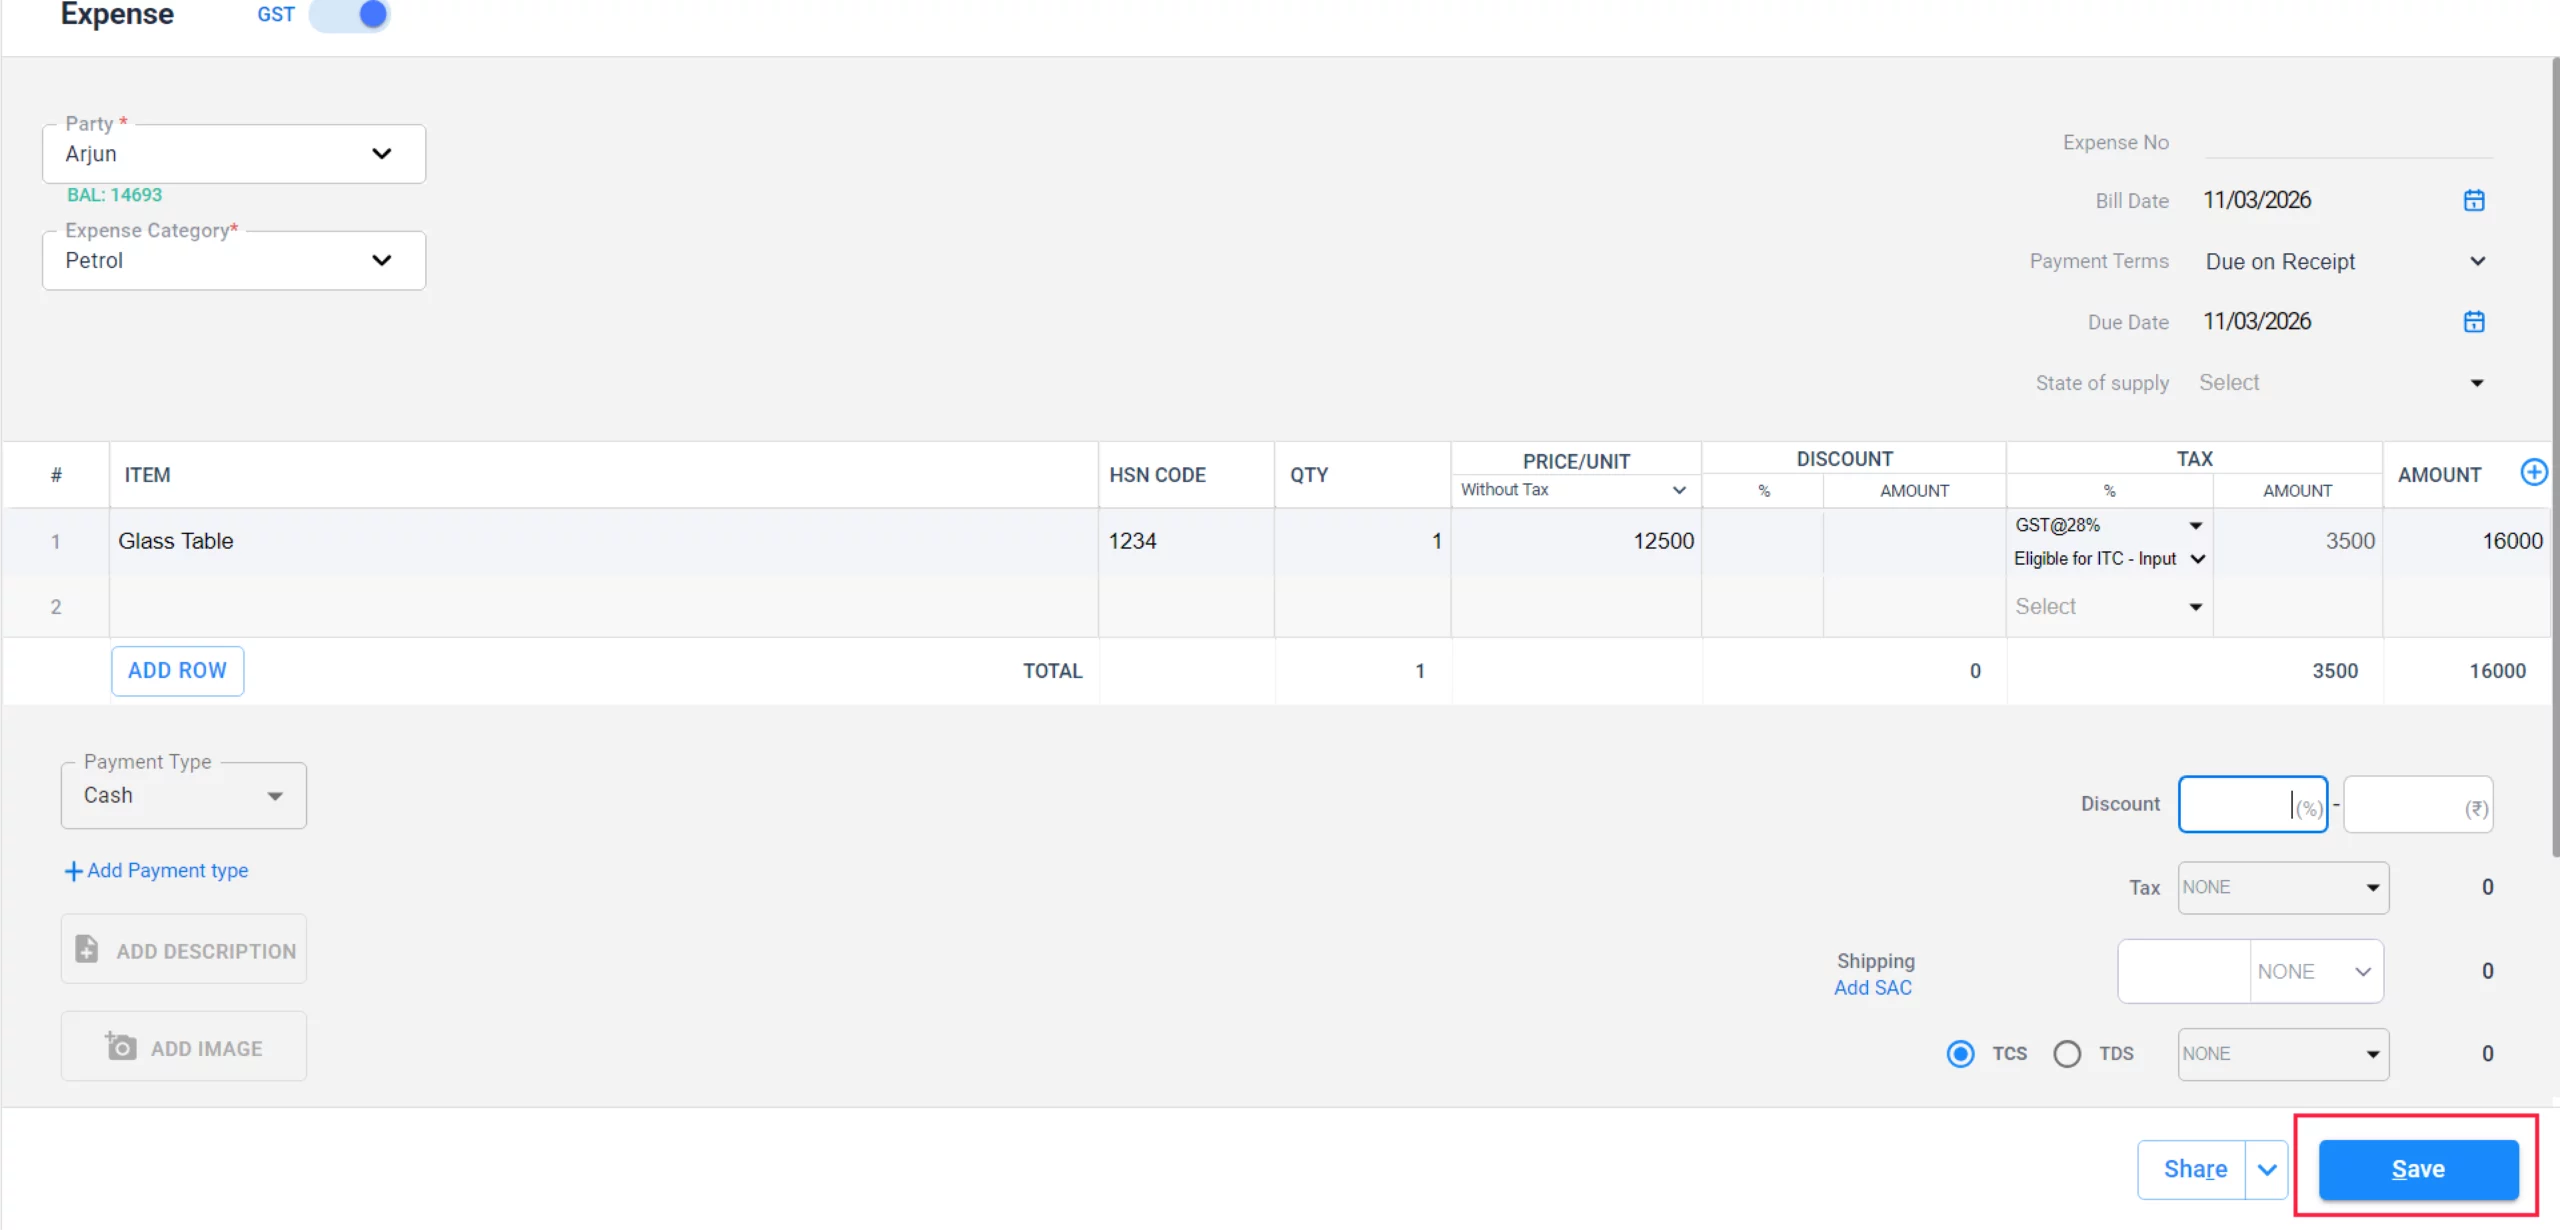
Finalize Transaction
Review the quantities and amounts in the main table, then click the Save button at the bottom right to complete the entry.
12
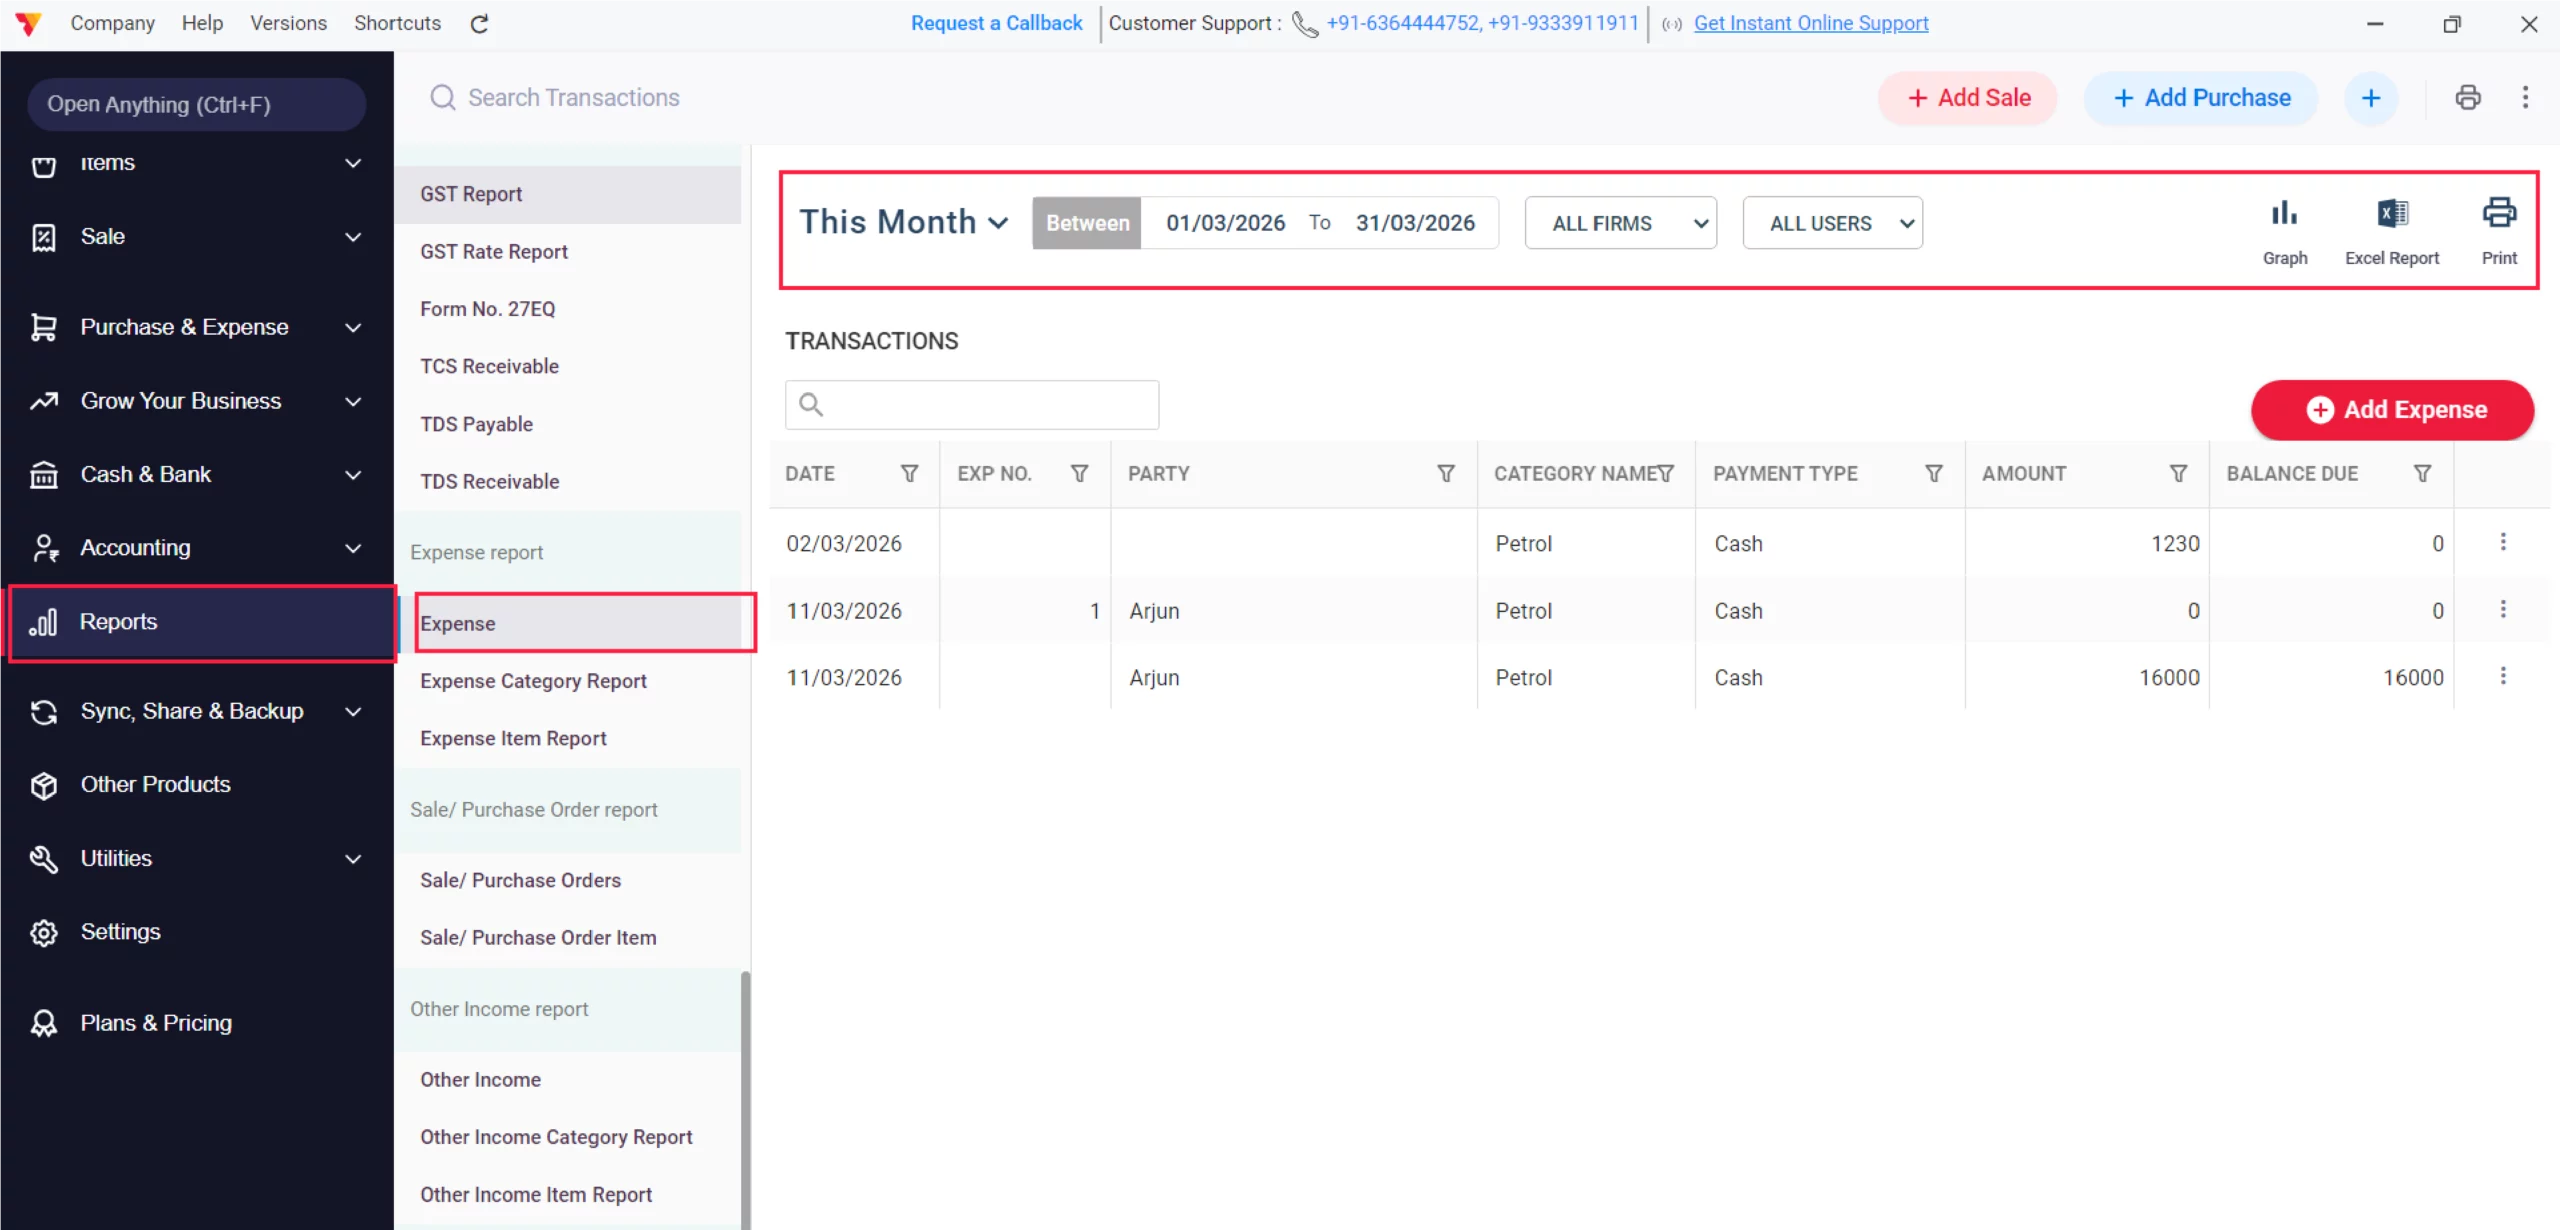
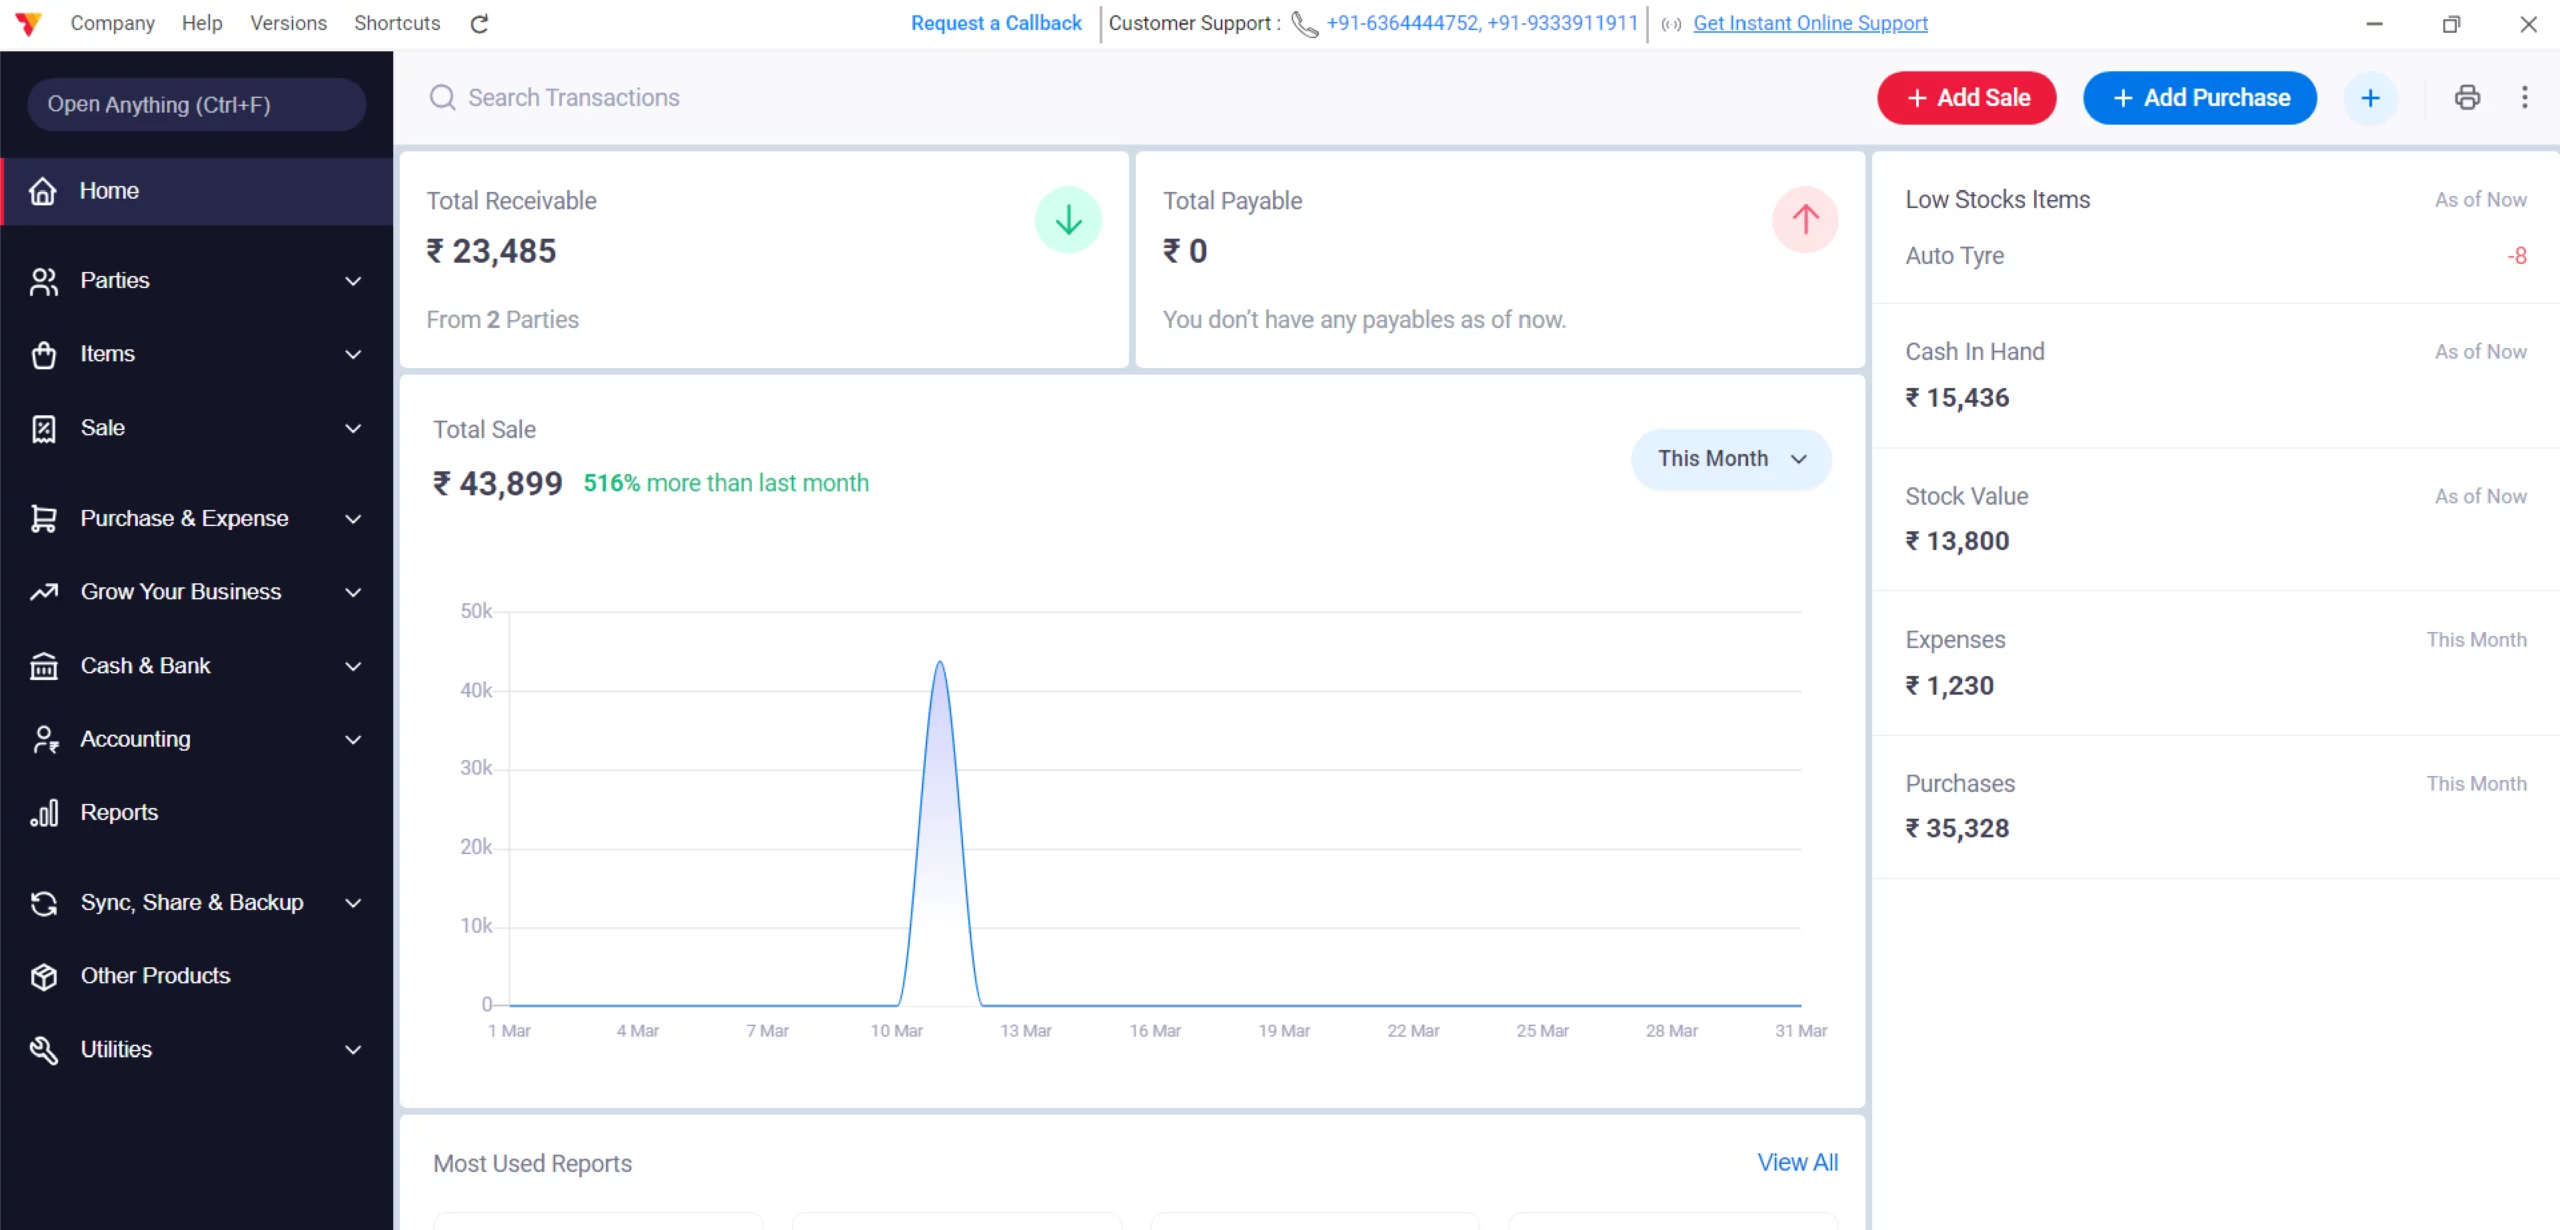
Review Reports
Navigate to Reports, scroll to Expenses, and view reports by Expenses, Expenses Category or Expenses Item for detailed analysis.
13
Still stuck? Get help in minutes.
Our support team is ready to help you succeed.
![]()
![]() 24/7 Support
24/7 Support
Why Is This Important for Your Business?
Once you have configured your minimum stock levels, Vyapar keeps you informed across two key areas:

Clean Inventory Tracking
Separating expense items from selling items prevents your “Stock-in-Hand” from being cluttered with items you don’t actually sell.
Accurate Tax Credits
Creating specific expense items with HSN codes allows Vyapar to auto-populate your GSTR-2 reports for Input Tax Credit (ITC) claims.
Financial Precision
Correctly categorizing these as direct or indirect expenses provides a clear view of your Gross Margin versus your Net Profit.
Frequently Asked Questions (FAQs)
What happens if I forget to turn “on” the GST toggle?
The expense will still be recorded, but the tax amount will not be added to your ITC balance, meaning you won’t save on taxes.
Can I see a report for a specific expense category?
Yes, go to Reports > Expense Category Report to see a detailed breakdown of spending by category.
Ready to Stop Losing Money?
Record your expenses today and grow your savings by 30%.


