How to Accept Cash, Card & UPI Payments – Video
Learn how to accept cash, card, and UPI payments using Razorpay in Vyapar app. Simple steps to collect payments and make billing fast and easy.
Transcript
This video explains how to accept online payments directly in the Vyapar app using Razorpay, from setup to receiving and tracking payments.
Step 1: Open App & Go to Bank Accounts
Open the Vyapar app, go to the left menu, select “Cash & Bank”, and then click on “Bank Accounts” to manage or add your account.
Step 2: Add Bank Account & Enable Online Payments
Click on “Add Bank Account”, fill in your bank details, and enable the “Accept Payments Online” option to start the setup.
Step 3: Create or Link a Razorpay Account
Enter details like phone number, email, business name, and type. Verify with OTP and complete the basic account setup on Razorpay.
Step 4: Complete KYC Process
Fill in business address, bank details, and identity proof, then submit KYC. It usually gets verified within 48 hours.
Step 5: Create Invoice & Send Payment Link
Go to Sales – Add Sale, enter customer and item details. The invoice will include a QR code and payment link that you can share with the customer.
Step 6: Receive & Track Payments
Customers can pay via UPI, card, net banking, or wallet. Payments are recorded automatically, and you can track all transactions and settlements inside the app.
Once set up, you can easily accept, track, and manage all online payments in one place, with automatic records and clear transaction details.
Read More
Related Videos
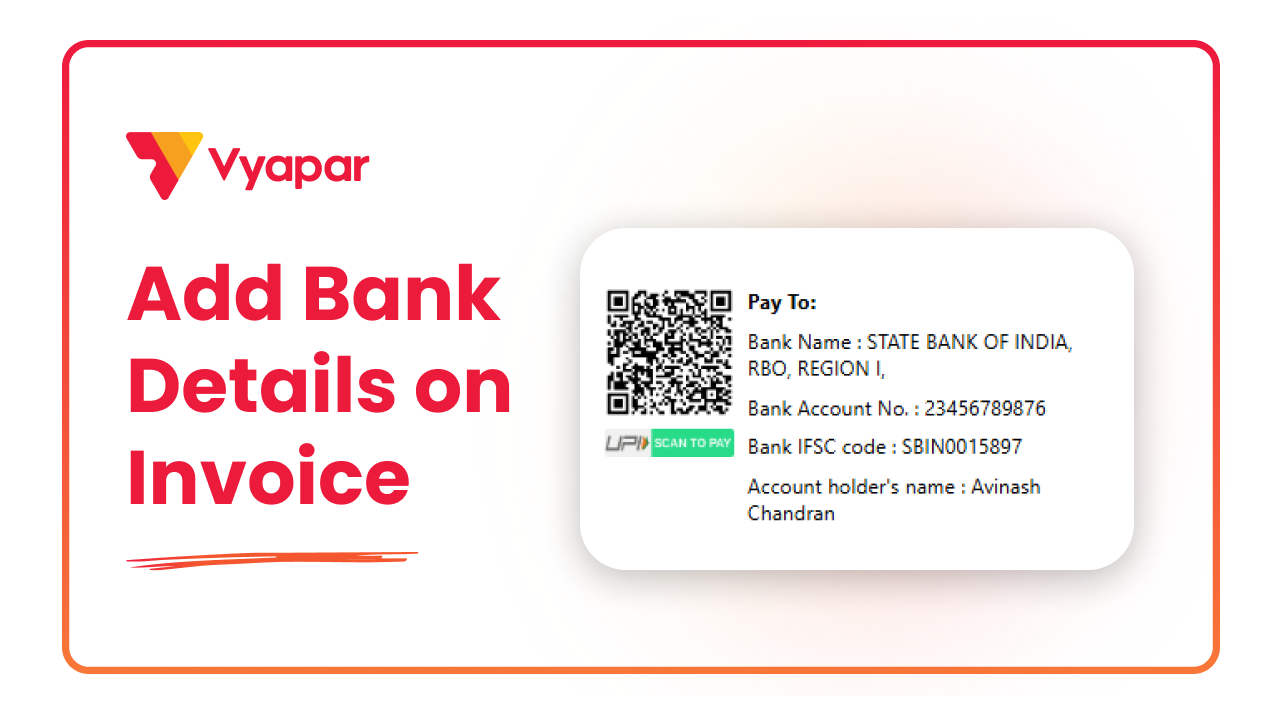
How to Add Bank Account Details on Invoice
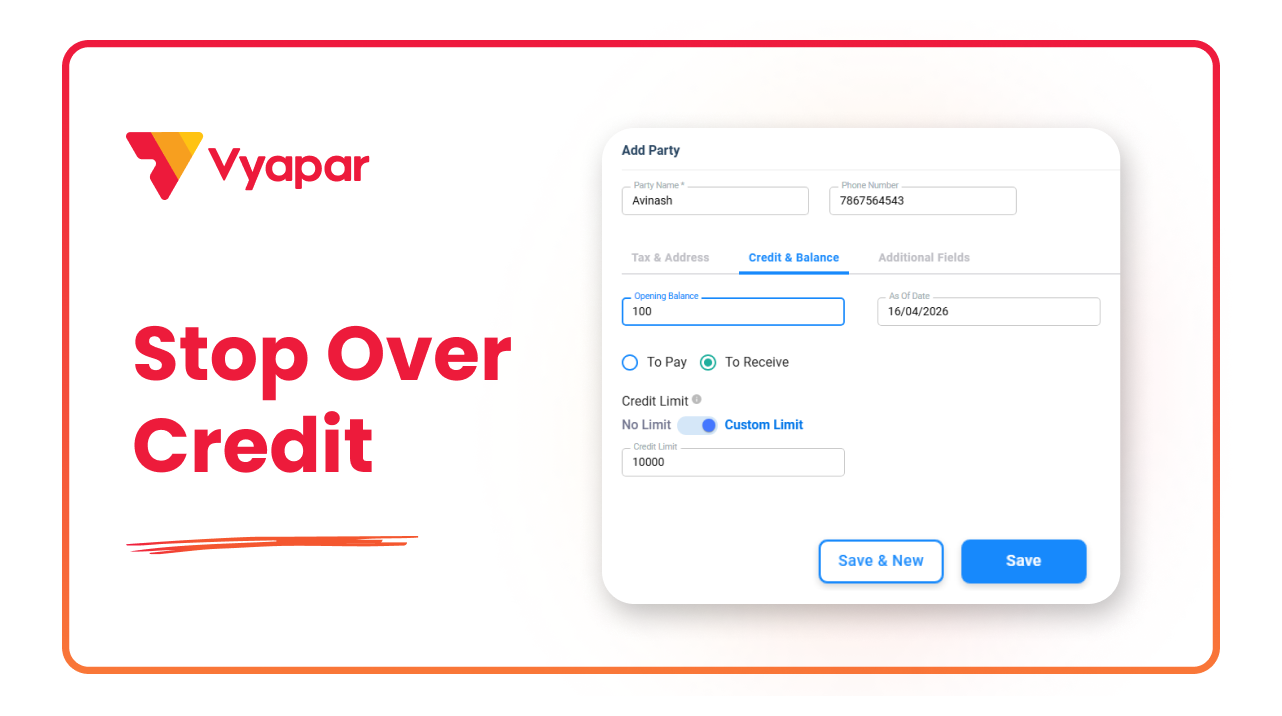
How to Set Credit Limit for Customer

How to Take Auto Backup
Transform Your Business in Just 5 Minutes – Start Free Today!
Join 1.5 crore + small business owners using Vyapar’s automated billing, inventory & accounting software to save 10+ hours every week.


