How to Generate Product Barcode – Video
Watch how to generate and print barcodes in just a few clicks. Learn to select items, preview labels, and make billing faster and smarter.
Transcript
This guide explains how to generate a barcode using the Vyapar app. You need to make sure each item has an item code before creating a barcode.
Step 1: Check or Assign Item Code
Go to the left-side menu – Item section – open any item (e.g., Coffee). Check if an item code is already assigned. If not, add an item code and save the changes.
Step 2: Open Barcode Generation Option
From the left-side menu, scroll down to the Utility section. Click on the Barcode Generation option.
Step 3: Select Printer and Label Settings
Choose your printer type (e.g., label printer) and select the label size and number of labels you need. Then click Continue.
Step 4: Select Item and Set Quantity
Search and select your item (e.g., Coffee). The item code will automatically appear. Enter how many labels you want to generate.
Step 5: Customise Barcode Details
Add details like company name, item name, price, or any extra lines. Check the preview section to see how your barcode will look.
Step 6: Generate and Print Barcode
Click on “Add for Barcode” and then preview the final barcode. If everything looks correct, click Generate, select your printer, and print the barcode.
By following these steps, you can easily create and print barcodes for your items in the Vyapar app, helping you manage inventory more efficiently.
Read More
Related Videos

How to Create Delivery Challan

How to Add HSN Code for Item
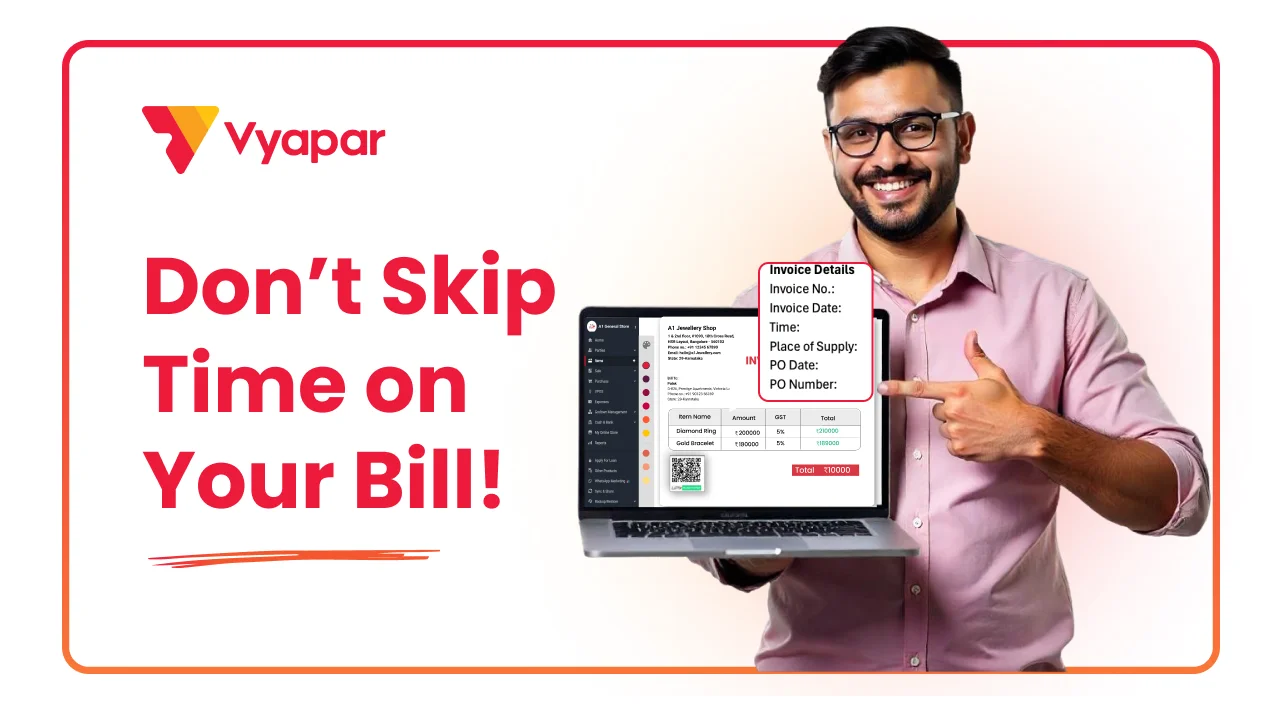
How to Add transaction time on invoice
Transform Your Business in Just 5 Minutes – Start Free Today!
Join 1.5 crore + small business owners using Vyapar’s automated billing, inventory & accounting software to save 10+ hours every week.


